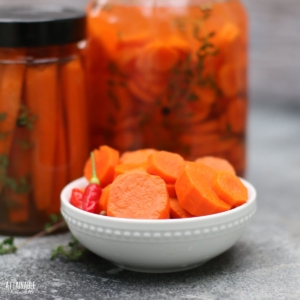
If you enjoy the sweet crunch of fresh carrots, you’re going to love them pickled! Add some to your next crudités platter or snack on them straight out of the jar.
But canning isn’t the only way to preserve food for long-term storage. In addition to water bath and pressure canning, dehydrating fruits and vegetables, fermentation, and freezing are other methods to try. Start with the food preservation method that seems most doable to you. Soon you’ll have a pantry full of produce to enjoy in the off-season.
If you enjoy the sweet crunch of fresh carrots, you’re going to love them pickled! Add some to your next crudités platter or snack on them straight out of the jar.
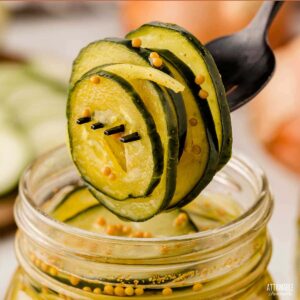
Pickling is one of the easiest ways to preserve fresh vegetables. It can be done in small batches or preserve more for the pantry.
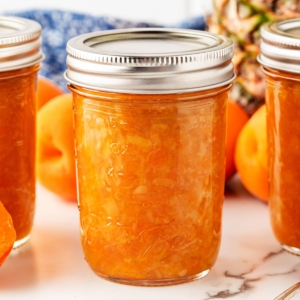
The combination of apricots and pineapple make for a flavorful and slightly tangy fruit spread for your morning toast.
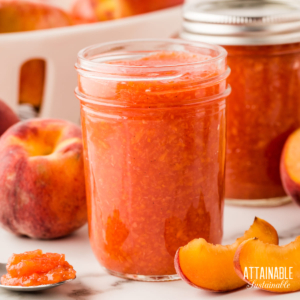
Ready to save the sweet summertime flavor of fresh peaches? Consider canning peach jam for the pantry with this low sugar recipe.
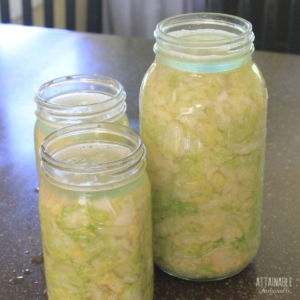
Sauerkraut is one of the easiest ferments to get started with, and the results are delicious and a great addition to sandwiches.
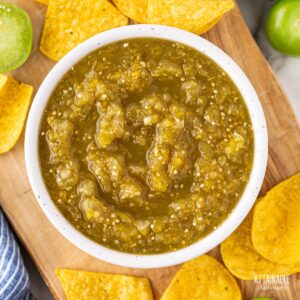
You may have tried salsa verde (green salsa) at your favorite Mexican restaurant or from a jar, but why not try canning tomatillo salsa at home?
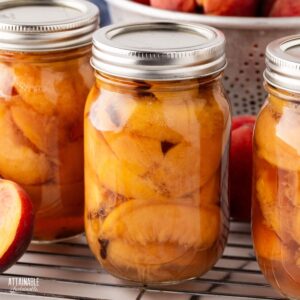
These lightly sweetened peaches will rock your pantry! This recipe makes a shelf-stable product rich with summertime flavor.
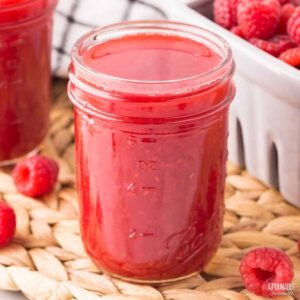
Transform this favorite summertime fruit into a raspberry puree for topping cakes, pouring on ice cream, or swirling into drinks.
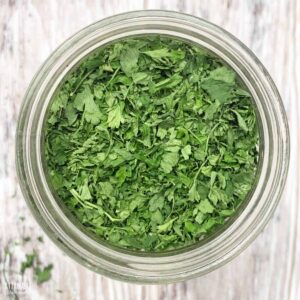
Dehydrating fresh parsley is an easy way to stock your spice cabinet with this versatile herb to add flavor to a variety of recipes.

Aloha! I’m Kris Bordessa, author, hobby farmer, gardener, chicken wrangler, and eternal experimenter.
If you’re ready to shake up your pantry routine and shift from boxed to homemade, be sure to check out my latest project, Attainable Sustainable Pantry (National Geographic Books).

My earlier book, Attainable Sustainable: The Lost Art of Self-Reliant Living (also from National Geographic Books) was awarded the best how-to book of 2020 by the American Society of Journalists and Authors.

Here at Attainable Sustainable, I encourage readers to embrace a more self-reliant lifestyle, one small step at a time.


