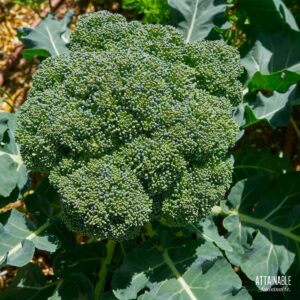
Broccoli is delicious and a great crop for early spring & fall gardens. Learn all about growing broccoli successfully in your backyard garden for a healthy harvest.

From growing vegetables and fruits to natural pest control and soil improvement, there’s plenty of inspiration for new gardeners here. Start small or start big; just get started!
Broccoli is delicious and a great crop for early spring & fall gardens. Learn all about growing broccoli successfully in your backyard garden for a healthy harvest.
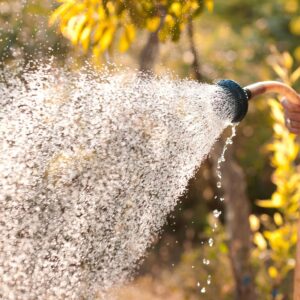
Watering vegetables is one chore that you’ll need to tackle during hot summer months. Here’s how to water — and how not to water — your veggies.
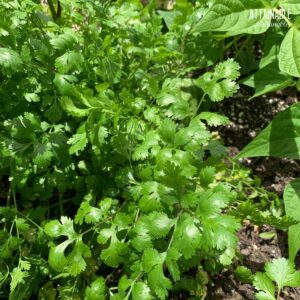
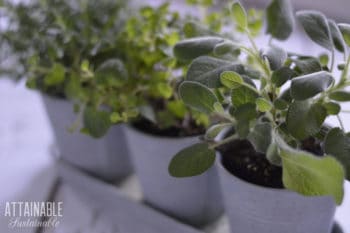
Growing cilantro in the garden means you’ll have fresh leaves on hand to flavor a variety of recipes like salsa, tacos, or burritos.
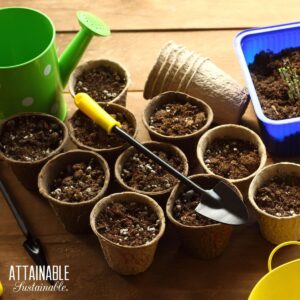
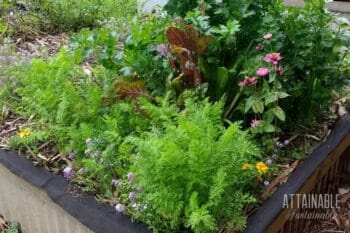
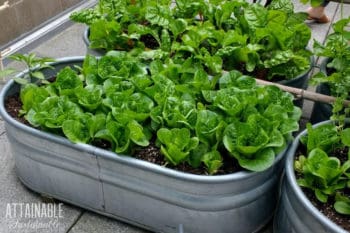
Growing your own food doesn’t have to be expensive or all-consuming. Check out these tips to make your garden thrive with less work.
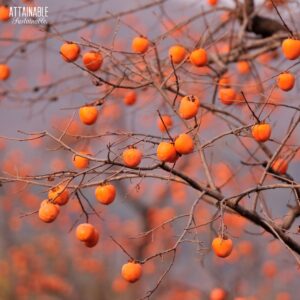
Growing persimmons for a late fall harvest on your homestead? Choosing a persimmon tree will depend on a few factors and how you plan to use the persimmons you grow. Here’s how to decide between an American persimmon tree or a Fuyu persimmon tree.
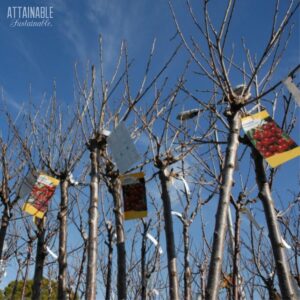
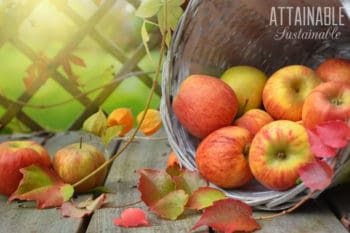
Time to choose your bare root fruit trees for your home orchard! You’ll have a better selection now, too, before trees leaf out.
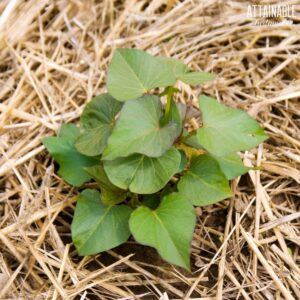
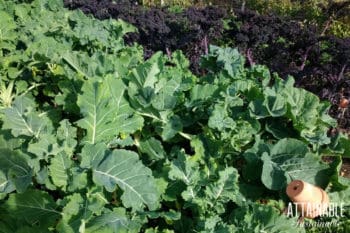
The advantage of mulching in a garden can’t be overstated. From moisture retention to weed suppression and beyond, this tactic is a winner!
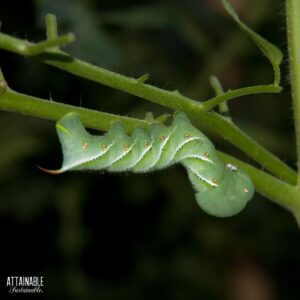
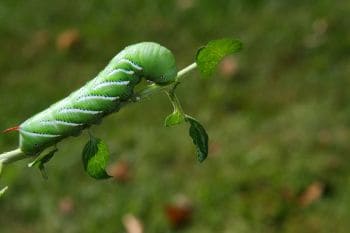
Organic pest control doesn’t have to mean fruits and veggies riddled with worms. Your vegetable garden can thrive without the addition of poisons. Here’s how to use organic pest control methods to keep your vegetable garden thriving without pest damage.
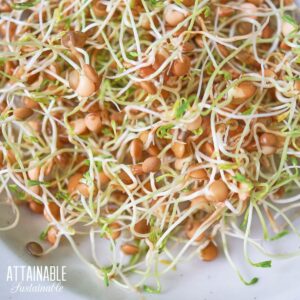
Want to grow food but short on sunlight? Or garden space?? Sprouting lentils at home is EASY! They’re a nutritious addition to sandwiches, salads, & wraps.

Aloha! I’m Kris Bordessa, author and certified Master Food Preserver, hobby farmer, gardener, chicken wrangler, and eternal experimenter.
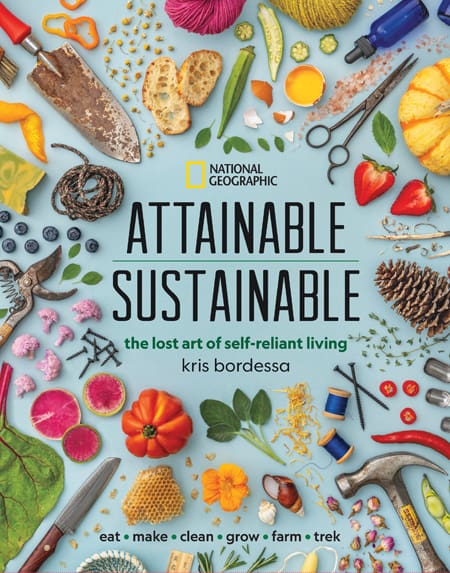
My book, Attainable Sustainable: The Lost Art of Self-Reliant Living (National Geographic Books) was awarded the best how-to book of 2020 by the American Society of Journalists and Authors.
Here at Attainable Sustainable, I encourage readers to embrace a more self-reliant lifestyle, one small step at a time.