

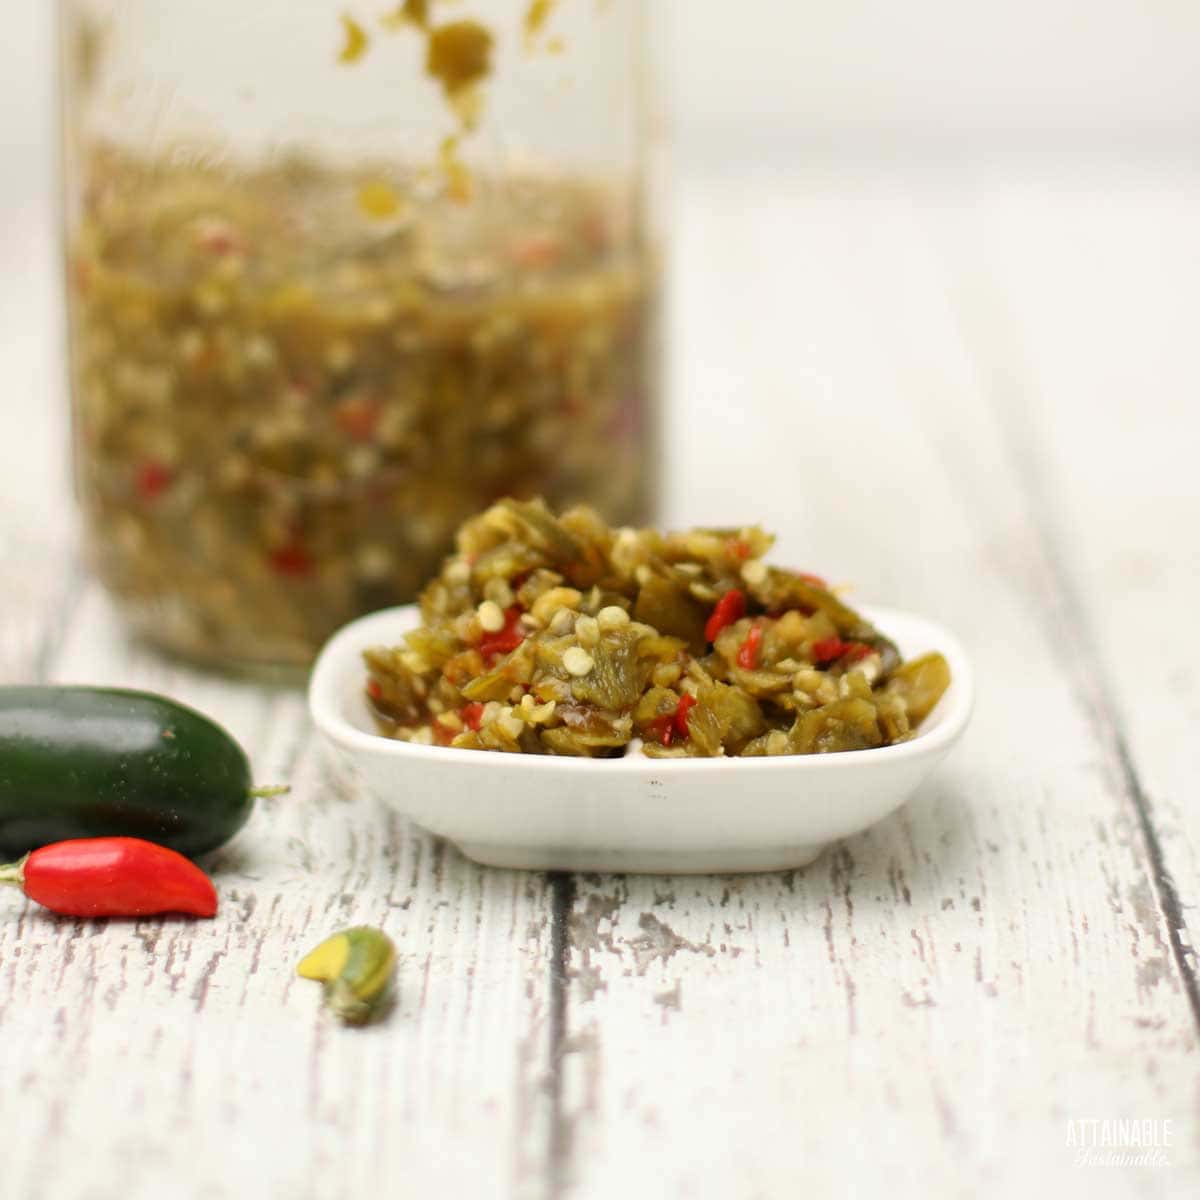
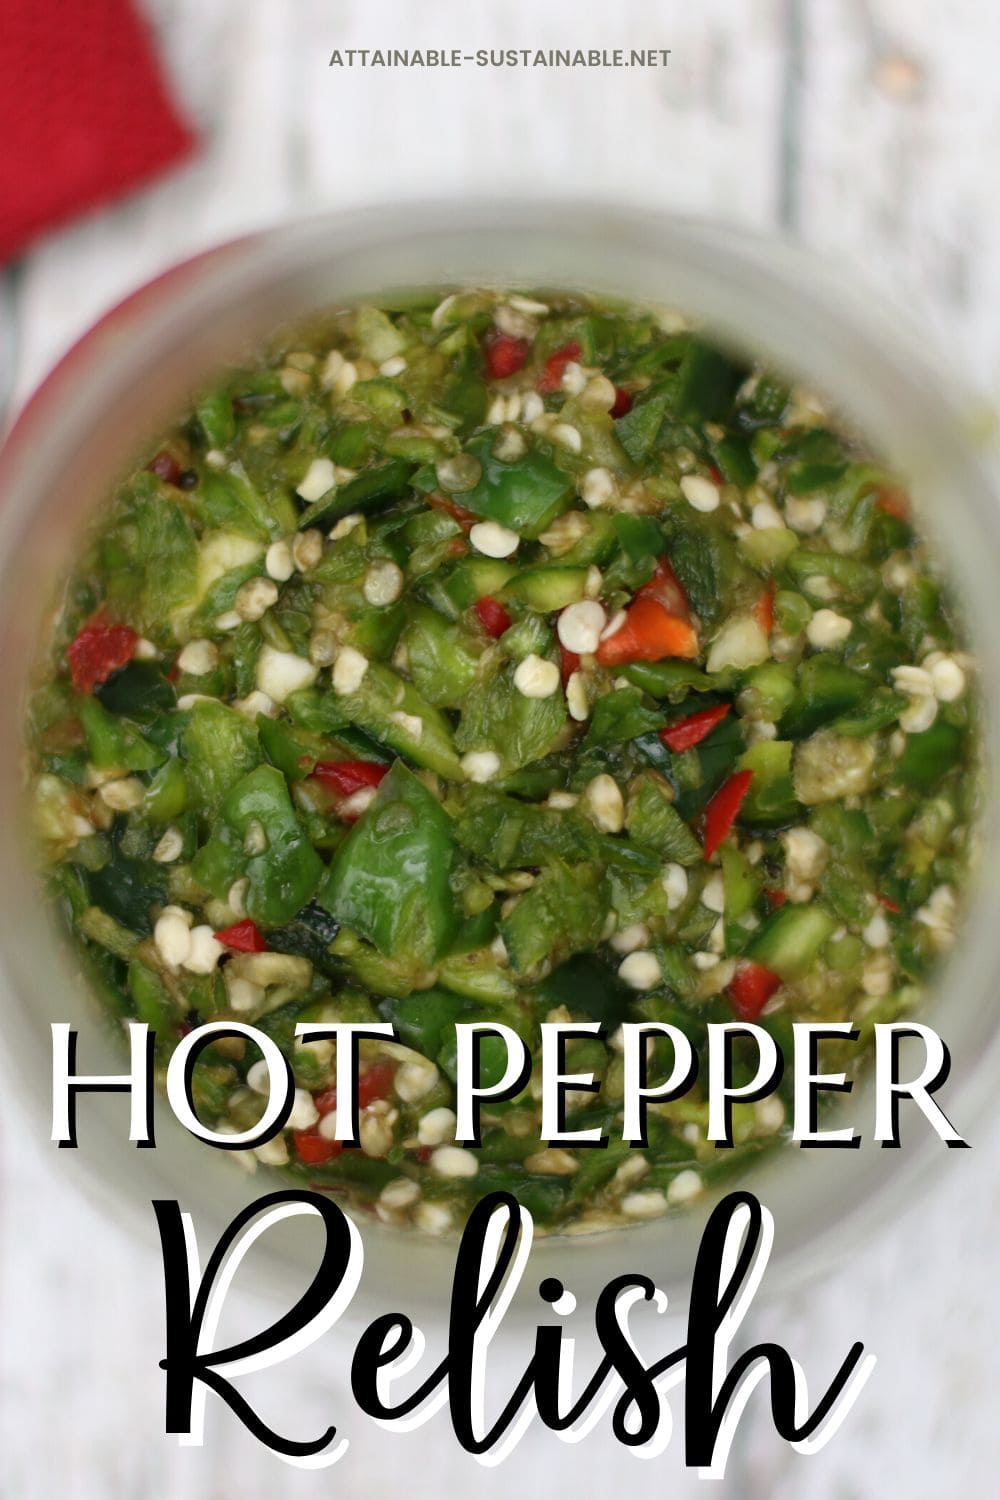
This hot pepper relish is the perfect way to preserve the spicy goodness of just about any kind of pepper — mild or fiery. This fermented pepper mash is full of flavor.
Got lots of peppers? Try these candied jalapeños, too!
New to fermenting foods? Be sure to read this compilation of frequently asked questions before you get started!
Hot Pepper Relish (aka Fermented Pepper Mash)
During the summer months, I typically have a lot of different chile pepper plants producing. If I need to add a bit of heat to a dish, I can just pop out to the garden and harvest a pepper or two.
But I still like to have access to that flavor in the off-season. That’s where this fermented pepper mash comes in! With just three ingredients, it’s easy to make and it keeps in the fridge for months.
Fermented food like this hot pepper mash recipe is rife with probiotics. These good bacteria have plenty of health benefits and can help support our immune system, control inflammation, and promote gut health and good digestion. Increasing the number of beneficial microbes in your body is as simple as including some delicious fermented foods in your diet.
The Handcrafted Pantry

Ready to DIY your pantry with more wholesome ingredients? Check out my ebook, The Handcrafted Pantry! Filled with delicious recipes for some of your favorite condiments, snacks, and toppings, it’s the guide you need to start skipping packaged products and embrace homemade.
Ingredients
Fresh peppers — The blend of chile peppers you opt to use in this recipe is totally up to you. If you like it fiery, don’t hesitate to use Carolina Reapers or cayenne peppers. For me, a blend of shishito peppers and jalapeños from the garden was plenty warm! If you want to cut the heat level further, you can add bell peppers or other milder peppers to the mix. Pick up fresh chili peppers from the local farmers market or grocery store.
5 Easy Steps to Transform Your Pantry!
Ready to switch from store bought to homemade? Let me help you make some changes! Grab my FREE five-part guide to getting started.
Garlic — Peel the cloves and remove the papery skins. If you’re using a food processor to chop the peppers, just throw the whole garlic cloves in with them.
Salt — Salt is key in fermentation. The added salt is critical in inhibiting the growth of unwelcome microbes, while giving salt-tolerant lactic acid bacteria (LAB) a chance to develop. A ferment that is loaded with LAB simply doesn’t allow for the intrusion of any unsavory microbes and will last for months.
Water — Use only non-chlorinated water in fermenting IF it’s necessary. Chlorine in the water can inhibit the growth of the good bacteria required for fermentation.
Preparing the Produce
The easiest way to do the chopping is with a food processor. Just wash the peppers, remove the stem end, and put the whole peppers in the bowl of the food processor. To protect your skin from the volatile oils, consider wearing protective gloves while you work with the peppers.
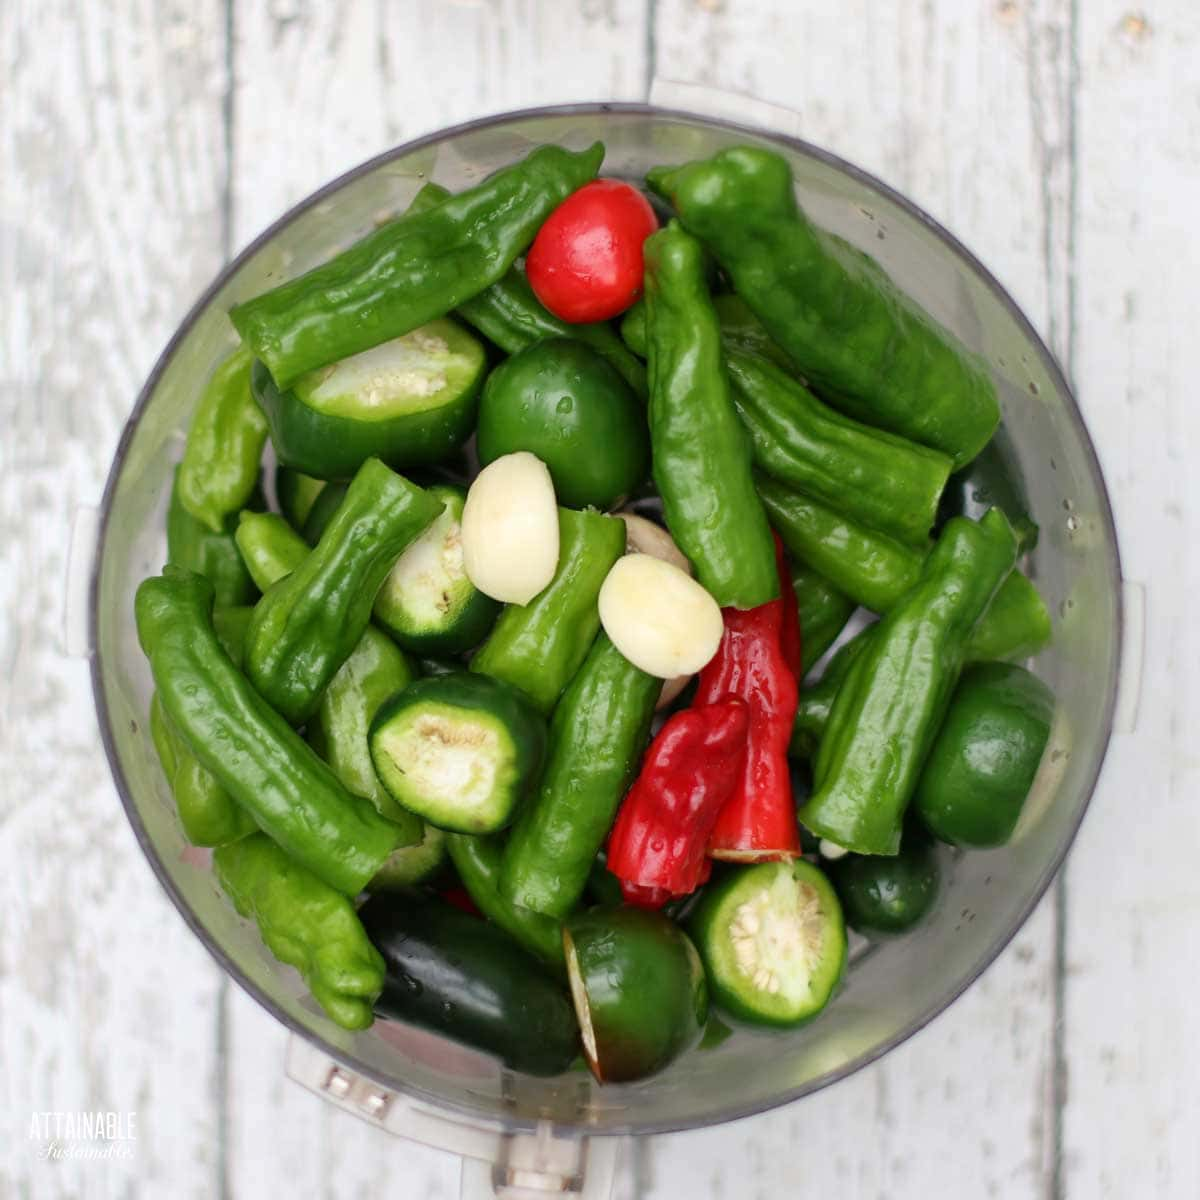
You can see that I’ve used a variety of hot peppers; pretty much whatever I had on the plants in the garden.
Add the garlic cloves, too. No sense fiddling around with crushing those. The food processor will do the work!
Using a pulsing method, chop peppers (and garlic) until they’re about a quarter of an inch across.
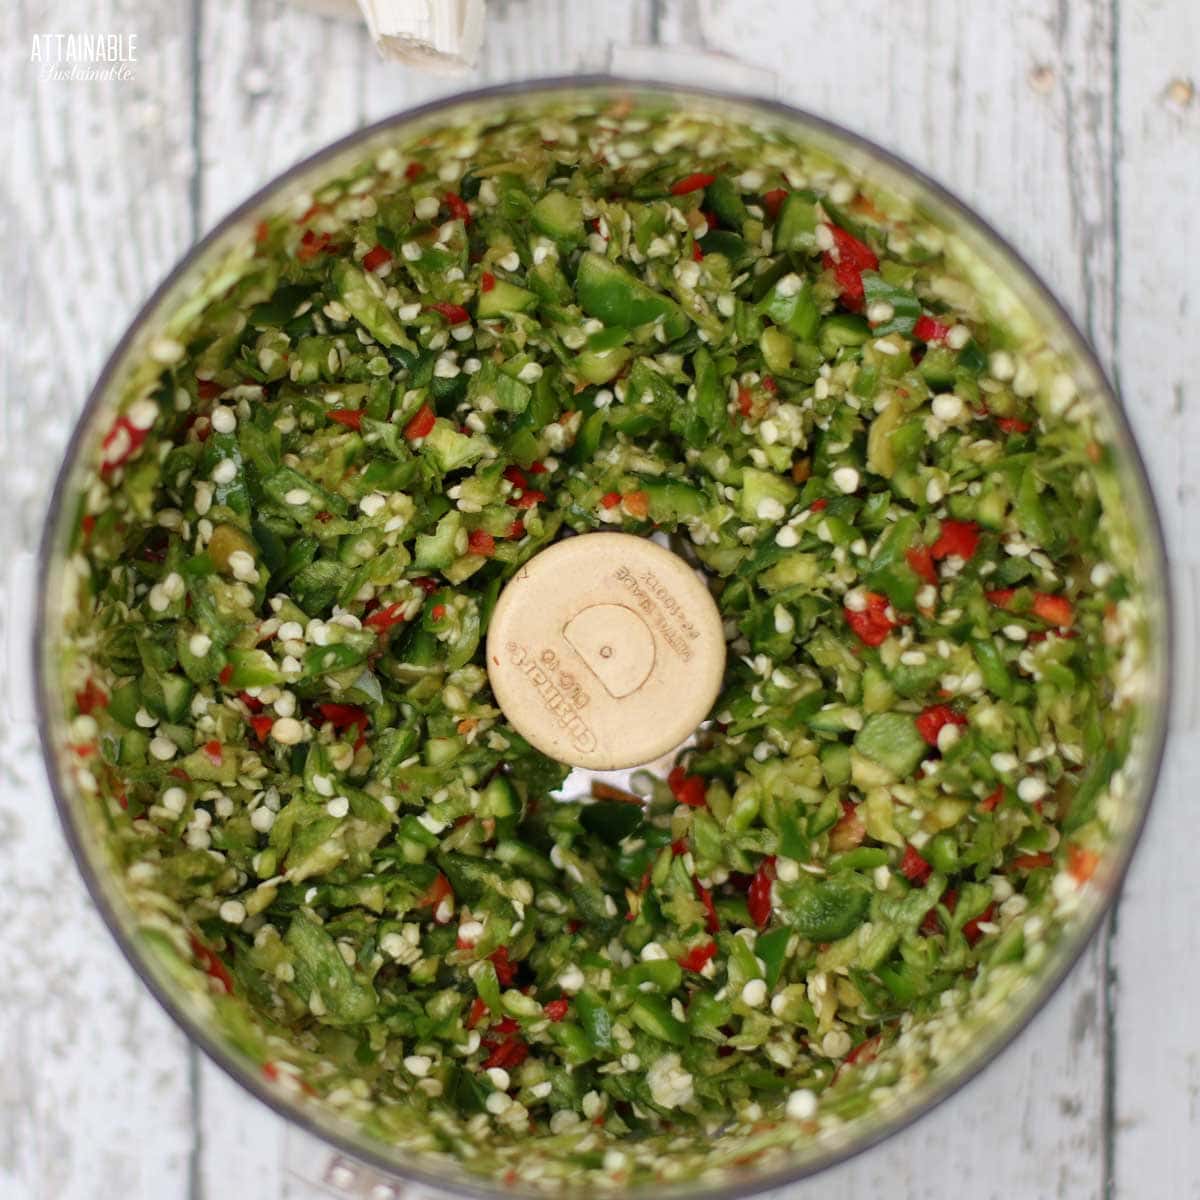
Chopping peppers for fermented pepper mash is easiest done in a food processor.
If you do not have a food processor, get out a knife and start chopping. Again, aim for a quarter-inch dice. Hand chopping means you’ll have more opportunity to burn yourself with the juice of the peppers, so use caution and avoid touching your face.
Choosing a Fermentation Vessel
Clay fermentation crocks are iconic, but you don’t need a special vessel like that to get started. You can simply use jars for this ferment; either a Mason jar or upcycled jar. Avoid using wire bail jars, as the metal latching function will rust when exposed to the salt required for fermenting. Be sure to allow 1-2” of headspace between the top of the food and the top of the jar.
Metal jar lids have a tendency to rust when exposed to the salt required for the fermentation process. You can prevent this by putting a piece of waxed paper over the jar opening before screwing on the lid. Jars with plastic lids are another option.
Transfer chopped vegetables to a quart-size jar — either a Mason jar or an upcycled jar — and add the salt. Screw the lid on and shake to combine.
Note that while some fermented foods — like these fermented radishes — require a salt brine or salt water, this recipe calls for tossing the hot chilis directly with the salt.
The Fermentation Process
The next step is setting the relish up to ferment. That means pressing the hot pepper mix tightly into the jar, so there are no air pockets. We use the end of a large dowel to pound the vegetables down into the jar. You could also use a wooden pounder made specially for this task.
Smash the peppers with repeated downstrokes. The peppers will begin to release their juices; be mindful of the possibility of splashing hot pepper juice into your eyes.
The volume of the peppers will be reduced to nearly half. Press the veggies down until they’re submerged in their own liquid.
Glass fermentation weights are a huge help in keeping the peppers submerged. Place a weight on top of the relish, holding it below the surface of the liquid. You’re trying to prevent any exposure to air. If there’s not enough liquid to keep the peppers completely submerged, add a bit of non-chlorinated water to the jar to cover them.
The fermentation process: filling the jar, pre-ferment, fermented pepper mash.
Set the jar on the counter at room temperature for several days, out of direct sunlight. If you’re using an airtight lid, be sure to loosen the lid daily to allow any built up pressure to release.
I’ve found that this isn’t a very active ferment. While sauerkraut will bubble like crazy and often overflow, this relish just quietly did its thing. It’s still a good idea to place it on a tray to collect any potential overflow.
After several days, check the odor and flavor of the hot pepper relish. It should be a bit tangy. If you don’t feel that it’s ready, let it sit on the counter for a couple more days. A longer fermentation process gives the lactobacillus bacteria more time to do its work, resulting in a tangier ferment.
Troubleshooting the Ferment
You might notice a milky white substance floating on the surface of your jar. This is kahm yeast. It’s a wild yeast and not harmful, but it can cause a bad odor if left to multiply.
Use a clean spoon to scrape off as much as possible. You may need to repeat this a couple of times. The fresh peppers under the brine won’t be impacted at all.
Storage
The hot pepper mash ferments as long as it’s left at room temperature, getting tangier and developing more healthy bacteria.
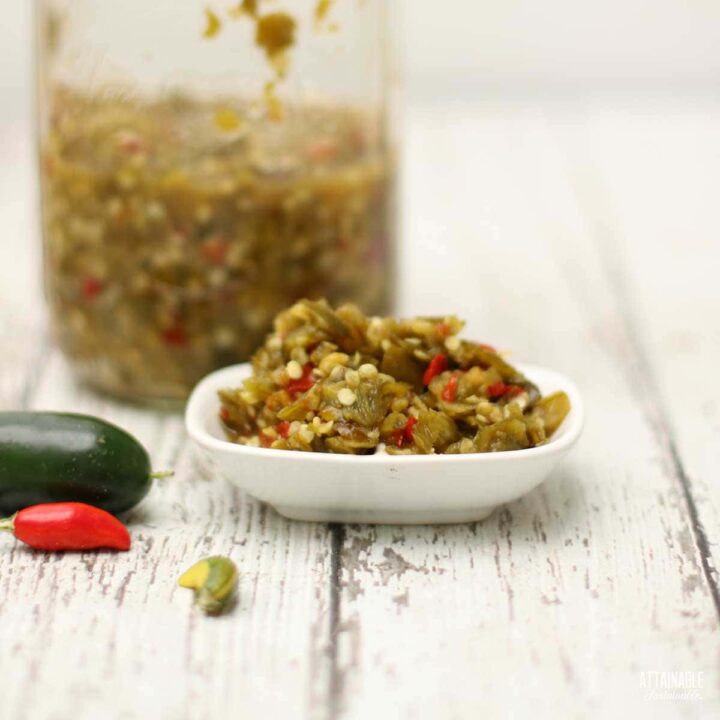
When it tastes “ready” to you, placing it in cold storage will drastically slow this process. Refrigerate the fermented hot pepper relish and it should last in the fridge for 6 months or more. You can also store the final product in a cool basement or root cellar, though it may not last quite as long
If you’d prefer a fermented hot sauce, you can make a hot pepper puree. Transfer the fermented peppers from the jar into a blender, reserving extra brine. Blend, then add more brine as needed to achieve the proper consistency. You can also blend it in a wide-mouth canning jar if you have an immersion blender. Taste and add salt or apple cider vinegar if you feel it needs some extra kick.
More Recipes for Fermentation:
If you loved this recipe (and the idea of adding more probiotics to your diet!) there’s so much more exploring to do!
These spicy fermented snap peas are a delicious addition to a salad, chop them in small bits and add to your deviled eggs, or serve them alongside a cold beer.
Try these fermented carrots with garam masala seasoning for something different.
Turn the heat up even more with this banana pepper hot sauce.
Try fermenting cauliflower to serve with your favorite sandwich.
★ Did you make this hot pepper relish? Don’t forget to give it a star rating below! ★
Fermented Hot Pepper Relish
Make up a batch of this easy fermented hot pepper relish so you'll always have your favorite spicy flavor on hand.
Ingredients
- 1 pound mixed hot peppers
- 2 cloves garlic
- 1-1/4 teaspoon salt
Instructions
- Wash and dry peppers. Remove stems
- Chop peppers and garlic into a quarter-inch dice by hand or use a food processor.
- Transfer chopped peppers to a quart sized jar.
- Add salt to jar. Place the lid on the jar and shake to combine.
- Use dowel or wooden pounder to smash peppers until softened and juicy.
- Press peppers down into the jar and use a weight to hold the mixture down. The liquid should rise above the solids so that they are completely submerged.
- Cover with a fermenting lid or a regular lid, screwed on loosely.
- Sit at room temperature for 4-5 days.
Notes
To protect your skin from the volatile oils, consider wearing protective gloves while you work with the peppers.
Use about 2 teaspoons of this hot pepper sauce to replace one hot pepper in recipes.
If there’s not enough liquid to keep the peppers completely submerged, add a bit of non-chlorinated water to the jar to cover them.
If you’d prefer a fermented hot sauce, you can make a hot pepper puree. Transfer the fermented peppers from the jar into a blender, reserving extra brine. Blend, then add more brine as needed to achieve the proper consistency. You can also blend it in a wide-mouth canning jar if you have an immersion blender. Taste and add salt or apple cider vinegar if you feel it needs some extra kick.
Nutrition Information:
Yield: 96 Serving Size: 1Amount Per Serving: Calories: 2Total Fat: 0gSaturated Fat: 0gTrans Fat: 0gUnsaturated Fat: 0gCholesterol: 0mgSodium: 89mgCarbohydrates: 0gFiber: 0gSugar: 0gProtein: 0g


I am wondering what would happen if I also added some lime?
You could do that, I haven’t tried it but it sounds like a good addition. 🙂
So the acidity of the limes wouldn’t cause an issue with the fermentation? I’ve been considering making a fermented hot pepper relish if I can get my hands on some habaneros to add serious heat and was thinking a bit of lime would really add to it but I’m worried about the acidity messing it up.
It should be fine!
You can use lime zest to get the flavor with out the extra acidics
Also true, good thought. 🙂
This is a fabulous recipe. I used a ziplock bag filled with water to weigh down the relish.
I’m glad you love it 🙂
Hey Kris,
I used all fresno chiles, I am at day 4.5, and I cant wait to crack into this. I have tasted the liquid and it is very tasty. My question is should I mix the liquid back into the pepper mash or keep them separate? Thanks!
Any liquid sitting on top of the peppers will help protect the peppers from the air (and thus mold).
Hi!
I am trying to replicate this recipe but also would love to ferment it. Would adding the ingredients to the fermented chiles once they are done affect the good microbes at all, do you think?
Thank you!
I’m unclear on the question — this is a recipe for fermenting the relish.
Can you suggest what to use as a weight to weigh the relish down below the liquid? One time I was making pickled hot peppers and used a clean rock to keep the peppers submerged. This wasn’t good.
A rock shouldn’t be a problem as long as it’s very, very clean. I use glass fermenting weights.