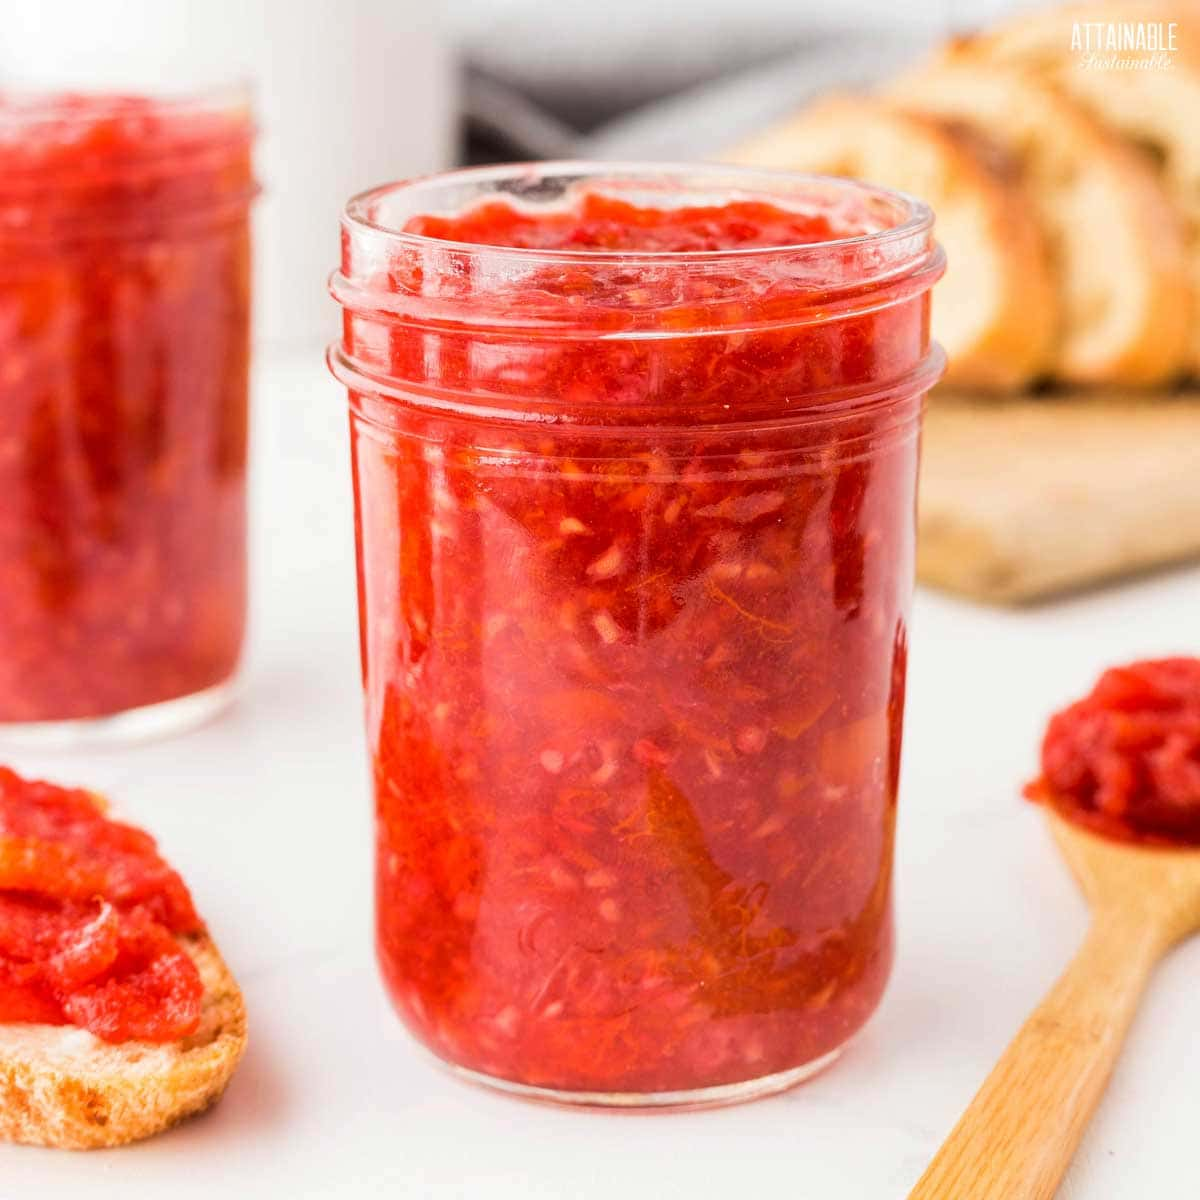
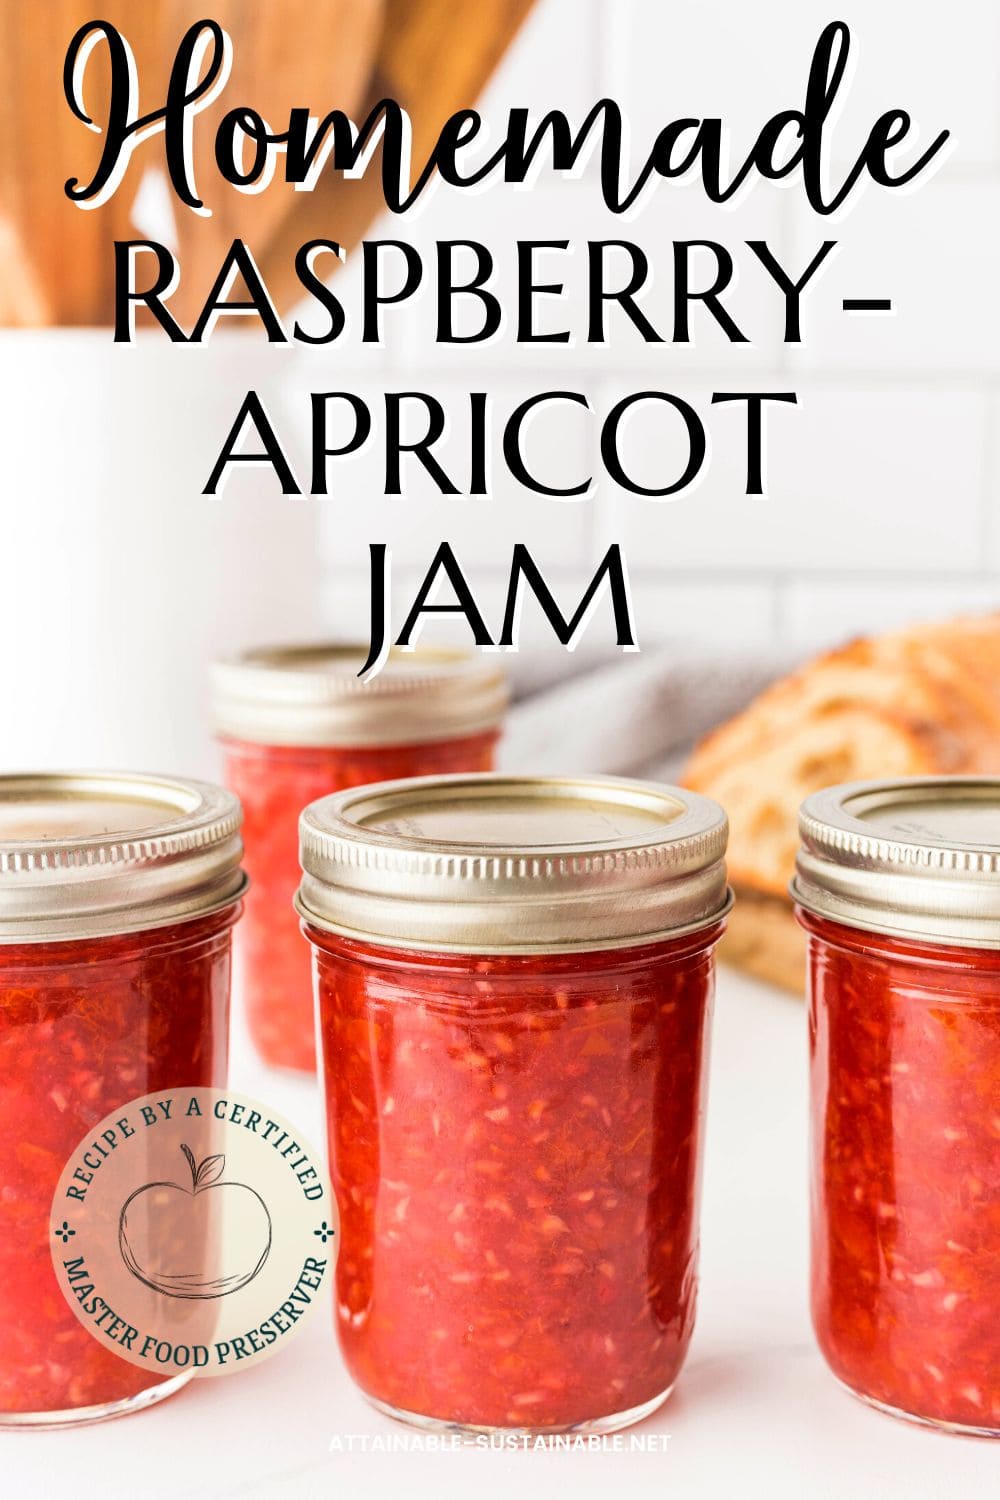
This old-fashioned homemade raspberry jam recipe features one of its summertime fruit friends, the sunny and delicious apricot. The pairing makes for a delicious fruit spread.
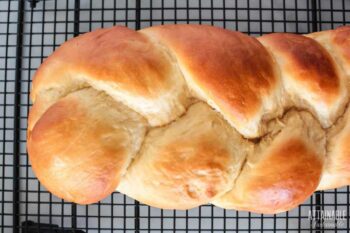
Spread some of this jam on a homemade slice of French bread for perfection!
The Handcrafted Pantry

Ready to DIY your pantry with more wholesome ingredients? Check out my ebook, The Handcrafted Pantry! Filled with delicious recipes for some of your favorite condiments, snacks, and toppings, it’s the guide you need to start skipping packaged products and embrace homemade.
There are a lot of things to love about summertime, but the availability of fresh fruit is a big one for many of us. Preserving those flavors for the pantry will make you so happy, especially mid-winter, when summertime is just a distant memory.
Homemade Raspberry Jam with Apricots
The flavors of raspberries and apricots go hand in hand to make a delicious fruit spread. There’s no need to over-sweeten them, though. Some pectin brands require a LOT of sugar in order for the jam to set. This recipe is made with much less sugar thanks to a low methoxyl pectin. You’ll feel better about enjoying this low sugar raspberry jam or serving it to your family, knowing that it’s lightly sweetened.
5 Easy Steps to Transform Your Pantry!
Ready to switch from store bought to homemade? Let me help you make some changes! Grab my FREE five-part guide to getting started.
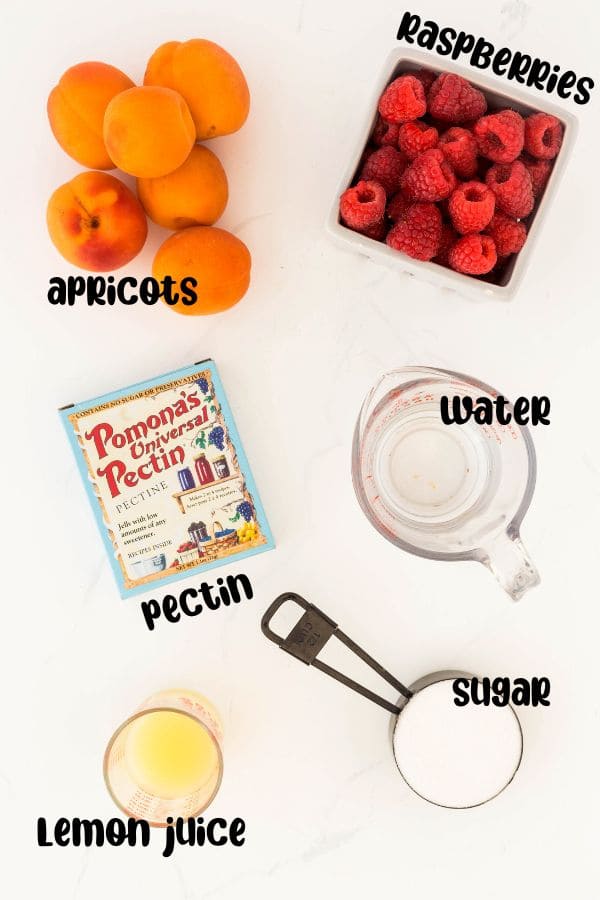
Ingredients
Raspberries — Fresh berries are ideal for this recipe, but frozen berries will do. Choose berries that are ripe but firm; avoid overripe fruit.
Apricots — The addition of apricots gives this raspberry jam a lovely sunny flavor. There’s no need to peel these delicious stone fruit. (If you prefer an all apricot fruit spread, try these apricot preserves.)
Sugar — Use your favorite brand of granulated cane sugar. I prefer organic.
Pectin – This recipe is made using Pomona’s Universal Pectin. This is the only pectin I use anymore as it allows me to use much less sweetener. The standard pectin brands use an obscene amount of sugar in my opinion, often requiring equal amounts of sugar and fruit! This product uses a low methoxyl method and calls for using two different ingredients, which are included in the box: pectin (the large packet) and calcium powder (the small packet). The dry pectin is mixed with the sweetener before being added to the fruit. The calcium water is added directly to the fruit.
Lemon juice: USDA preserving recipes all call for using bottled lemon juice. This assures that the acidity level in recipes is safe for canning.
Making Jam
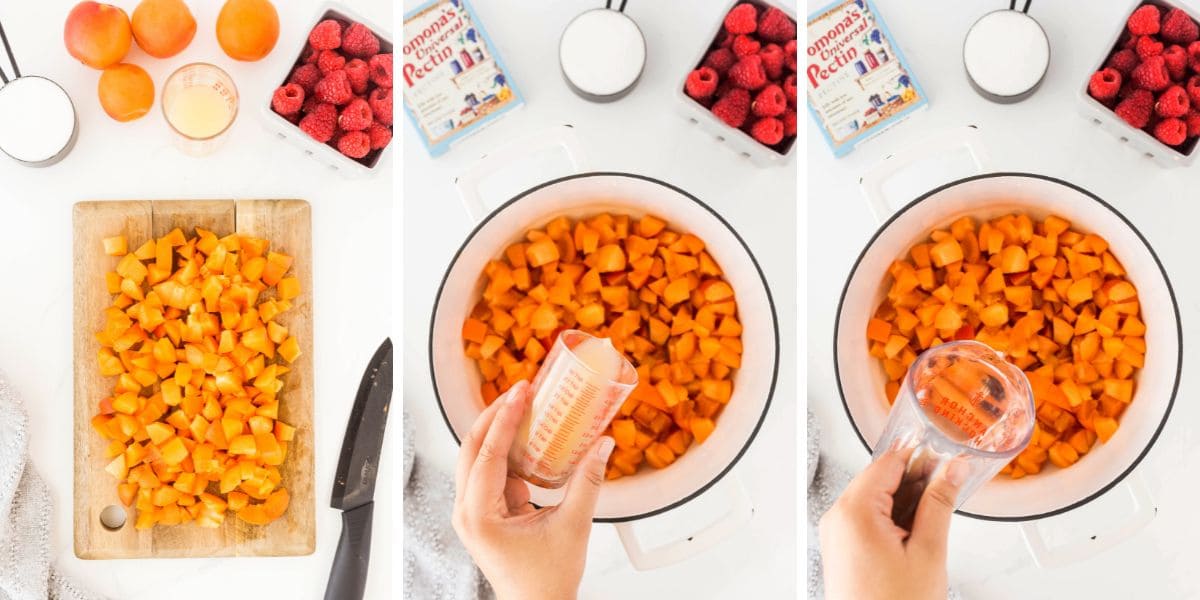
Wash and dry the apricots, then chop roughly. Combine the apricots, lemon juice, and water in a saucepan; cook until softened.
Meanwhile, mix the pectin with the sweetener, making sure it’s thoroughly combined.
Add the berries and calcium water to the cooking apricots, stirring frequently. Once fruit boils, add the sugar and stir for a minute or two to assure that the pectin is well distributed.
This recipe measured at a pH under 3.0, putting it well into the “safe” zone for water bath canning.
Canning Jam
You’ll need special canning jars, lids, and rings (read more about canning equipment here) to make this homemade raspberry jam shelf-stable, but the process isn’t difficult.
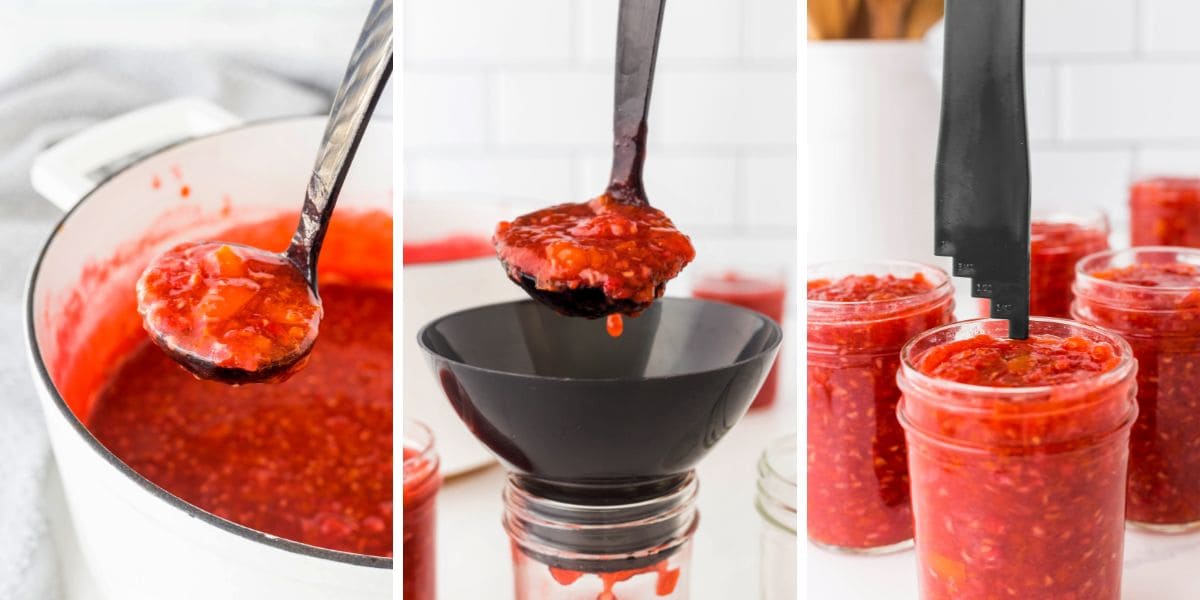
Fill the jars of raspberry apricot jam, leaving a quarter inch headspace. Place the lids on and process them in a boiling water bath. What this means is you’ll put the filled and sealed jars of jam into boiling water and heat them for ten minutes. This assures that the jars will seal well.
Remove the jars to a towel-covered countertop and allow to cool fully. As they cool, you’ll hear the little “tink” sound of the jars sealing. Store any unsealed jars in the fridge and use those first. (This is unusual, but it does happen once in awhile.)
Remove the ring from each sealed jar, rinse to remove any jam residue, and store (without the ring) at room temperature in the pantry.
Here’s a more detailed look at canning jam and jelly.
Raspberry Freezer Jam
Here’s good news if you’re not ready to delve into home canning. This recipe works well as a raspberry freezer jam recipe. To make it, simply process the jam as instructed. Transfer to containers being sure to leave enough headspace for safe freezing.
You can use upcycled glass jars for freezer jam; no need to use canning jars. Or you can use other freezer containers, as you like.
Put the containers of jam in the freezer; use them up within six months or so.
🍅 Safety First!
Canning is an excellent way to preserve food for the pantry, but there are some important safety considerations to keep in mind. The recipes on this site have been made following safe canning procedures by a certified Master Food Preserver.
- Know the difference between water bath canning and pressure canning. Low acid items must be pressure canned for safety.
- Altering ingredients may change the recipe’s pH, posing a safety issue. I highly recommend investing in pH paper to test your products for acidity level when canning. Note: For safe water bath canning, the Hawaii Master Food Preservers suggest a pH of 4.2 or lower in the tropics. In other regions, the recommended pH is 4.6 or lower.
- Use the proper jars and lids. Never reuse lids, with the exception of the Tattler or Harvest Right hard plastic lids that are intended for such a purpose.
- For more on canning equipment, please go here.
- Want to learn more? The National Center for Home Food Preservation is the go-to resource for safe canning information.
Using this Homemade Jam
This jam is delicious on toast, of course. But it’s also a great way to add fruity flavor to homemade vanilla yogurt. Spoon it over ice cream, top a cheesecake, or use it in jam thumbprint cookies.
★ Did you make this homemade raspberry jam recipe? Don’t forget to give it a star rating below! ★
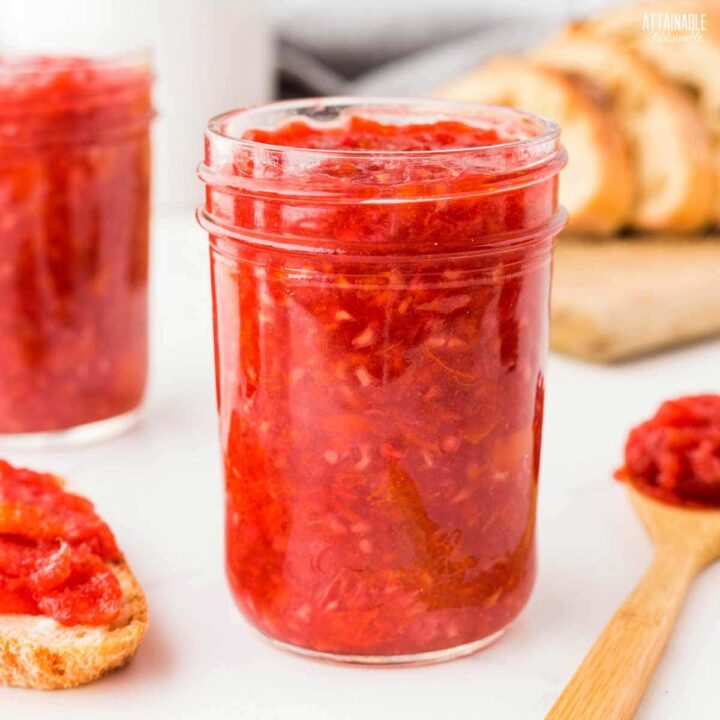
Raspberry Jam with Apricots
This homemade raspberry jam has a lower sugar content than some recipes. The addition of fresh apricots gives the finished product a fresh, sunny flavor.
Ingredients
- 4 cups fresh apricots (about 1.5 pounds)
- ¼ cup lemon juice (bottled)
- ½ cup water
- 4 cups fresh raspberries (about 1.5 pounds)
- 4 teaspoons calcium water (from Pomona's Universal Pectin box)
- 1 cup sugar
- 3 teaspoons pectin (from Pomona's Universal Pectin box)
Instructions
Prepare for Canning
- Prepare the calcium water: Combine ½ teaspoon calcium powder (from the small packet in the box of Pomona’s pectin) with ½ cup water in a small jar. Screw on a lit and shake until well-combined. You'll have more than you need for this recipe. Store the excess in the refrigerator for use in making additional jam or jelly recipes.
- Wash the jars you'll use, making sure each is clean and free of nicks in the rim, which could impede sealing.
- Wash the lids and rings in hot soapy water. (If you're using non-Ball brand lids, prepare as suggested by manufacturer.)
- Place empty jars in a canning pot or large stock pot with enough water to cover by an inch or two, cover pot, and set on high heat. It can take awhile for the water to heat, so get it started before you begin making the recipe.
Prepare the Jam
- Wash and roughly chop apricots. Combine chopped apricots, lemon juice, and water in a large saucepan and stir to combine.
- Bring to a simmer over medium heat, stirring occasionally. Reduce heat to low and cover. Simmer for about 10 minutes or until the apricots are softened.
- Meanwhile, thoroughly combine sugar with the pectin.
- Add raspberries and prepared calcium water to the apricots and return the mixture to a low boil over medium heat. Mash fruit to desired texture.
- When fruit boils, slowly add the pectin and sugar mixture, stirring thoroughly for a minute or two to dissolve pectin. When the jam returns to a boil, remove it from heat and fill each jar with jam,
leaving a ¼” headspace. - Wipe jar rims to remove any residue that may have spilled. A clean rim is essential to a good seal.
- Set jar lids in place. Screw bands on finger tight.
Process the jars
- Use a jar lifter to gently submerge jars into hot water in the canning pot. Water should cover the top of the jars by two inches. The water will cool somewhat in reaction to the addition of the jars. Return the water to a simmer and then set the timer.
- Process quarter or half-pint jars for 10 minutes; add one minute to the boiling time for every 1,000 foot above sea level.
- Remove jars from water using the jar lifter and transfer to a solid, towel-covered surface. Allow to cool for 12-24 hours.
- Check seals. Lids should be solid and pulled down tight. (if they flex and pop, the jar didn’t seal; put unsealed jars in the refrigerator and use those first).
- Remove rings and wash outsides of jars. Label and store in a cool, dry place. Refrigerate after opening.
Notes
This recipe is made using Pomona’s Universal Pectin. This is the only pectin I use anymore as it allows me to use much less sweetener. The standard pectin brands use an obscene amount of sugar in my opinion, often requiring equal amounts of sugar and fruit! This product uses a low methoxyl method and calls for using two different ingredients, which are included in the box: pectin (the large packet) and calcium powder (the small packet).
Use a potato masher for a coarse jam or an immersion blender to process the jam to a smoother consistency.
If you prefer to use honey, substitute 1/2 cup of honey for the sugar called for in the recipe.
Made as directed, this recipe tests at a pH of 3.0 making it safe for water bath canning.
Boiling lids or heating above 180°F as once recommended can damage the sealing compound.
SOURCE: Adapted from Pomona's Universal Pectin.
Nutrition Information:
Yield: 80 Serving Size: 1 gramsAmount Per Serving: Calories: 10Total Fat: 1gSaturated Fat: 1gUnsaturated Fat: 0gSodium: 1mgCarbohydrates: 3gFiber: 1gSugar: 2gProtein: 1g
