
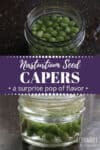
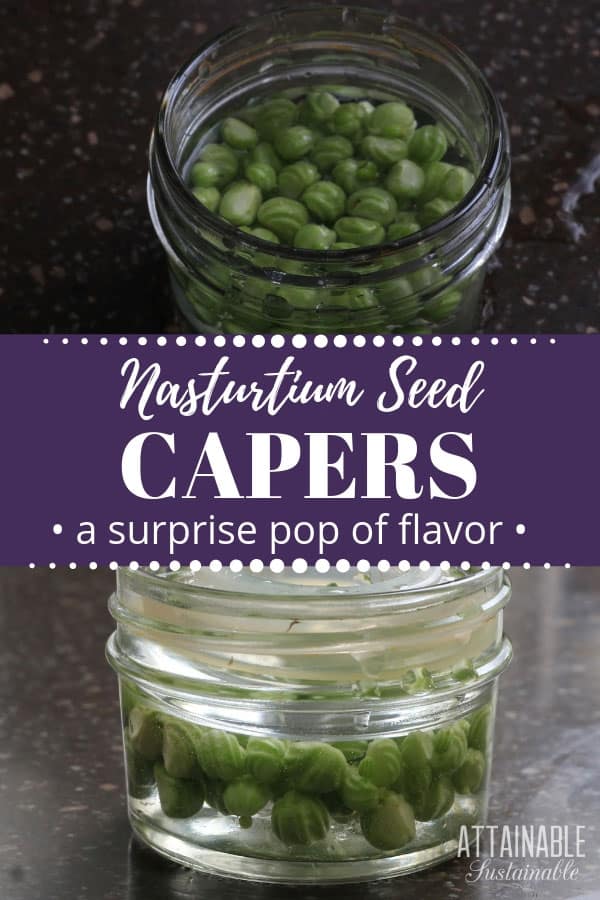
Pickled nasturtium capers are a bit unusual, but they offer a nice little pop of flavor. These lactofermented seeds have been called “poor man’s capers” but whatever you call them, they can be a good substitute for capers.
This post was originally published in June 2015; it has been updated.

Capers are the little dark green orbs often served with lox. They’re a nice little pop of flavor when stirred into salad dressings or sprinkled on pasta.
Before they become the food we call capers, they were a flower bud on a plant called Finders Rose or the Caper Bush. (Creative, no?) Those little blossoms are harvested before they open and turned into a tasty little condiment.
Caper berries are delicious, too, but much less common than capers. They’re about the size of a gherkin pickle and great added to cheese boards.
These shrubs grow in zones 9-11. For most of us in the USA, growing them to make our own capers is sheer folly.
5 Easy Steps to Transform Your Pantry!
Ready to switch from store bought to homemade? Let me help you make some changes! Grab my FREE five-part guide to getting started.
Making Nasturtium Capers
When I heard about the possibility of making my own “pickled capers” from—of all things—nasturtium seeds, you know I had to try it. Nasturtium seeds are plentiful since I grow nasturtiums in my garden, and hey, free food!
The Handcrafted Pantry

Ready to DIY your pantry with more wholesome ingredients? Check out my ebook, The Handcrafted Pantry! Filled with delicious recipes for some of your favorite condiments, snacks, and toppings, it’s the guide you need to start skipping packaged products and embrace homemade.
Now, if you don’t know this about nasturtium seeds, they have a very strong peppery flavor. That, combined with the vinegar I used in my first attempt, made for a super potent end product that nobody would eat. But I’m not one to easily give up.
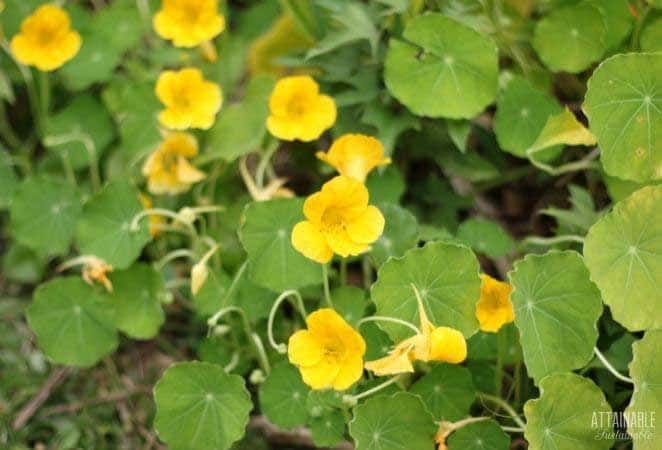
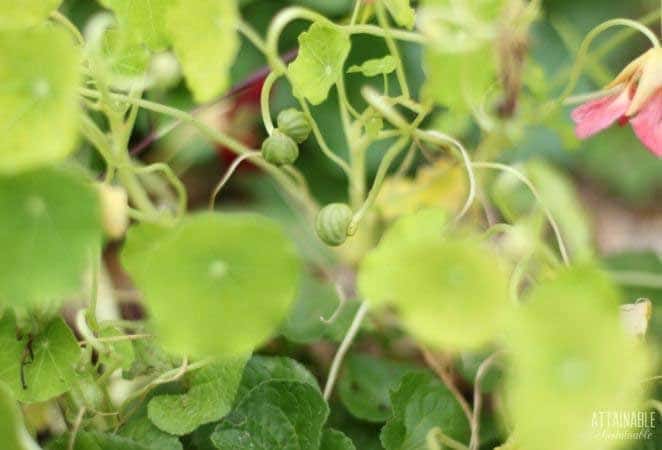
With the nasturtiums in full bloom and plenty of seed pods available, I started thinking about the idea of making these substitute capers again.
How could I utilize these without the overpowering flavor I decided to try lacto-fermentation. No vinegar required. And you know what? It worked!
The resulting “capers” have a nice, subtle flavor.
Fermenting the nasturtium seeds seems to reduce some of the bite of the seed pods and over the course of a week, the brine develops its own vinegar-like flavor without screaming, “Oh my goodness that’s a lot of vinegar!” like my last attempt.
You can nibble them out of hand or use them as a substitute for capers in recipes that call for them.
Be sure to harvest some leaves to make these stuffed nasturtium leaves, too!
Making Them
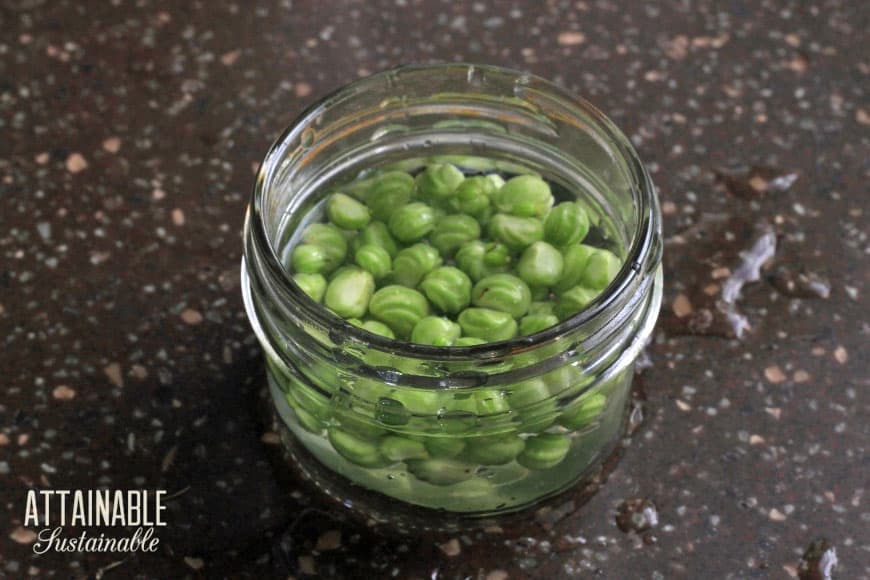
The first step is harvesting seeds. Choose plants that you’re certain haven’t been sprayed with poisons. And be sure not to harvest all the seeds. This will assure that the plants reseed.
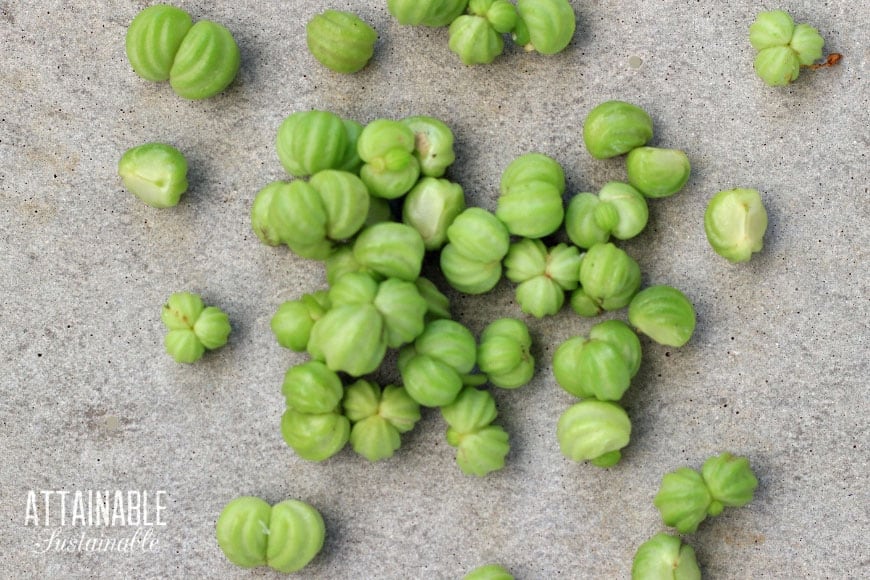
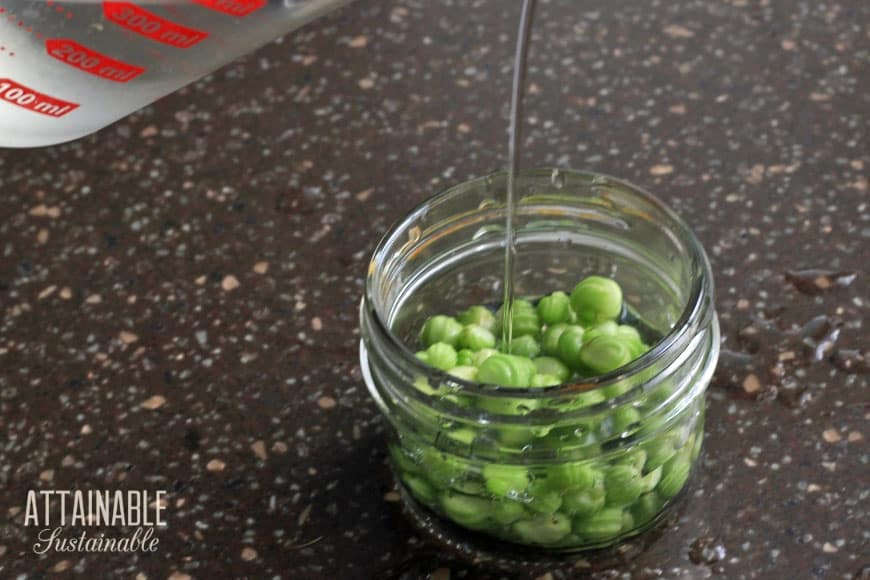
Clean the seeds and break them up. (They often come in twos or threes.) Put them in a jar and pour a salt brine over the seeds.
While most ferments only require one round of fermentation, I found that a second ferment was necessary for these.
After several days, they begin to emit a sulfuric odor. Simply drain the brine, cover with fresh brine, and allow them to ferment for several more days.
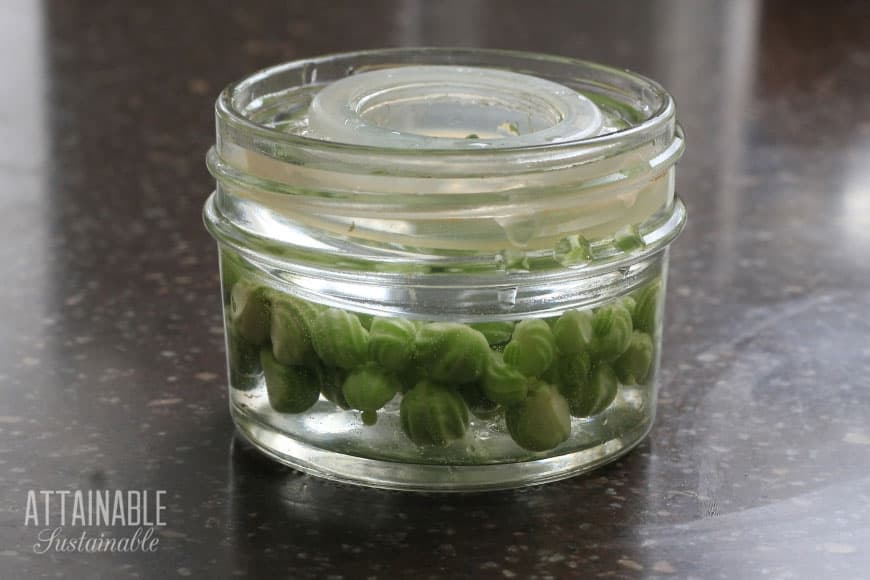
It’s important to make sure that the seeds are completely submerged in the brine. If you don’t have glass weights, get creative. I used a lid from a glass spice jar that fit perfectly inside the jar.
Related: Lacto-Fermented Radish and Turnip Roots
★ Did you make these substitute capers? Don’t forget to give it a star rating below!

Poor Man's Pickled Capers
Pickled nasturtium seeds are a bit unusual, but they offer a nice little pop of flavor and are a good substitute for capers.
Ingredients
- 1/2 cup freshly harvested young green nasturtium seed pods
- 1 cup distilled water
- 2 teaspoons sea salt
Instructions
- Wash nasturtium seeds thoroughly, remove any remaining stems, and break the seed pods apart. Place seeds in a wide mouth quarter-pint jar.
- Dissolve salt in water to make brine; pour brine over nasturtium seeds to cover. Refrigerate remaining brine. Place a glass weight on top of seeds to prevent floating and to keep seeds submerged.

- Use the Fermentools airlock system---it fits right onto any wide mouth jar---to prevent accidental overflows and to keep out the fruit flies. (I'm loving how easy fermenting is with this system!) After about three days, open the jar and you will likely smell a bit of a sulphur odor.
- Drain seeds, cover with reserved brine, and put the airlock back in place. Allow to sit at room temperature for another three days or so, then give them the old taste test.
Notes
While most ferments only require a single round of fermentation, I found that a second ferment was necessary for these. After several days, they begin to emit a sulfuric odor. Simply drain the brine, cover with fresh brine, and allow them to ferment for several more days.
Water: Municipal tap water contains chlorine, which can inhibit fermentation. Use spring or distilled water instead.
Salt: Salt with iodine or anti-caking agents can inhibit fermentation.
No nasturtiums handy? Check out this recipe for dandelion capers.
Nutrition Information:
Yield: 6 Serving Size: 1 tablespoonAmount Per Serving: Calories: 2Total Fat: 0gSaturated Fat: 0gTrans Fat: 0gUnsaturated Fat: 0gCholesterol: 0mgSodium: 2mgCarbohydrates: 0gFiber: 0gSugar: 0gProtein: 0g
One tablespoon of capers contains 2 calories; there is no readily available information on calorie count for nasturtium seeds.


Thankyou. Great clever idea. I have them growing so will try it. Once again thankyou.
You’re welcome 🙂
I was wondering if these could be added to a fermented veggie mix? If only a few were added, would you still have to do a second ferment?
Thanks
I’m not sure since I haven’t made them this way, I’d say try it and keep your eye on it and check the smell. Another option would be to ferment them separately and then combine them when done.
Thank you so much for the information on the second ferment! I was worried about the sulpher smell! Now I’ll do a second brine and look forward to the final result.
Is there a way to do this without the “Fermentools airlock system?”
Yes. Just use a regular lid, but be sure to “burp” it every day by opening and closing the lid.
Kris – on step number 4, after draining, do you return the glass weight again before the ferment tool/lid? Much thanks –
Yes. The key with fermentation is keeping the produce UNDER the brine.
Hi Kris,
Could you explain the multiple ferments. Why did you do that?
(I thought about doing this this year, but will probably wait till next summer when they’re back in full flower.)
Thanks, Elise
They have a strong sulfuric odor to them after the first ferment, which is mellowed out after a second ferment.
You can dechlorinate your tap water very easily. The first way is to boil it, but that costs resources. The way I like to do it, every morning, is to filter my water then let it sit for 24 hours. The chlorine just evaporates, which is great for my tap water but sucks in my swimming pool. Se la vie. OH….I have 1 gallon apple juice containers that I use for 2nd fermentation of ciders and wine; when they are not in use, I just fill them with the filtered water so that I have a back up of dechlorinated water for canning, fermenting or just for extra drinking water.
Good idea!