
The germination of garden seeds requires a specific temperature range for the initial sprouting to happen. If your house is too cool, starting seeds inside can be difficult if not a complete bust. That’s where Instant Pot seed germination comes in.
Read about how and why to soak garden seeds here.
Seeds that require high temperatures for germination — that first burst of life — can be challenging to get started until temperatures rise. That’s why many gardeners, especially those in Northern climates where the growing season is short, rely on starting vegetable seeds indoors.
This tactic allows gardeners to get a jump on the season. But even indoor temperatures aren’t often enough; some seeds require temperatures that are considerably higher than most people keep their homes.
Even in my warm climate, I use heat mats to start some seeds. But not everyone wants to invest in heating pads that are only used for a few weeks each year.
If you have an Instant Pot it could be the garden hack you need!
Grow Some Greens!
Ready to grow fresh greens, no matter WHERE you live? Sign up for my
FREE quick-start guide and start growing some of your own food!
I took it upon myself to try this seed germination method and — surprise! — it works!
I’m not suggesting that you head out to buy an Instant Pot for germinating seeds. But if you have one, it’s a good way to make use of it instead of forking out for heated seed mats.
 The 5-Gallon Garden
New to gardening? Limited on space? The 5-Gallon Garden gives you the skills you need to grow food in the space you have. Get started with your garden today!

Instant Pot Seed Germination
The first thing to know is that you’ll use the low yogurt setting for this project. This setting will vary between models, but the gentle heat — usually around 91ºF — used for making yogurt is a good replacement for traditional seed starting mats.
Check your Instant Pot owner’s manual for more information. If you’re not sure what temperature your model reaches on the yogurt setting, you’ll need a small thermometer to check the temperature inside before adding seeds to the pot.
With this method, you will NOT use the Instant Pot lid. Instead, set a regular pot lid in place to help retain heat. Aim to maintain a temperature between 75-90 degrees F. If the inside of the pot gets much warmer than that, cock the lid off to the side to allow a little of the heat to escape. You can also just cover the pot with a kitchen towel; the seeds will still benefit from the heat emanating from below.
Germinating Seeds
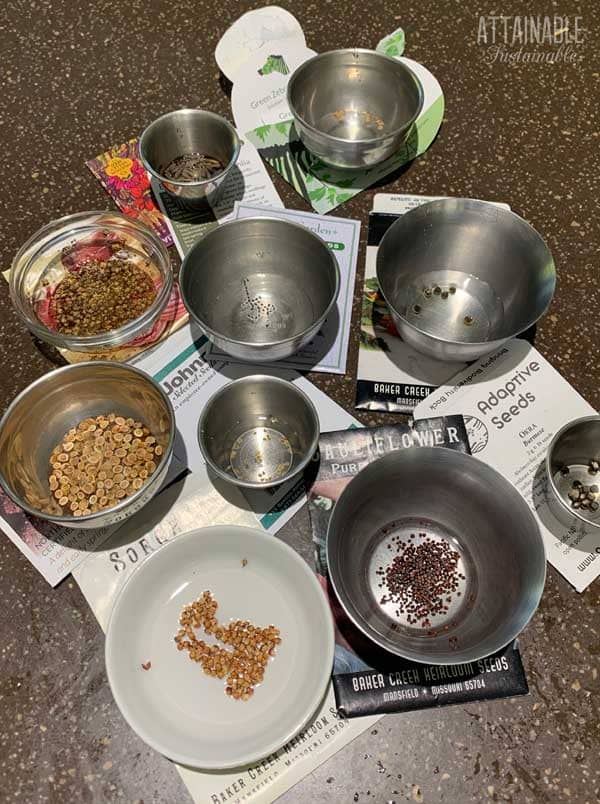
Because I like to avoid unnecessary waste, the first year I tried this, I opted to use squares of t-shirt fabric to wrap the seeds in. I also used small jars, rather than plastic baggies as suggested elsewhere. The drawback to this method is that you need to unroll the fabric daily to check on progress. It works, but that’s one extra step.
After experimenting more, I recommend using small upcycled jars or portion cups.
Start by soaking the seeds in water for an hour or two to help them rehydrate a bit. Read more about soaking seeds here.
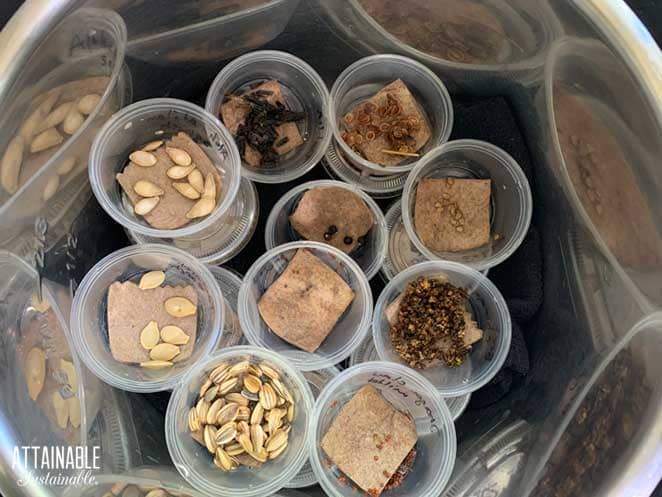
Once soaked, transferred the seeds to the plastic cup with a square of moistened felt and use a Sharpie marker to write on each individual cup.
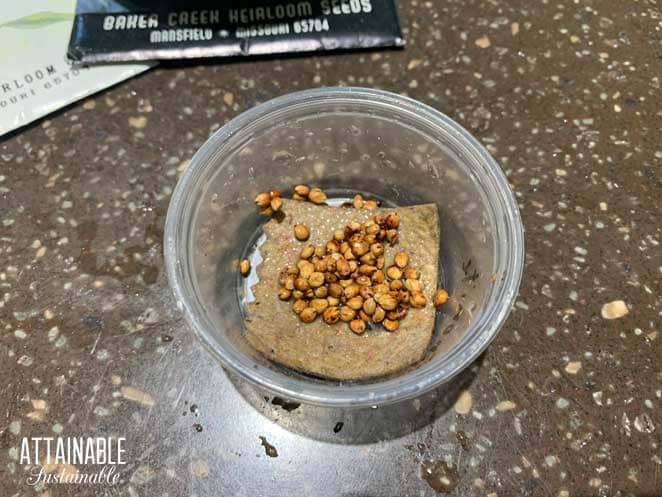
I placed a square of felt in the bottom of each to retain moisture and sprinkled lightly soaked seeds into the cup. I tried them with lids on and lids off; the ones with lids didn’t dry out as quickly. The lids allowed me to stack layers of seed cups in the Instant Pot, too, so I could germinate many at once.
Be mindful of mildew, though — cutting a thin pie-shaped wedge from the lid can be the best of both worlds, helping to retain moisture and allowing for airflow.
The first seeds to send out that primary root — called a radicle — were the Aloha Atitlan squash and the Dragonclaw millet. They sprouted overnight!
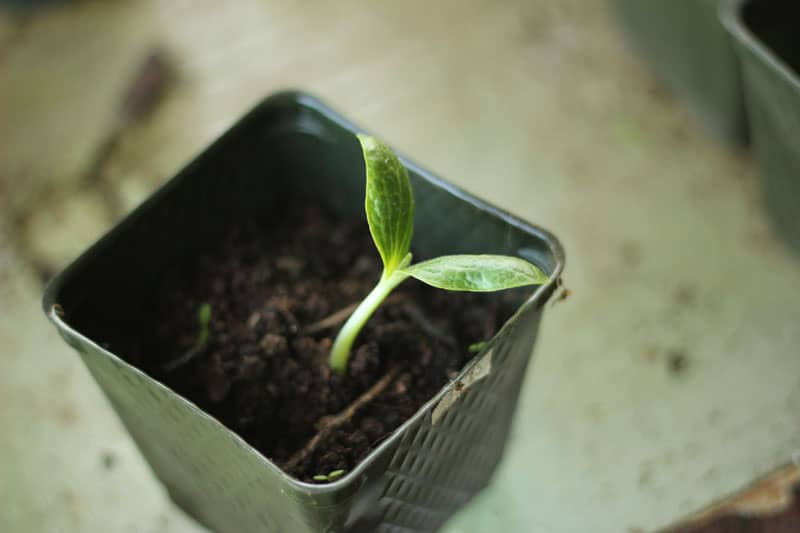
Check your seeds daily and when one set of seeds shows the first signs of the early sprouts, carefully transfer individual seeds to a starter pot. You can read more about planting seeds here.

Tiny white rootlets emerging from Dragonclaw millet seeds.
Seeds that Germinate Better in Higher Temps
The Instant Pot creates a little greenhouse for the seeds to thrive in while they’re sending out that first little rootlet.
Unless it’s really cold at your place, cool temperature seeds like greens and peas and brassicas won’t necessarily need a boost.
Other seeds, though, will germinate more easily with a bit of extra warmth.
Try using this method for crops like:
- Squash
- Tomatoes [more on growing tomatoes here]
- Peppers [more on growing peppers here]
- Swiss Chard [more on growing Swiss chard here]
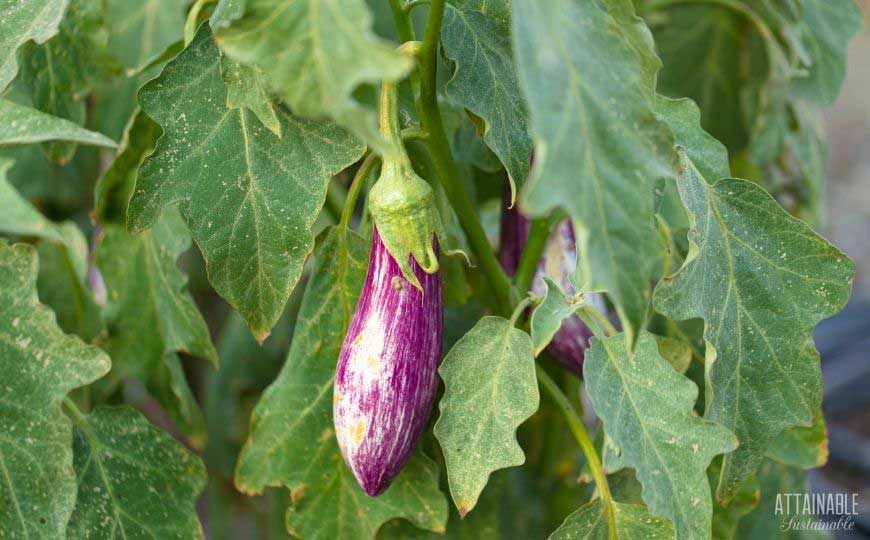
- Eggplant [more on growing eggplant here]
- Okra [more on growing okra here]

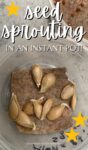
Instant Pot Seed Germination - A Seed Starting Shortcut!
Some seeds just prefer a little more warmth than others to germinate well. Here's how to use an Instant Pot to achieve germination.
Materials
- Garden seeds
Tools
- Instant Pot
- Jars or upcycled portion cups
- Small thermometer
Instructions
Prepare the seeds:
- Start by soaking seeds in water for 1-2 hours to help rehydrate them.
- Place a rack or folded thick kitchen towel in the bottom of the Instant Pot reservoir to keep the seeds from sitting directly on the heat source. Pour about an inch of water into the reservoir.
- Cut small squares of felt or absorbent fabric to fit into the cups or jars. Soak fabric with water.
- Transfer soaked seeds to the cups and close with lid.
Instant Pot Seed Germination:
- Choose the low yogurt setting on the Instant Pot.
- Cover the Instant Pot reservoir with a lid -- not the sealing Instant Pot lid -- to help hold in the heat.
- Once fully warm, check the internal temperature. If it's higher than 91 degrees, adjust the lid to allow some heat to escape. You can also try covering the seeds with a kitchen towel.
- Once the temperature is right, set jars or portion cups with seeds onto the rack or towel.
- Choose an extended length of time for the yogurt setting to run. (Eight to 99 hours, depending on the model.) It can take 2-5 days for many seeds to sprout. Restart the timing as necessary to keep the Instant Pot warm.
- Check the jars by unrolling the fabric or peeking into the portion cups daily.
- When you see the seeds beginning to send out rootlets, carefully transfer them to seedling pots and water. You should see a seedling emerge from the soil in a few days.
- As seeds sprout that first rootlet, transfer them to individual seed starter pots or directly into the ground.
Notes
Check your Instant Pot owner's manual for more information. If you're not sure what temperature your model reaches on the yogurt setting, it would be a good idea to place a small thermometer inside before adding seeds to the pot.
With this method, you will NOT use the Instant Pot lid. Instead, set a regular pot lid in place to help retain heat. If you're concerned about the temperature getting too high, you could also leave the lid off entirely. The seeds will still benefit from the heat emanating from below.
Originally published April 2021; this post has been updated.


My mind immediately started to wonder if you could speed-grow alfalfa or mung bean sprouts for eating. Has anyone attempted this?
Same thought! I’m certainly going to try! Right now I have green lentils, so they will be my experiment sprouts.
Is there supposed to be condensation in the upcycled plastic container? I made a hole in it but there seems like lots of condensation.
If there’s too much moisture, remove the lids.
Do you have to keep them under grow lights after they are planted in the starter pots?
Either that or in a very bright window.
Interesting! In your opinion could I use rockwool cubes to keep the seeds moist? Thanks!!
I haven’t tried that, but I think it’s worth a try if that’s what you have available. Let us know how it works! 🙂
I’m wondering if one could use a dehydrator on its lowest setting to put the containers with moistened seeds inside. I don’t own an instant pot. I do have a slow cooker. Would that work?
I have heard of using a slow cooker, and you could definitely look into the dehydrator. It’s an interesting idea, you just want to keep the temperature in the right range, make sure it gets light and doesn’t dry out. Good luck!
A dehydrator dries things out. I don’t think that’s going to work. Most have built-in fans. I think you’re going to be disappointed. They do make seed heating mats to sprout seeds.
I’ve shared this with all my instant pot/gardening friends. We’re all going to try it. Thank you!
That’s great! Happy gardening 🙂
The directions forgot to include that the yogurt setting nerds to be the LOW yogurt setting. That one runs at 86°F. Regular yogurt runs at 115°F which will cook your seeds. You can also skip the towel and our pan on the bottom if you have a trivet or rack to keep your seeds out of the inch of water in the bottom. Using the trivet you can put your seeds in wet paper towel inside sandwich bags. This method is only for heat loving seeds like peppers and okra. Do not use it for your cold lovers like brassicas.
Thanks for this. I edited to make it more clear.
Thank you what other seeds would be good to put in there
For higher temps: okra, eggplant, swiss chard, tomatoes, squash, and peppers work great!