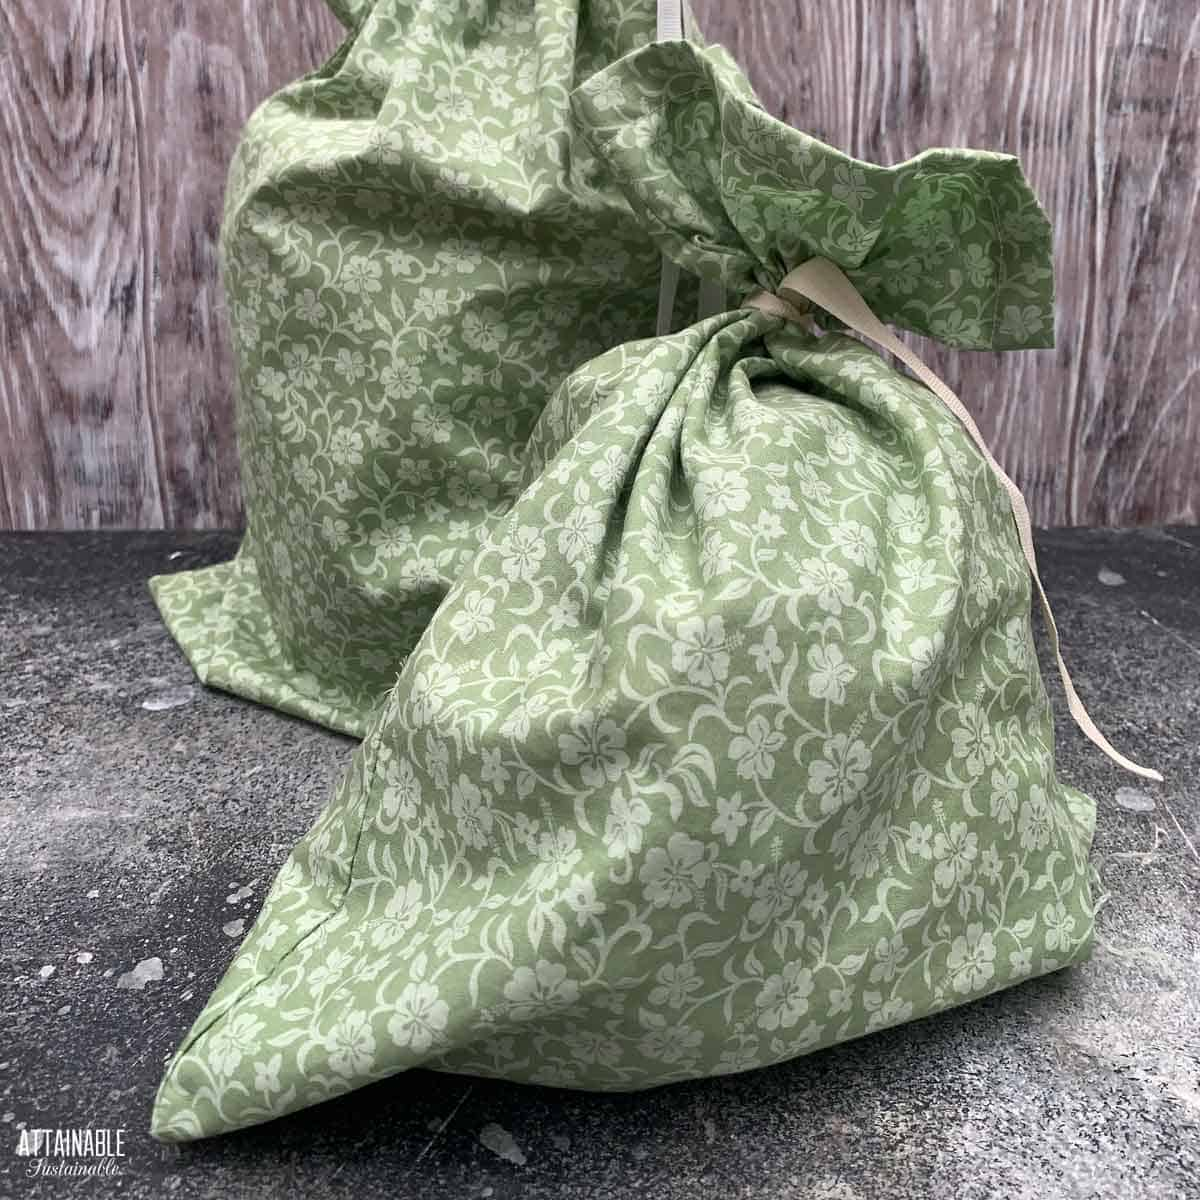
DIY Drawstring Bags
Use this easy bag tutorial with a lightweight fabric to purchase produce or choose a festive fabric for Christmas gift bags - tie on a gift tag and it's ready for giving.
Print
Pin
Yield: 1 bag
Equipment
- Sewing machine
- iron
Ingredients
- Fabric
- Thread
- Ribbon or cording
Instructions
Making the bags
- Start by cutting two pieces of fabric the desired size of your bag, plus about an inch for a seam allowance.Fabric
- With wrong sides facing, sew a straight stitch along three edges using a 1/8″ seam allowance.Thread
- Turn inside out and press seams. Now use a 3/8″ seam allowance to again sew all three sides. This seam -- called a French seam -- is essentially securing the loose ends inside of the seam.
- Turn your bag inside out and hem the top edge by folding the fabric over twice (about a half-inch each time) and then sewing around the edge.
- Turn the bag right side out. The bag is complete and can be tied with a ribbon or cording as a closure.Ribbon or cording
Adding a drawstring
- Use small, sharp scissors to carefully snip a 1/4″ cut in the outside of the top casing. (See image in post.) Do this twice, on opposite sides of the bag. (It’ll be easier if you avoid making your snips near the seams.) Make sure you don’t accidentally cut through both layers.
- Cut two lengths of cording or ribbon twice as long as the width of the bag plus six inches. Pin a safety pin to one end of the cord and use it to pull the cord into one opening, all the way through the top hem, and out the same hole.
- Tie the ends together. Now do the same thing with the hole in the opposite side of the bag.
- When you pull both cords simultaneously, the top of the bag stays closed without the use of a twist tie.
Notes
- Instead of cutting two separate pieces of fabric, you can fold the fabric and cut one piece. For a 12" x 12" bag, for instance, you'd cut a single piece 12" x 24" and fold it in half, using the folded edge as the bottom or one side of the bag.
- Choose a lightweight fabric for making produce bags or a sturdier cotton for gift bags.
Did you make this recipe?Mention @attainablesustainable or tag #attainablesustainable!