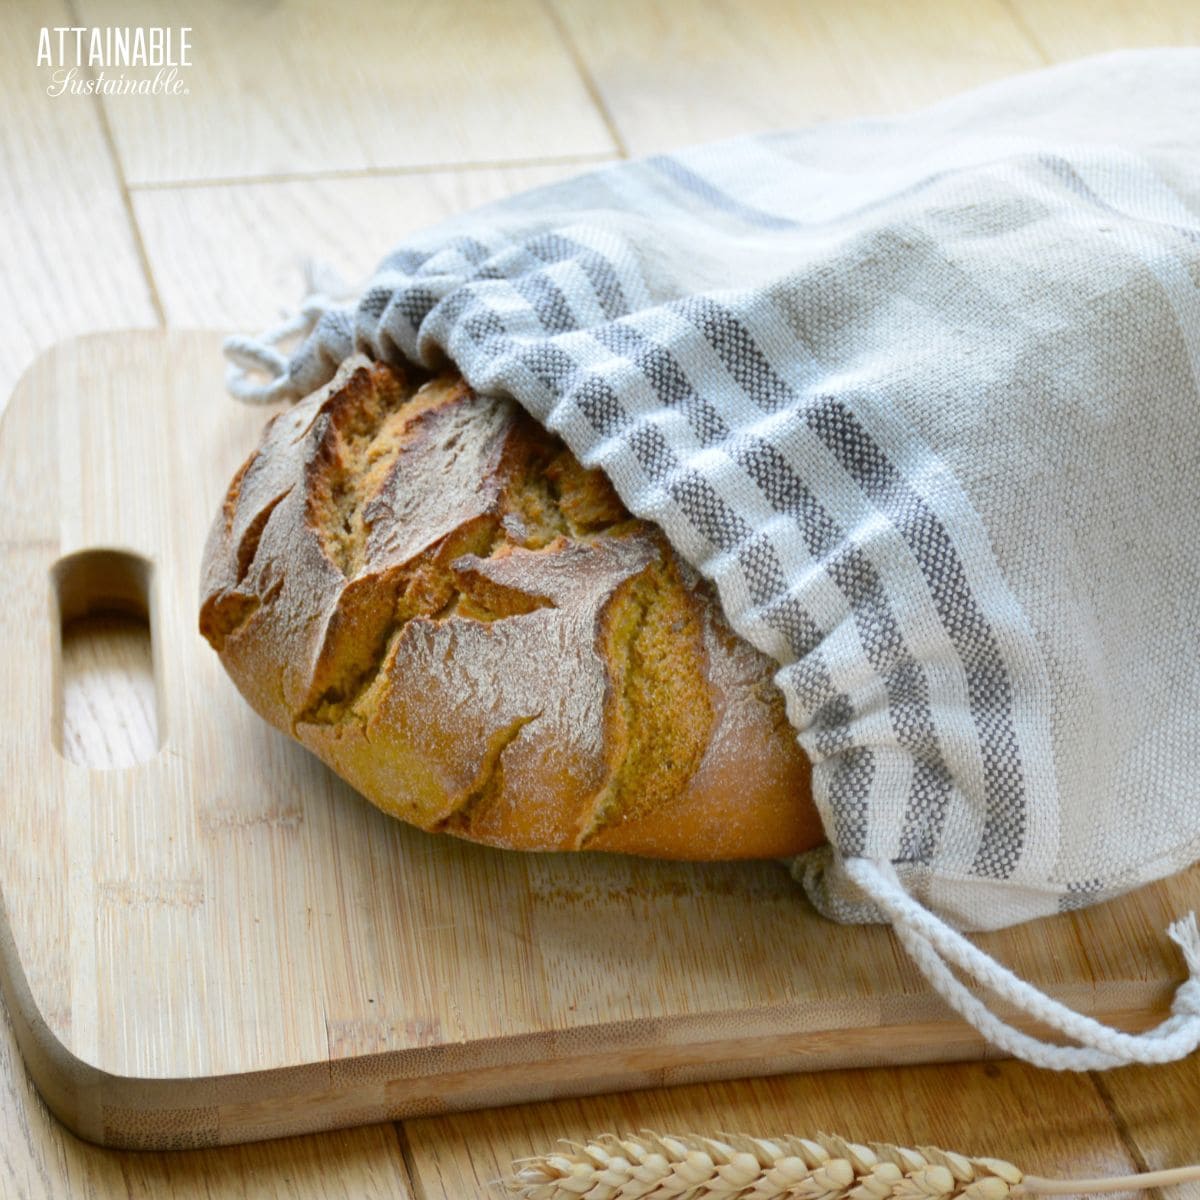
DIY Linen Bread Bags
These easy DIY linen bread bags are an easy beginning sewing project that can help keep bread fresh longer. They're great for giving loaves of bread as gifts, too.
Print
Pin
Yield: 1 bag
Equipment
- Sewing machine with straight stitch
- Scissors or a way to cut the thread
Ingredients
- Thread to match your napkin fabric
- Upcycled 100% linen dinner napkin — square with a plain edge. Choose a heavier linen fabric over a fine linen fabric. I used a 22″ x 22″ napkin.
- 27″ length of ½” ribbon, braided seine twine, heavy jute string, or fancy kumihimo braid
Instructions
- Wash and iron the dinner napkin before you begin. This cleans and preshrinks the fabric and makes it easier to work with.
- Decide which is the right side of your napkin. With some woven designs like double damask it may be hard to determine which side is the right side. Check which way the hem is folded. That may give you a hint.
- With the wrong side of the napkin facing you, fold over the top edge of the napkin toward you, three-quarters of an inch. Pin in place and press. Stitch close to the edge of the napkin, away from the fold, to make a ¾” casing for the string. Leave the ends open.
- Fold the napkin, right sides together, with the stitched casing at the top. Pin the bottom edge and the open side edge together. Begin at the bottom corner, at the fold line. Stitch along the bottom edge allowing ¼ inch seam. Turn the work and continue stitching up the open side, stopping just before the casing.
- Open the napkin-bag right side out and steam press the seams. Trim any loose threads. Use a pin to pull out the corner edge to make crisp corners. Press the corners of the linen bread bag.
- Topstitch on the right side, ¼” from the finished edge. Begin on the folded edge, just after the casing. Top stitch around the bag, across the bottom and on the stitched side, stopping just before the casing starts. Leave the casing free of stitching.
- Cut a ribbon or thick piece of seine twine, or a fancy braid, 27″ long. Using a large safety pin, pull the twine, braid, or ribbon through the casing at the top of the linen bag. Stop before you’ve pulled it all the way out. You’ll have two ends with the middle part inside the casing. Take the two ends of the twine and tie them together with an overhand knot. Viola! Your bread bag is complete.
Notes
- This is a quick tutorial, but you can exercise your creativity on the finished bread bag with embroidery, stenciling, or fabric paint. Avoid beading. Beads can make the linen more difficult to iron.
Did you make this recipe?Mention @attainablesustainable or tag #attainablesustainable!