Growing Fodder
While we think of whole grains as food, they are really seeds formed by a plant to regenerate itself. Untreated whole grains need nothing more than a little moisture to try to do what they're meant to do. By giving grains the conditions necessary to sprout, they'll do what comes naturally with very little effort on your part.* This post layout has been updated, and the original star ratings lost. This project had 4.6 stars prior to the update! *
Print
Pin
Yield: 1 varies
Equipment
- Drill with a one-eighth-inch bit
Ingredients
- Shallow trays -- you can use baking trays, an assortment of recycled containers, or a unit like mine
- Shelving or a rack on which to place the trays
- Bulk whole grain - barley, wheat, or oats work well
- Bucket
- Water
Instructions
- Soak grain in a bucket of water overnight. Cover the grains by about two inches of water. How much grain to soak depends on the size of your trays and how many you’re filling. Aim for a half-inch depth for each tray. The grains have a tendency to mold if they're deeper than that.
- Drain grains and transfer to trays. Spread evenly.
- Water each tray morning and night. If your region is really dry and the sprouting grains dry out quickly, you might need to water them during the day or experiment with using lids on the trays to help prevent evaporation.
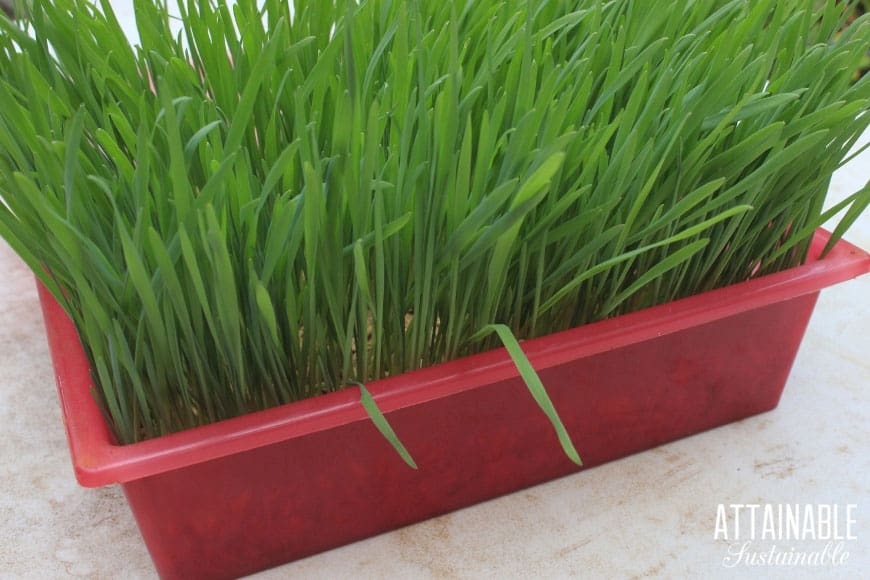
- You’ll see roots within the first couple of days, followed by greens. The sprouted grains are edible at any point, but it usually takes a week or so to have a nice solid block of fodder that you can lift out of each drawer.
Notes
Making the fodder system:
- Drill several drainage holes in the bottom each tray. Test to make sure water drains sufficiently. A bit of residual water is okay, but if it's really puddling, add a few more holes.
- My fodder system is set up outside near the chicken run, making it easy to access and maintain. If you have hot summers, a shady spot is a good idea. Sprouting grains into fodder during winter weather will require an indoor space where it's a bit warmer, but supplemental lighting is really not necessary.
Did you make this recipe?Mention @attainablesustainable or tag #attainablesustainable!