Step-by-step guide to pressure canning
This guide walks you through the basics of safe pressure canning, no matter what recipe you choose to make.
Print
Pin
Yield: 7 quart jars
Equipment
- Pressure canner
- Canning jars, lids, and rings
- Jar lifter
Ingredients
- Ingredients for making the recipe of choice
Instructions
- Take the time to read the manufacturer’s guidelines before beginning. There will be some variations between manufacturers so you need to understand your particular model.
Preparing the product
- Wash and rinse jars and rings in hot water. Inspect each jar for chips on the rim, which can impair sealing. Set jars upside down on a clean towel or keep warm in the oven.
- Follow manufacturer’s instructions for preparing lids. If instructions are not available, heat a pot of water to 180ºF and drop flat lids into the hot water; remove from heat. Do not let the water get hotter than this, as this can damage the sealing compound.
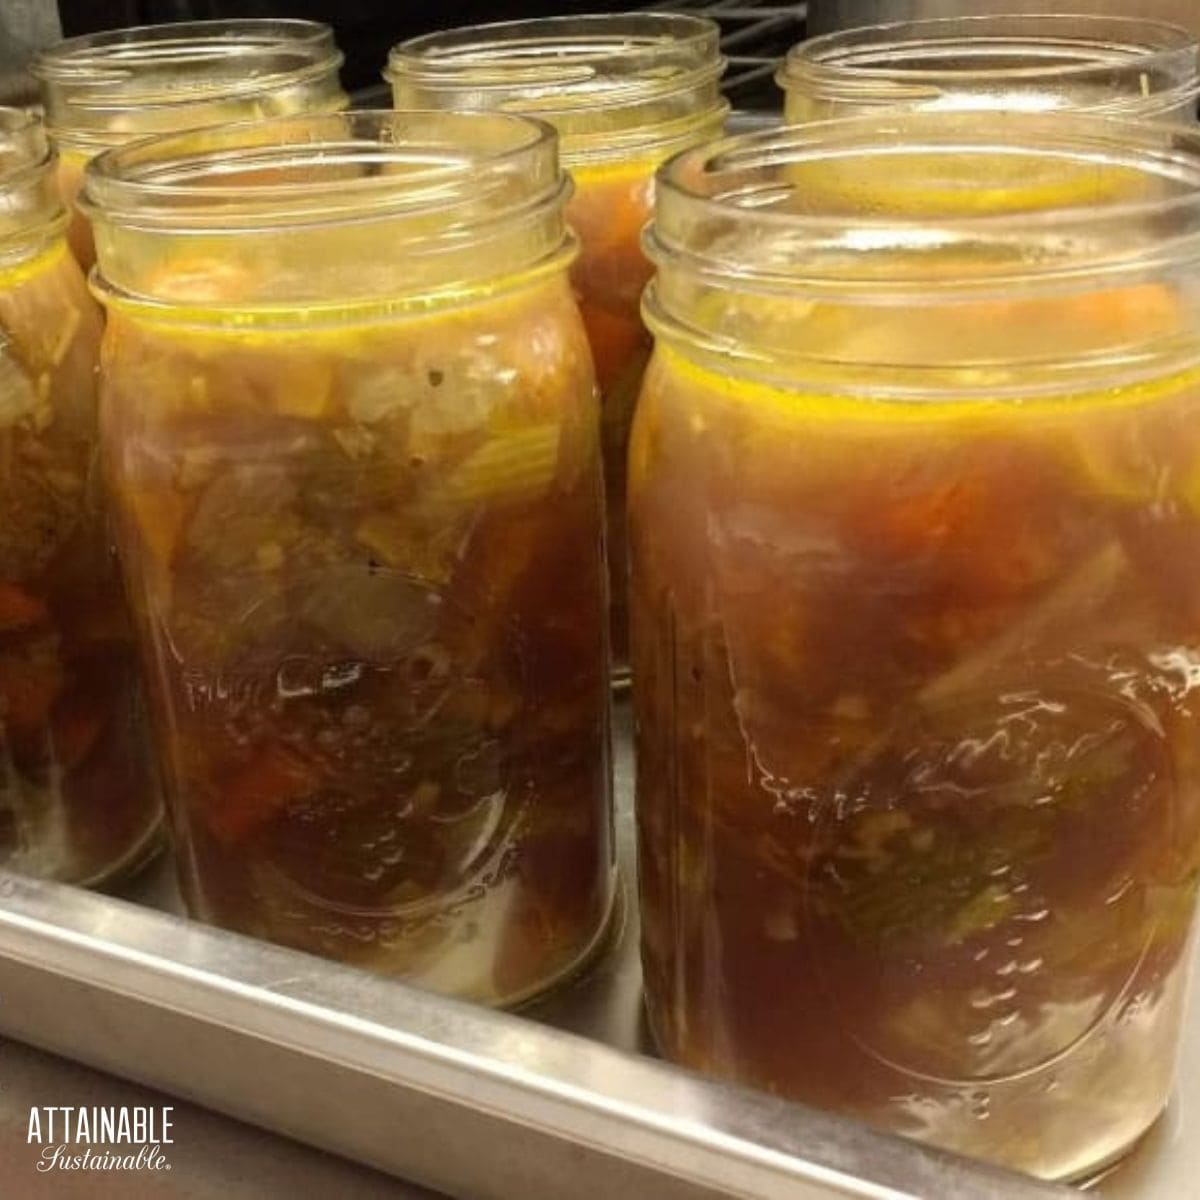
- Pack the food according to the recipe. With pressure canning a one-inch headspace is pretty standard.
- Slip a plastic knife or tool between the jar and the contents of the jar to displace any bubbles. As bubbles are dispersed, the level of liquid may drop; add more to maintain the appropriate headspace.
- Wipe the rims and threads of the filled jars with a damp cloth to remove residue that may impair sealing.
- Set a flat lid on the jar and screw on a ring. Tighten the band firmly, but not so that it’s forced on.
Processing jars in a pressure canner
- Set the rack on the bottom of the pressure canner and add 2”-3” of water. Begin warming over medium heat with the lid off.
- Use canning tongs to set filled jars into the canner. You may stack the jars. Set a second rack on top of the first layer and add more jars, begin sure to stagger their location. Avoid overcrowding the jars.
- Following manufacturer’s instructions, lock the lid in place securely.
- If you’re using an All American canner (as I do) remember to add a thin layer of olive oil to the beveled edge of the rim where the cover touches. You can also (optionally) add some to the threads of each wing nut to keep them lubricated and easy to turn.
- Turn heat to high. Do not leave the pressure canner unattended while it’s heating or during the entire cooking process.
- Allow steam to escape from the vent for ten minutes. Air trapped inside the canner can lower the internal temperature of the canner and cause under processing.
- Set weight on the vent or close the petcock. (This will depend on your model.)
- For dial gauge canners: When the dial reaches the desired pressure, adjust the heat to hold it at that pressure. Begin timing (according to recipe) when the correct pressure is reached.
- For weighted gauge canners: Watch for the weight to begin jiggling or rocking when 10-15 pounds of pressure is achieved. Adjust the heat so that the gauge continues a slow and steady rocking motion. Begin timing when the correct pressure is reached.
SEE CHART BELOW FOR ADJUSTING PROCESSING TIME FOR ALTITUDE
- Maintain steady pressure. This is critical. If the pressure drops below the recommended level, begin timing all over again. To avoid having to restart the timing, do not leave the area where you’re processing and check the pressure often.
- Once processing time is complete, turn off the heat. Don’t move the canner unless you absolutely must, as in the case of cooking over a coal or wood heated stove.
- Allow the pressure in the canner to drop to zero. Do not try to hurry the process. Once the gauge reaches zero, wait an additional 5 minutes.
- Lean the weight gently or slightly open the petcock. If pressure is audible or steam visible, let the weight remain in place or close the petcock as the pressure is not yet down far enough.
- Remove the cover of the canner, tilting it away from you to avoid burns.
- Use a jar lifter to carefully remove jars from the canner to a cooling rack or towel covered surface where there are no drafts.
- The jar’s contents may continue to boil once removed from the canner.
- Allow jars to sit undisturbed for several hours (ideally overnight) or until cool to touch. Remove the screw bands and check for a good seal. The lid should feel solid, be somewhat indented, and inflexible. Store any unsealed jars in the refrigerator and use quickly.
- Wash jars in soapy water to remove residue, rinse, dry, and label. Store without the screw on bands in a cool, dry, dark place.
Notes
- Note for tropical canners: It’s recommended by the Hawai‘i Master Food Preservers that you consider a pH of 4.2 as the demarcation line between acidic and low-acid foods and use 11 psi at sea level as a baseline.
Did you make this recipe?Mention @attainablesustainable or tag #attainablesustainable!