
Coffee is a pantry staple for me, but it’s always been something I purchased at the store. Since relocating to Hawai’i, I’ve had access to locally grown coffee beans, but still hadn’t tried processing coffee beans myself.
With the clearing (to allow sunshine in) and fencing (to keep the wild pigs out) of some land, we’ve uncovered a couple of wild coffee trees that are producing remarkably well for such neglected things.
Of course I decided to harvest the ripe fruit! Let me share how the process went for me, with thanks to my local coffee shop and my experienced neighbor, who both dropped some valuable insight.
Understanding Coffee Beans
The actual coffee beans that we use to brew our morning cup are hidden under several layers that need to be removed before we can even think about roasting them.
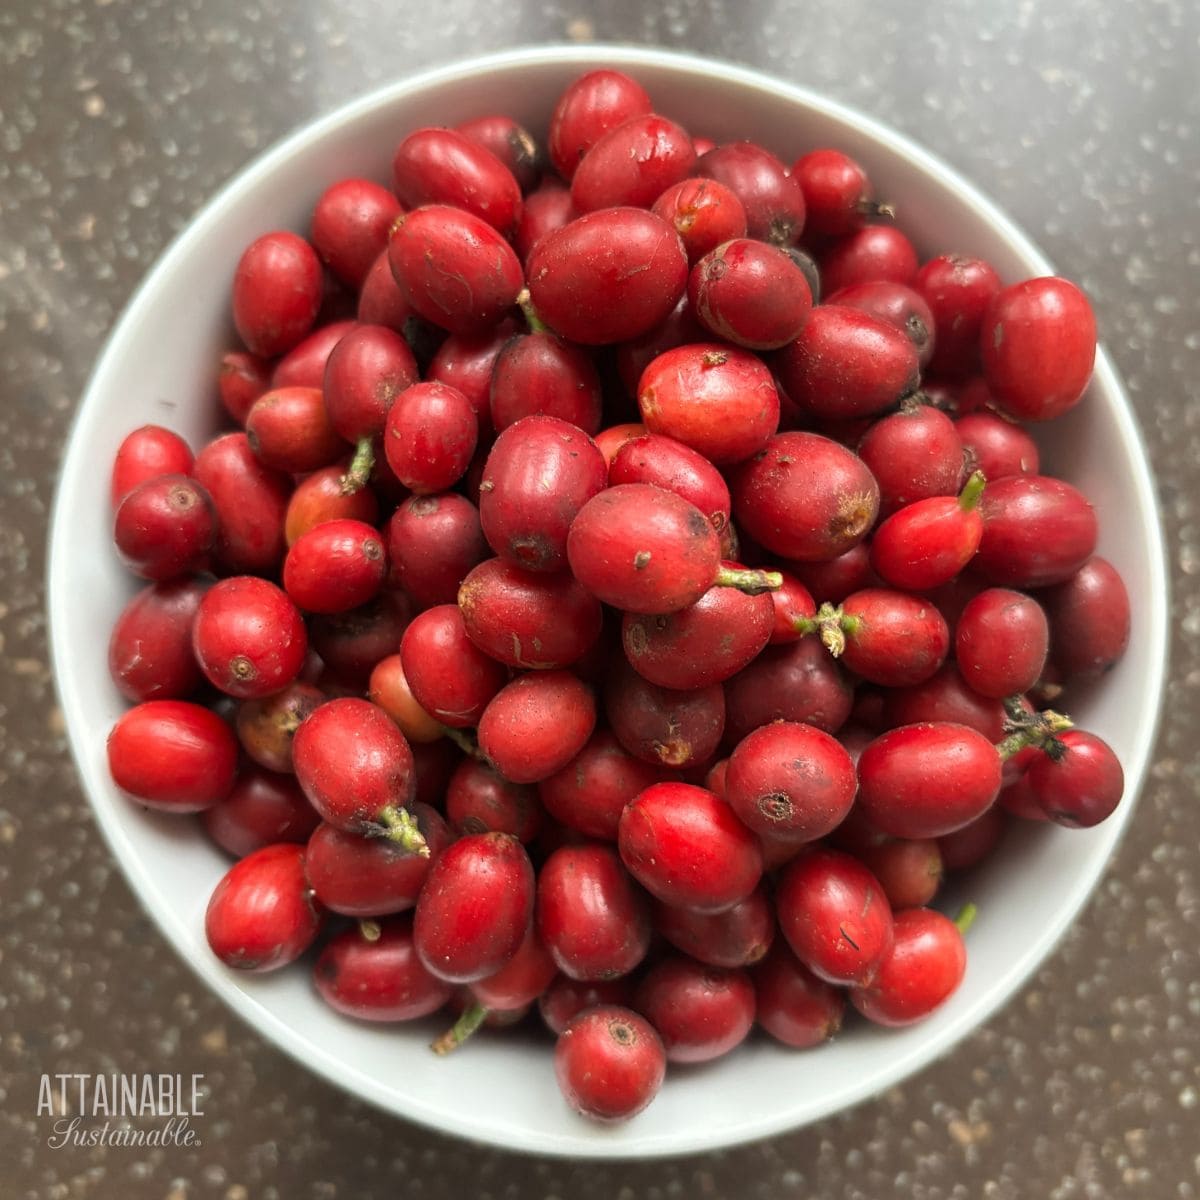
The fruit is referred to as the coffee cherry, and as that implies, is red once ripe. They don’t all ripen at once, though, so the harvest can span a couple of months. The deep red coffee cherries are pulled from the branch while the green ones are left to mature further.

Different Coffee Processing Methods
The natural process calls for leaving the beans intact and drying the whole cherry. Once dried, the husk is mechanically removed. Because of the moisture in the cherries, the fruit must be regularly turned to prevent mold. In my humid climate, this method is not feasible.
The wet process, sometimes called the washed process, calls for removing the husk then soaking and fermenting the beans. This is essentially the method I used, which I’ll outline below.
The honey process doesn’t actually call for using honey. Like with the wet process, the husks are removed, but instead of washing the beans in water, the mucilage is left on the beans to dry. The honey processed method gives the beans a sweeter flavor. (There are varying degrees within this method based on the mucilage, from white honey to red honey to black honey.)
Home Processed Coffee
Farmers use a much more elegant method than the coffee processing method I pieced together with little to no equipment, but what I did ended in a hot cup of coffee, so I call it a win.

Removing the Husk
Once harvested, the soft red husk needs to be removed. A coffee pulper makes quick work of a large harvest, but someone like me with just a small amount? I put a video on and used the pinch method. Which is essentially just squeezing each cherry between my fingers to eject the bean.
What emerges from the cherry looks a little more like you’d expect a coffee bean to look, but it’s covered in a slippery mucilage. (It’s definitely hard to hold on to them at this stage!)
The red husks can be added to your compost or worm bin.

Removing the Mucilage
To remove the mucilage, I covered the beans with clean water and allowed them to soak for a day or two. Test the beans by feeling them in the water. When they’re ready, they’ll feel a little coarse and a lot less slippery.
During this soaking time, look for floating beans. Scoop those out and discard them.

Drain the beans and spread out on a towel to dry. What remains are the beans inside the parchment layer. This, too, needs to be removed, but you’ll need to thoroughly dry the beans first. This can be done a number of ways:
- Spread them out in the sunshine
- Use a food dehydrator
- Leave them in the oven with the light on for a number of days.

The goal is to reduce the moisture level to 10-12%. Again, I didn’t have a tool to test this, so I had to wing it a bit.
The first time I did it, I used the heat from the oven light to dry the beans. The second time, my husband cobbled together a drying screen from metal window screen and some lumber scraps.

If the beans are dry enough, the parchment should crack easily and come away when you squeeze the beans. (This is an inexact science, but gives a little bit of a landmark in the process.)
Removing the Parchment
Trying to remove the parchment is not something you want to do by hand unless you are the most patient person on earth.
The dry parchment needs to be cracked and knocked loose from the coffee bean inside. I picked up a cheap blender at the thrift store and wrapped the blades in electrical tape. This prevents the blades from actually chopping the beans. This cobbled-together method worked, but the electrical tape kept coming off the blades.
I did find that some beans needed to be run through a second time, as you can see below.

My next plan is to find a thrift store food processor with a plastic dough hook. Not sharp enough to cause damage to the bean, but enough to whack the parchment.
When the parchment is loosened, you’ll need to separate the green beans from the chaff. I placed them on a jelly roll pan and took them outside on a windy day. A blow dryer would be more efficient, so that’s another thing on my thrift store watch list.
Roasting the Green Coffee Beans
With the parchment removed, you can store the beans at this stage in an airtight container. Or you can move on to roasting.
After doing some research, it looked like my options were using my trusty cast iron pan or an air popcorn popper (which I didn’t have). Then I mentioned my coffee roasting escapades to my neighbor and he offered to let me use his coffee roaster. Winning!
This handy piece of equipment slowly rotates the beans over varying degrees of heat.

In the first stage, with the temperature set to about 140°F, the lid becomes covered with condensation as more moisture escapes from the beans.
Stage two, at about 175°F, takes about half an hour or so and the beans become a golden brown.
Turn the heat up again, to about 200°F, for a final roast. This is where the beans become the dark brown morsels that you’re familiar with. This is also the most difficult stage because you’ll have to determine when they’re actually done to your liking.
I removed a sample and made a test cup of coffee. The flavor wasn’t strong enough, so I let them go a little longer.
Once I felt they were done, I let the roaster cool down, then transferred the beans into a colander to shake off the last of the chaff.
The end result? I’m probably not ever going to win a coffee cupping award, but somehow the coffee I’m brewing is even more enjoyable, knowing that I had a hand in it from start to finish.
It also makes me appreciate the cost of coffee. This is not a profitable process at this scale!


