
If you’ve never preserved your garden abundance by canning, the system can be a little confusing. Here’s what you need to know about home canning equipment and canning methods, from the right canning pot to the ever-popular Mason canning jar.
Originally published June 2011; this post has been updated.
Preserving Food at Home
A friend of mine—one who’s never canned before—asked me about home canning and preserving food in jars. Her questions reminded me that although I grew up understanding the process of home canning and the necessary canning equipment, many people just don’t.
Food preservation is the process of extending the life of perishable foods like fresh produce and meat.
There are several ways to preserve foods including dehydration, fermentation, and freezing. Here, let’s talk about the home canning of food — processing food in canning jars to create a long-term, shelf-stable method of storing otherwise perishable foods.
Knowing how to preserve your garden abundance or an unexpected windfall is just one of the smart planning tips I recommend embracing to be better prepared!
Get a Quick Start Guide to Safe Canning!
Want to learn how to preserve the harvest? Dive in for a look at various canning techniques and methods! Grab my FREE 6-part guide to getting started.
🍅 Safety First!
Canning is an excellent way to preserve food for the pantry, but there are some important safety considerations to keep in mind. The recipes on this site have been made following safe canning procedures by a certified Master Food Preserver.
- Know the difference between water bath canning and pressure canning. Low acid items must be pressure canned for safety.
- Altering ingredients may change the recipe’s pH, posing a safety issue.
- Use the proper jars and lids. Never reuse lids, with the exception of the Tattler or Harvest Right hard plastic lids that are intended for such a purpose.
- For more on canning equipment, please go here.
- Want to learn more? The National Center for Home Food Preservation is the go-to resource for safe canning information.
Canning Equipment
Home canning as a method of preservation takes just a bit more effort than other home preservation methods. It requires some specific canning equipment (there’s no getting around it) and an understanding of the canning process.
Canning food at home is not hard to do, but you will need to resign yourself to learning something new. The good news? As soon as you hear the first “ping” of a successfully sealed jar, you’ll be hooked.
 Ready to DIY your pantry with more wholesome ingredients? Check out my new book from National Geographic! Attainable Sustainable Pantry is filled with delicious recipes for some of your favorite condiments, snacks, and toppings, along with an entire section on safe home food preservation. It’s the guide you need to start skipping packaged products and embrace homemade.
The basic canning equipment required includes the canning jar in which your food will be stored and the canning pot in which you’ll process the jars. Each of these comes in a variety of shapes and sizes, and some are used for specific reasons.
Let me lay out below the basic canning supplies you’ll need to be familiar with before you make your first batch of jam or jelly.

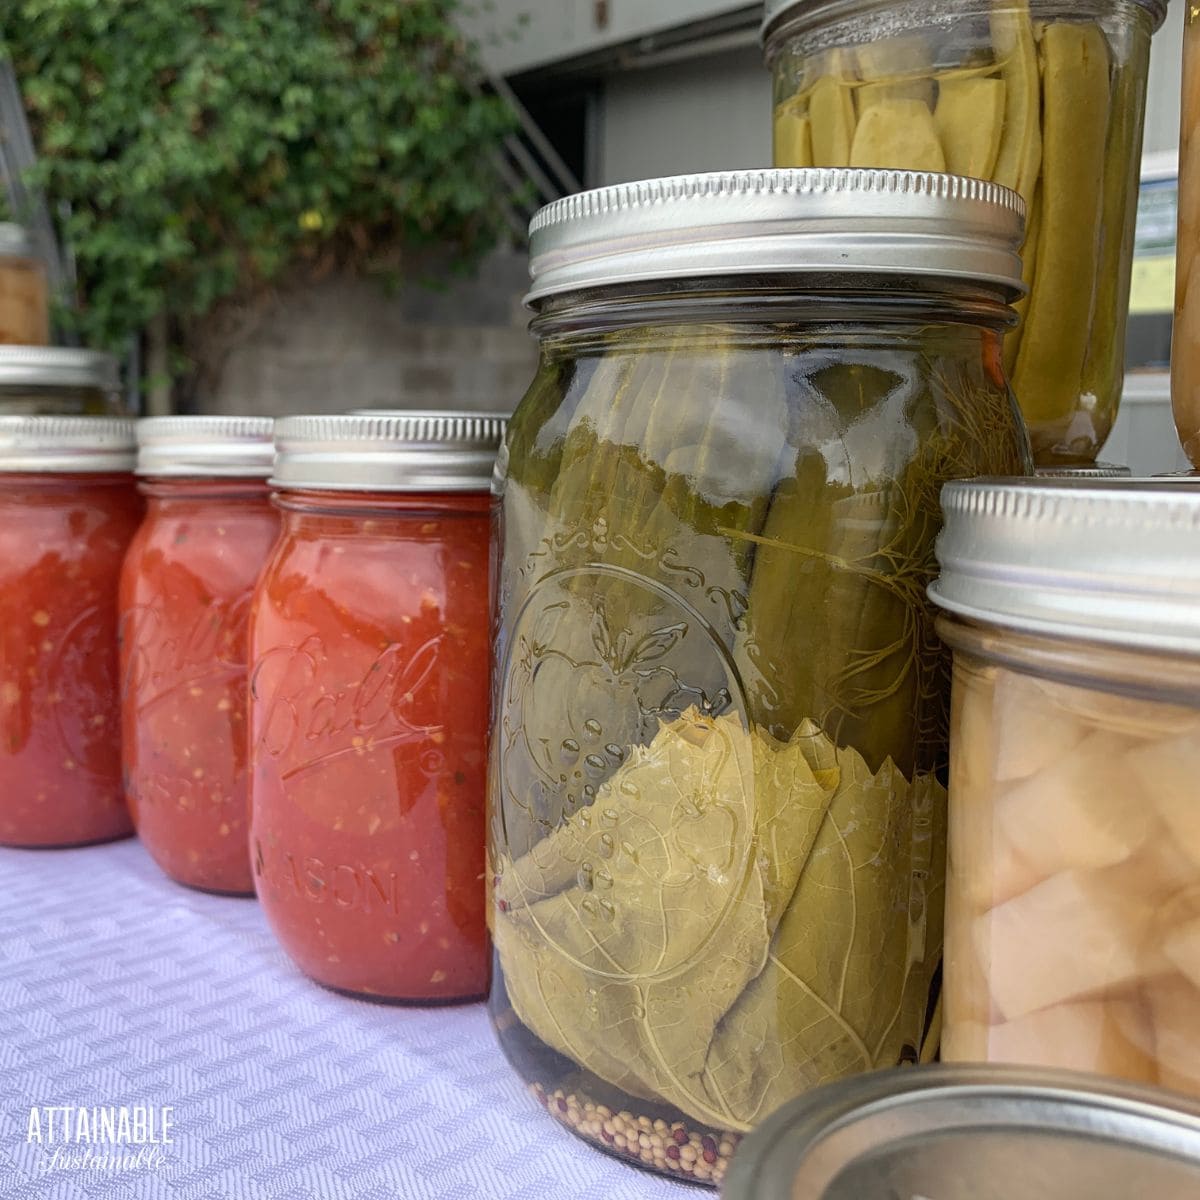
The Canning Jar
The canning jars most commonly used for home preservation these days come from Ball and Kerr (both made by Jarden Corporation). They are glass and come in a variety of sizes, including small four-ounce jelly jars, half-pint jars, pint jars, and quart jars.
There are half-gallon-sized jars, as well, but these are only approved for canning two things: apple juice and grape juice. You might hear a canning jar referred to as a Mason jar, after a vintage brand.
All of these jars are approved for home canning use except for the half-gallon size (I use the half-gallon size for storing dry goods). There are numerous sizes of canning jars; the small sizes are good for jams and jellies, especially those that you plan to give as gifts.
Canning jars come in both a standard or wide mouth, referring to the size of the jar’s opening. Wide-mouth jars are useful for preserving larger items like peach halves or for pickles that need to be placed in the jar by hand.
Glass canning jars can be washed and reused from year to year. I’ve collected a good quantity of jars over the years by keeping my eyes open at garage sales for canning equipment. You don’t need to purchase new jars.
If you’re looking for second-hand jars, just remember that jars with small chips around the rim should not be used for home canning, as the chip can compromise the seal. (They’re fine for storing dry goods, though.)

Canning Lids (or Flats)
Canning lids are typically metal, a flat disk with a ring of rubber sealing compound around the perimeter. They’re also called “flats.”
The sealing compound on the lids is what allows the food to remain sealed inside the jars after processing, as it forms to the rim of the jar. Lids come in both standard and wide mouth sizes to correspond with the jars. Jarden rolled out BPA-free lids in early 2013.
Metal canning lids cannot be reused for home preservation. Once a lid has been used, the seal becomes compressed and it will be more difficult to get the necessary airtight seal. (That seal is critical to creating a product that is safe and free of botulism.)
You must purchase new lids for each new canning project. Lids are sold in sets of twelve and can be purchased separately from jars and rings. Read more about reusing canning lids here.
An alternative to metal canning lids is the plastic lids made by Tattler. These come in two pieces — a plastic disk and a rubber ring. Tattler canning jars are BPA-free and can be reused from year to year.
Canning Rings
Metal rings (also called bands) come in both standard and wide-mouth sizes. These are screwed over the lid to hold the lid in place during the canning process.
Once your jars have cooled and the lid is sealed, rings are removed for long-term storage and can be used to process another batch of jars.
This means that you don’t need as many rings as you have canning jars. Rings can be reused indefinitely, but they do tend to rust over time.

Weck Canning Jars
The jars from Weck are in a category of their own. Both the jars and lids are made from glass, and thus reusable. The sealing ring is rubber and also reusable. The sealing process with a Weck glass jar requires a couple of metal clips that hold the rubber ring and glass lid in place during processing.
Weck is a European company and while the jars are available online, you won’t find them as readily available in the USA.
Equipment for Filling Jars
With an understanding of canning jars and how they work, let’s talk about filling those jars. Many recipes use a “hot process,” meaning that the food is heated to boiling and then transferred to jars.
Some specialized canning equipment can help make this job easier. Trying to pour hot salsa or jelly into a jar without spilling it all is not fun.
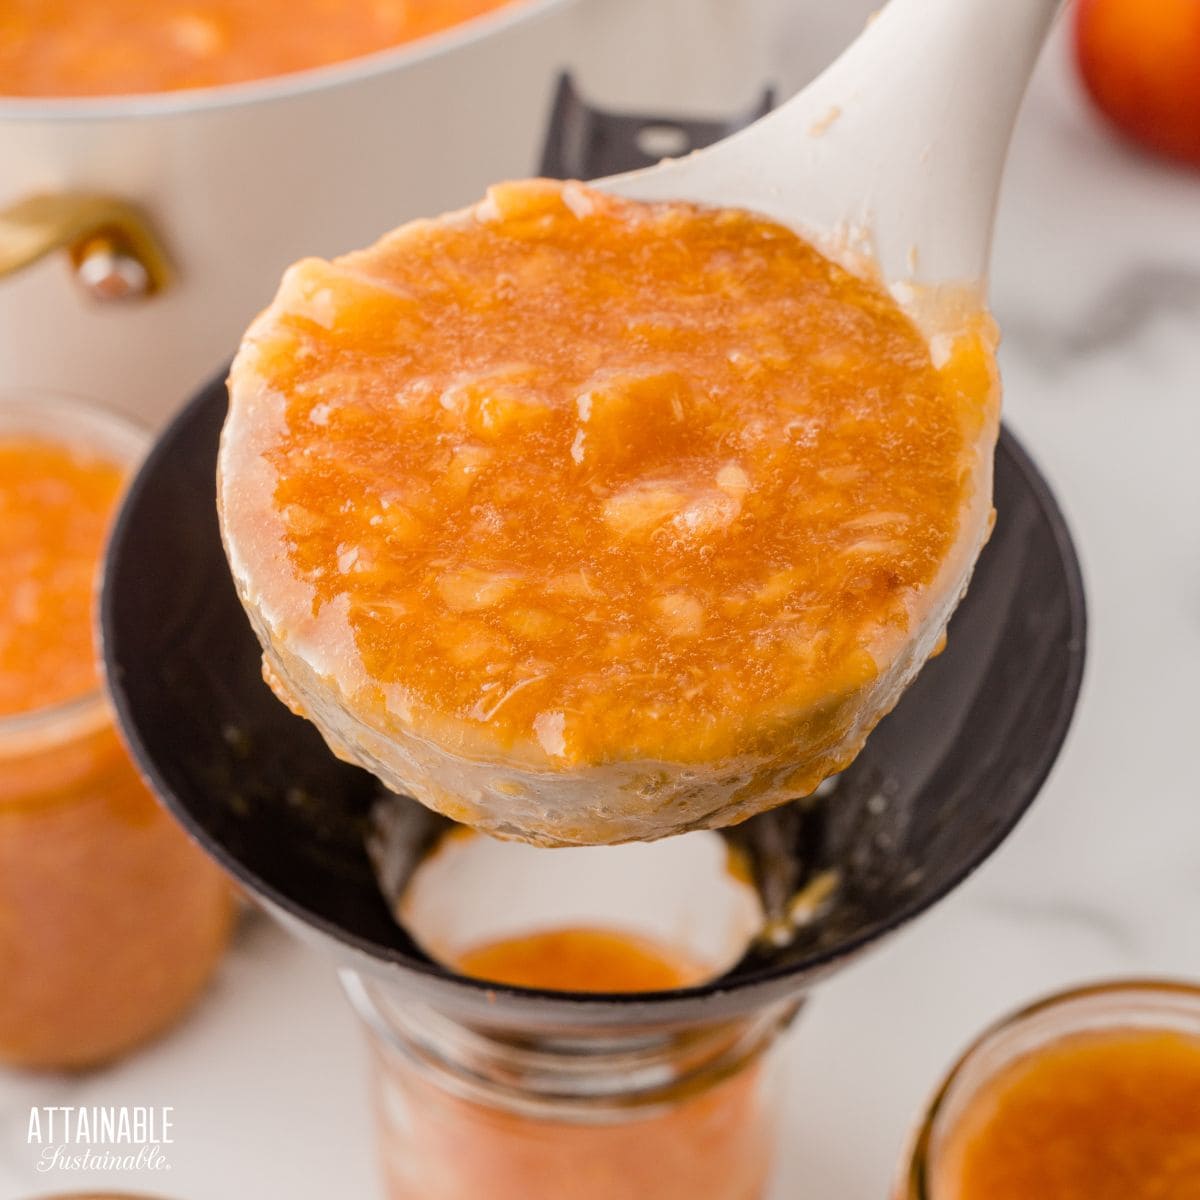
A canning funnel eliminates this problem. Made to fit both wide and regular-mouth jars, a canning funnel makes it easy to transfer hot ingredients to jars.
A kitchen ladle can work for canning as well, but some canners (including myself) prefer a larger-capacity option. Canning ladles generally have longer handles, too, so you won’t accidentally lose your ladle in a big batch of applesauce!
Removing air bubbles from the jars before affixing the lids is important. There are special de-bubbling tools available, but a non-metallic knife or chopstick can serve the purpose, too.
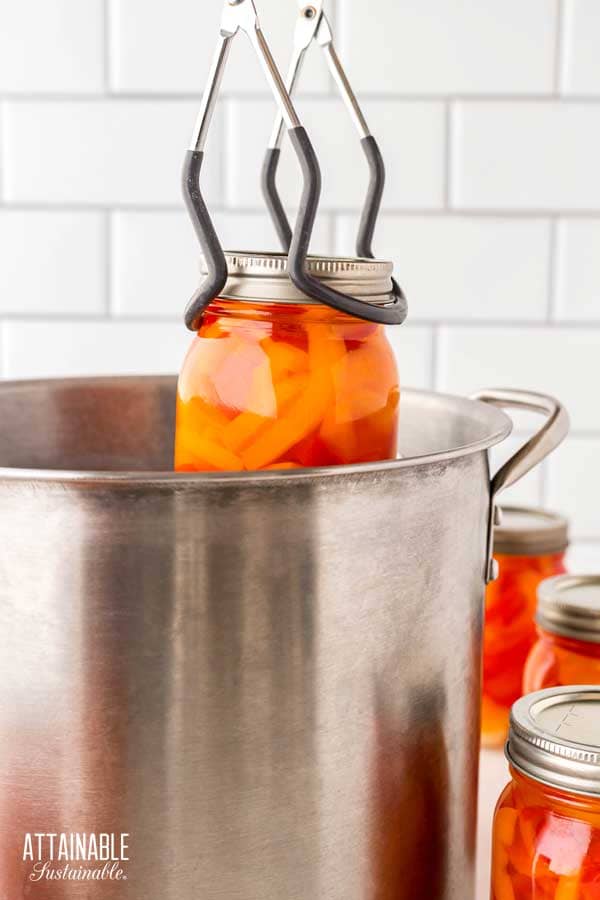
Once your jars are filled and sealed, you’ll need to transfer them to the hot canning pot. You’ll need a jar lifter, sometimes called jar tongs. This rubberized lifter allows you to hold jars securely as you lift them into and out of the canner.

Canning Methods
What kind of canner — and canning method — you use depends on what you’re processing. Fruit, pickles, and other high-acid foods can be processed in a water bath canner or a steam canner. Low-acid foods like vegetables and meat must be processed in a pressure canner.
Water Bath Canning Pot
As you might imagine, a water bath canner is one that is filled with water. This canning method is suitable for high-acid foods and requires that filled and sealed jars are submerged in water and processed in boiling water. Read more about the water bath canning process here.
A water bath canning pot usually comes with a wire canning rack that holds the jars in place and prevents them from sitting directly on the bottom of the canner.
A large pot (like a large stock pot) is something most kitchens are already equipped with and can stand in for a water bath canning pot in a pinch. You just need to be certain that the jars are completely surrounded and covered by two to three inches of water.
Use a wire cooling rack on the bottom of the pot or — in a pinch — tie several canning bands together and use them as a rack. This prevents the jars from rattling together.
Steam Canning Pot
The steam canning method can be used much like a water bath canning pot. Recently approved for home canning, steam canners use substantially less water than a water bath canner and heat up much more quickly.
These canners have a shallow base that is filled with water. Jars sit on a rack above the water and a deep lid sits in place above them, retaining the hot steam. Check these guidelines for safe canning in a steam canner.
Pressure Canner
With the Instant Pot electric pressure cooker being so popular, the first thing I must point out is that much as I love mine for cooking, they are not suitable for canning food. Go here to understand why.
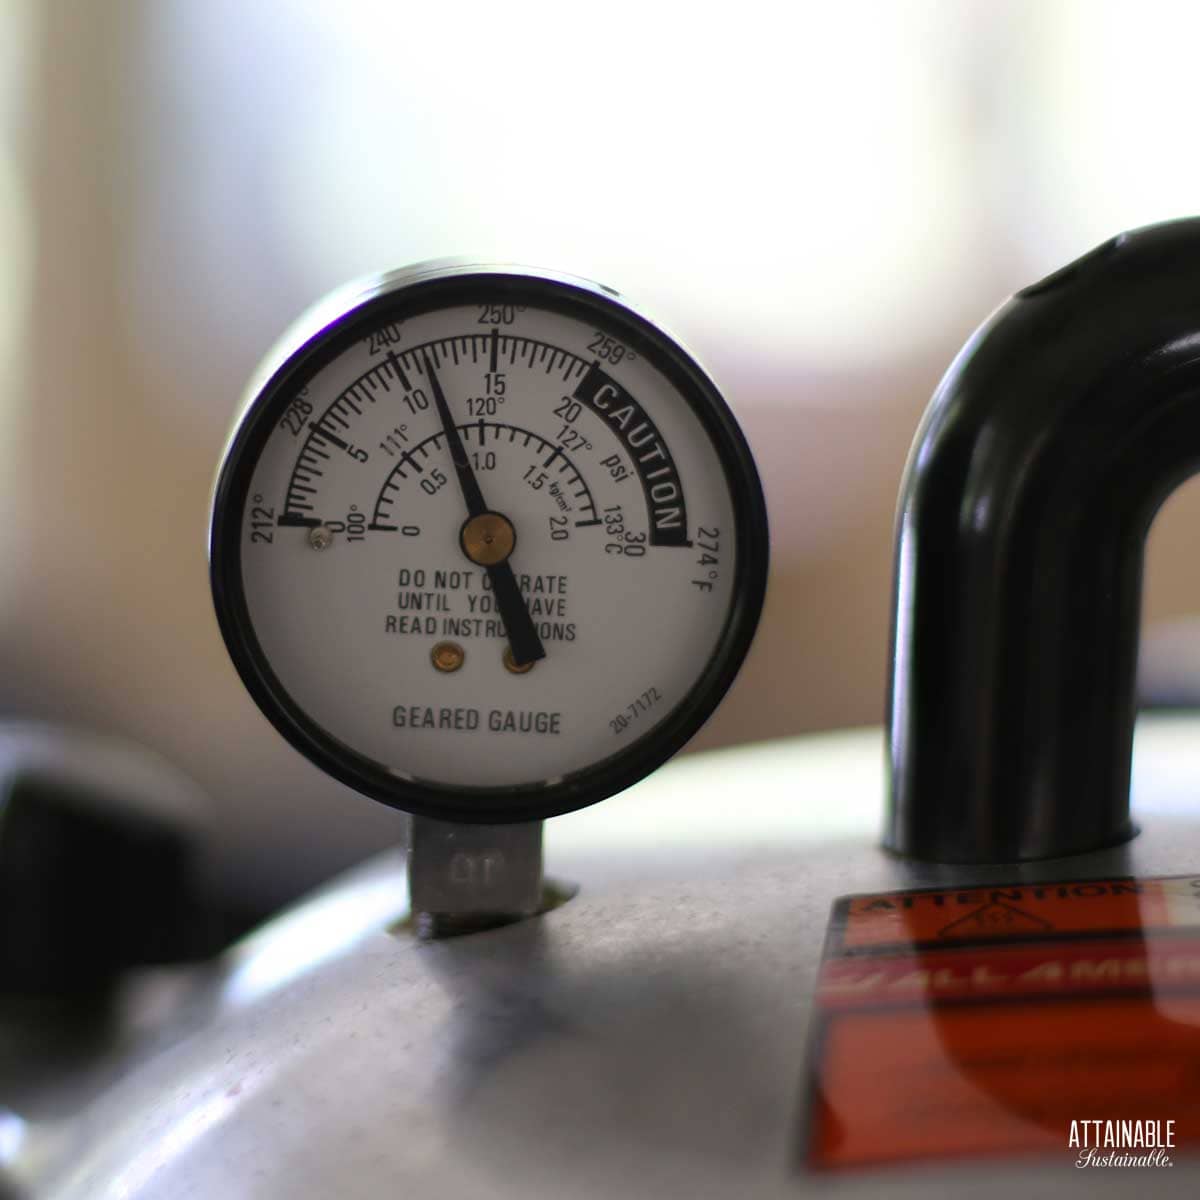
A pressure canner is a large, deep canning pot with a lock-on lid and a dial gauge or weighted petcock. It’s one of the most daunting pieces of canning equipment for many people.
Like water bath canning, this canning method requires heating jars full of ingredients in water. The difference is that the canner is sealed and heated to build up pressure.
Pressure canning is the only safe way to can low-acid vegetables, meats, and other low-acid foods to ensure that the clostridium botulinum spores – aka botulism – are killed.
Pressure canning essentially creates a superheated environment, with temperatures inside reaching substantially higher than the 212 degrees Fahrenheit achieved by simply boiling water.
See these 15 tips for ensuring success with your pressure canner.

My favorite home canning recipes
- Recipe for Canned Peaches with Chai Spices
- Grape Jelly
- Canning Dried Beans
- Pineapple Jalapeno Jam Recipe
- Mango Chutney: Add Tropical Flavor to Your Next Meal
- Caramelized Onion Jam with Balsamic Vinegar
- Zucchini Relish
- Homemade Applesauce (sugar free)
- Tangerine Marmalade with Vanilla and Ginger
- Green Tomato Chow Chow
- Tomato Chutney
- Salsa Recipe for Canning
- Liliko‘i (Passion Fruit) Jelly
- Watermelon Rind Relish
- 100+ Recipes for Jams and Jellies


I am so glad you showed up on my posts. I’ve been wanting to try canning for soooo long but was afraid of bolulism. Finally got the courage to try your Salsa for Canning recipe. Your directions are so clear and so helpful. The Salsa is delicious by the way. Thank you!!! I’m hooked.
Hi Kris. This is what I’ve been looking for. Thank you so much. I’ve never canned anything before. The information should be very helpful. Billy in Garland, Tx
I’m so glad you found it helpful!
I up in age and want to pass along canning to my g-daughter any info is helpful thanks for your help
I love that, you’re welcome! 🙂
I have some Presto clear and white glass lids that look just like the tattler lids. Would those also be good to use if I get the rubber rings? I think I have close to 2 dozen of them.
I don’t think I would try that.
You should not use older jar that have air bubbles in them or fine cracks( hard to see sometimes, put up to light will show them better) for canning in pressure cooker. They might not be able to with stand the pressure. If one blows in pressure cooker it possibly can ruin everything in canner. What a waste of produce and time. Around 40 years ago my grandma, mom and I would group can green beans, tomatoes,corn and etc. At end of day we would have anywhere from 120 to 180 jars of food.
Amount of jars depended upon what was ripe. We’d split them up according to needs. Dad and grandpa would be the pickers. Food was canned 30 minutes to 2 hours from picking. My kids helped too.
Good advice, and good memories!
In Minnesota you cant find lids to save your soul. Can we get rattler lids in Rochester, minnesota?
You can look on their site here to see: https://reusablecanninglids.com/p/retail-locater
Hi, Kris! Bought your book – GIRL!!! Love it! Thank you for instructing, reminding, encouraging and teaching.
Thank YOU so much!! What a nice comment.
I have a glass top range. I purchased a canner but the instructions indicated that it should not be used on the glass top. Why? It’s not too heavy and the water still boils. Just wondering as I’ve had problems with not hearing the ‘pop’ of the lids.
This shouldn’t have anything to do with hearing a pop. I know the instructions say not to, but when I had a glass top stove I used it for canning. I think the concern is damage to the stove top from the heavy canner.
Hi Kris, Several years ago, I got tired of having to constantly buy new lids for my canning jars. At about that same time, I discovered something new at my local Bi-Mart store in Oregon. The reusable lids are called ‘TATTLER” lids. These lids have a red rubber seal ring topped with a white “BPH free” plastic lid that you then cinch down with a regular metal ring. I have used these for years and wouldn’t go back to the other kind for anything. I have saved a fortune by not having to buy the Ball/Kerr lids & rings. Every year I have picked up 1-3 packages to add to my stash and now have just about all I’ll ever need. You do have to buy the red rubber rings from time to time to replace the worn out or broken ones. But this is not nearly as expensive as the metal rings.
I didn’t know if you had ever heard of these canning lids,thought I would mention them to you and to anyone else that reads the comments section of your posts would benefit from the information.
Yes, I’m familiar with these. Thanks for mentioning it!
Is it possible to use the jars where there is a metal wire that holds the glass lid in place? I use the swing top for home made beer, mead, and limoncello as well but the ones I’m thinking of have the glass lid with a strong steel wire across the top.
Thanks in advance!
These are not considered safe for home canning.
I love your recipes, and would love to do my own canni g
Give it a try!
I have a question. I bought some jars, and the lid were on the with the rings so tightened with the rubber side to the glass. They are not totally sealed ut kind of. Is it ok to use the lids or should I get new?
Thank you on advance
I’ve had that happen and have used them. My rationale is that they were not on tight enough to really compromise the rubber seal.
Can you reuse lids for things that you aren’t canning? Last year I made pickled peppers but we ate them within the month so we weren’t storing them unrefrigerated. I also make elderberry syrup frequently and reuse jars. I’m new to all this so any advice would be helpful. Canning is still a ways down the road but something I’d eventually like to do.
Oh, you can use the flat lids for storing dry goods and as someone else mentioned, with one of those food saver things. You just can count on them for a safe seal when you’re *canning foods for long term, shelf stable storage.
Just found your site today. I’ll be following you for sure! Thanks for the great info.
Anyone planning to do home canning should use only those recipes thoroughly tested. Extension is the mmost reliable source of all things canning. University of Georgia Extension is the national clearing house for research and resources. Check out their website at Homefoodpreservation.com – you will be redirected to a uga site. they have recipes, instructions, videos, FAQs and more.
Don’t rely on information published before 1988 and don’t use recipes from cook books – except those published by major canning equipment companies – like Ball, Kerr, and Presto.
I think I’ve reused metal lids before, for homemade yogurt. Oops! I have yet to really can though we have a million of these jars and we use them for leftovers and freezing berries and freezer jam, etc.
I love those Weck jars too, but (like you) I can’t justify buying them when there are truly dozens of Ball jars all around my house. Gotta be frugal around these parts!
Growing up on a farm, my mom canned everything. I’m mostly familiar with Ball jars, but those Weck jars are so pretty.
I love the Ball jars, too, though. They’re so old fashioned and comfortable!
How I wish I would have listened more when my mom was canning. This post is helping educate me–if only I’d offered to take her canning jars when she was giving them away!
Start letting people know. In all my years of canning, I’ve only purchased a couple of cases brand new, thanks to neighbors and friends who passed theirs along, or told someone else that I’d take their jars!
Yep, it’s almost that time of year again. I canned for the first time last year and looking forward to this year!
I’ve only attempted things like jams and jellies, and it was a boatload of work, especially the year I decided homemade orange marmalade was a good gift idea. Scraping the peels took forever.
I do use the “spent” lids to store dry food in Mason jars, so I rarely throw them away. But I wish I could reuse them for processing!
I remember my mom used Weck-style jars back in the “old country”. Putting the metal clips on the lids seemed difficult to me even when I tried that with cold jars. But the nice thing was that the lids and all were reusable year after year. We did have to buy the rubber rings once in a while to replace the dried out or damaged ones. Here in the States I use Ball jars – good results and very easy to use although I feel bad about throwing away the metal lids.
Impressive – you really know your jars! I don’t do any canning, but have always admired the styles of these jars, nonetheless.
Sheryl, I love the way the jars look, too. But stick around. You might become a convert to canning!
This was interesting. I’m a novice but realize I have to learn. Why, oh why, is there BPA on the lids?
Why, indeed! I suppose because nobody thought about the health ramifications when BPA first started being used. And now it’s in everything.