
If you’re new to home canning, you might not have accumulated a collection of tools yet. Good news! As long as you have proper canning jars, it can be done with kitchen equipment you probably already have on hand! Read on to learn about water bath canning without a canner.
Be sure to read more about good canning equipment (so you can keep your eyes open at thrift shops for a good deal!)
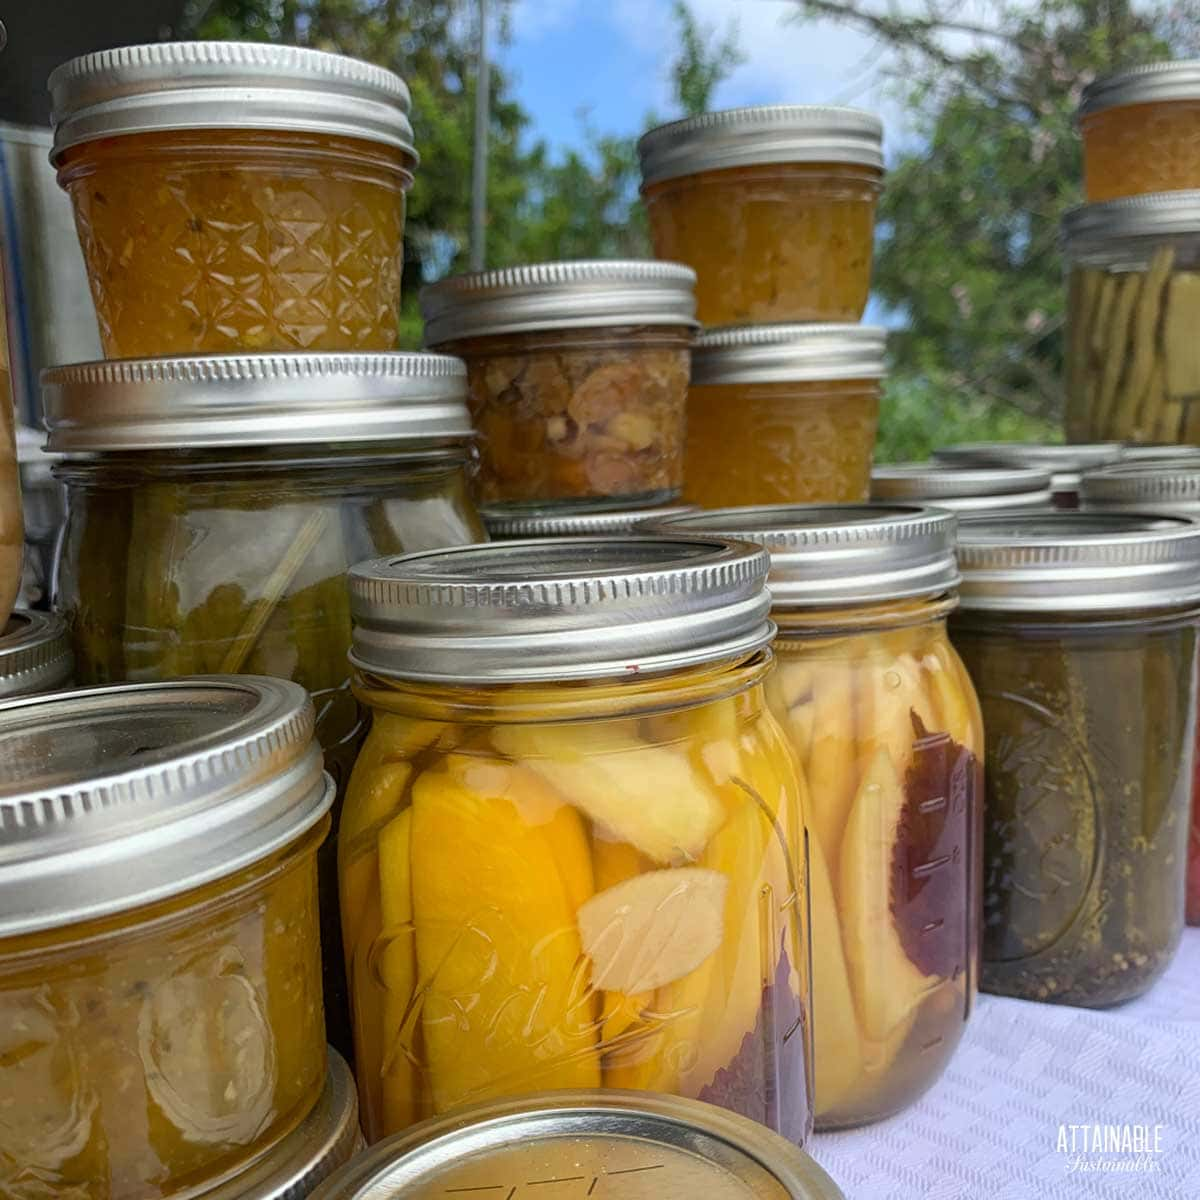
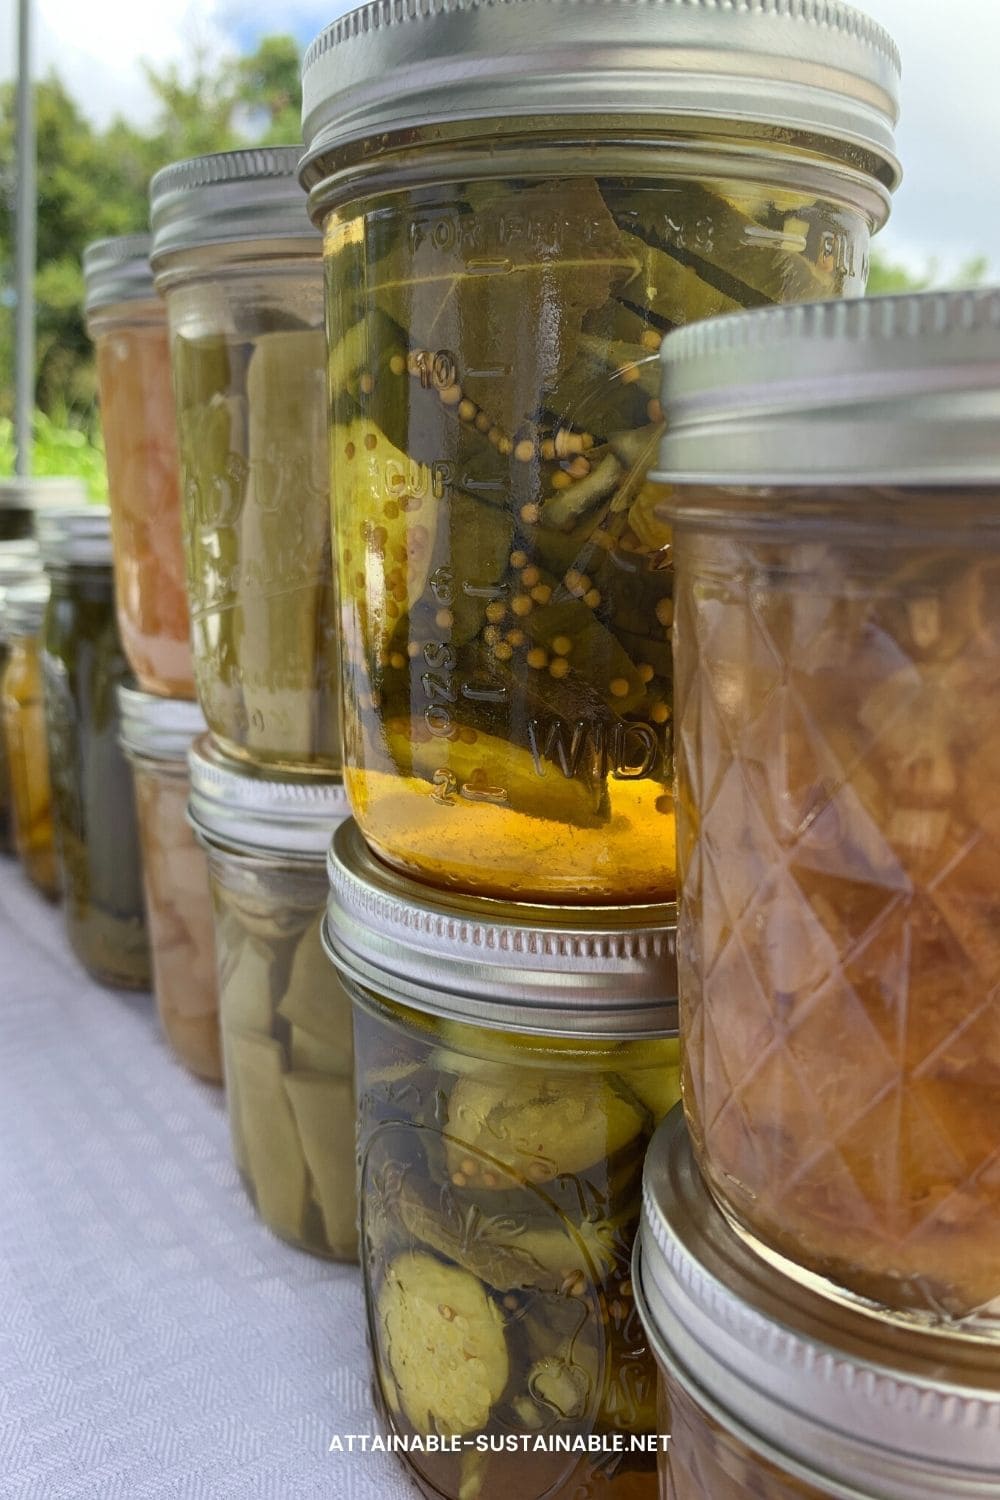
(Note: Jars stacked for photo; stacking jars for storage is not recommended.)
Water bath canning is a a simple and effective method for extending the shelf life of perishable foods. It is an easy way to preserve your homegrown produce or to take advantage of in-season fruits and vegetables at their peak of freshness.
The process involves filling canning jars with the prepared food, securing lids in place, and immersing the jars in boiling water for a specific amount of time.
This method of canning heats the jar contents to kill many types of bacteria and creates a vacuum seal, allowing the food to be stored for extended periods of time at room temperature.
Take a Peek Inside My Book!
Get a free excerpt from my book, Attainable Sustainable: The Lost Art of Self-Reliant Living! You’ll also get my free weekly newsletter, complete with recipes, gardening tips, and a little peek at what’s going on around here — both the zany and the mundane.
Water bath canning — also called a boiling water bath — is the method often used for preserving high-acid foods. These are foods that fall at 4.6 or lower on the pH scale. (Yes, it’s confusing. The lower the pH, the higher the acid level.) In all cases, you should follow guidelines provided in recipes that come from reliable sources.
Pressure canning is the only safe way to preserve low acid foods like meats, vegetables, and beans. This method does require a very specific piece of equipment that allows the internal temperature of the jar contents to reach a higher temperature that kills botulism spores. (Read why an electric pressure cooker is not a safe alternative to a pressure canner.)
 Ready to DIY your pantry with more wholesome ingredients? Check out my new book from National Geographic! Attainable Sustainable Pantry is filled with delicious recipes for some of your favorite condiments, snacks, and toppings, along with an entire section on safe home food preservation. It’s the guide you need to start skipping packaged products and embrace homemade.
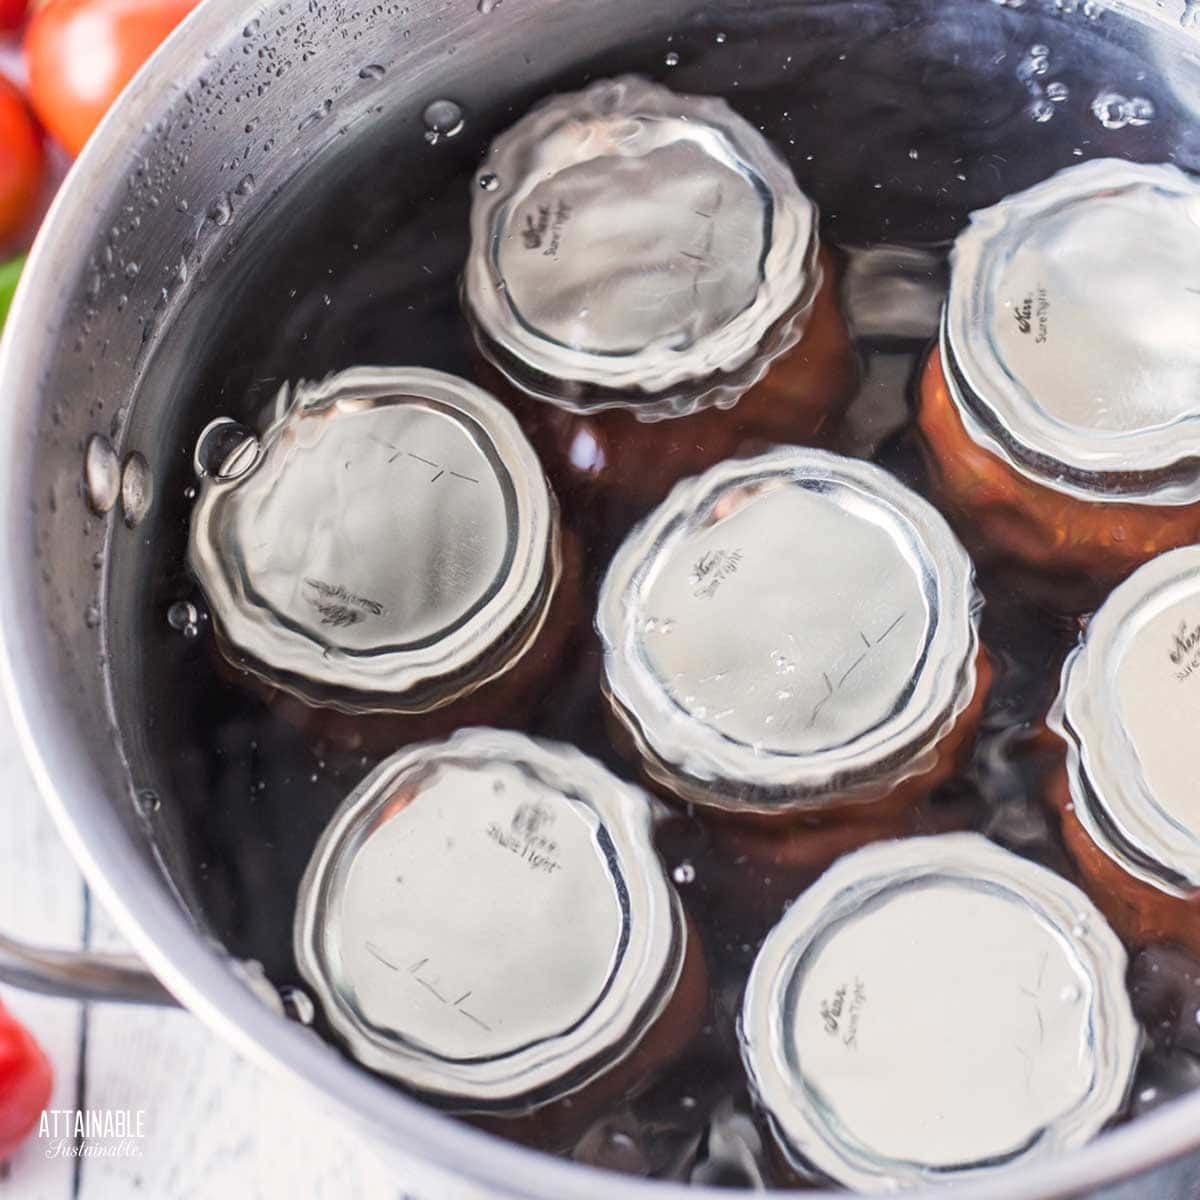
Canning Without a Large Canner
A boiling water bath canner is large pot (often coated in a speckled porcelain) marketed specifically for canning purposes. These often come equipped with a canning rack and can hold about 20 quarts of water. A canning pot this size will hold 7 quart jars or 9 pint jars.
Is it possible to use this method if you don’t have a large canner? Absolutely! A large pot fitted with a wire rack to prevent the jars from sitting directly on the bottom of the pot works perfectly well.
There are some caveats, though. Obviously, using a large stock pot rather than the bigger canner will limit the number of jars you can process. It may also limit the size of the jars you can process. It’s necessary for filled jars to be submerged under at least 2″ of water for processing.
My 8-quart stock pot isn’t tall enough to cover quart-size jars sufficiently, but I can process smaller jars in it. Yours may be taller and allow enough room to cover quart jars.
Double check to see what jars will fit in your pot before you begin. You don’t want to have jars filled with hot jam or salsa and discover after the fact that they won’t fit properly in the pot!
This will, of course, vary based on what you have available to work with, but small batch canning is entirely feasible with a basic kitchen pot. Heck, you could probably even do smaller jars, like the cute (and perfect for gifting) quarter-pint jars in a large saucepan.
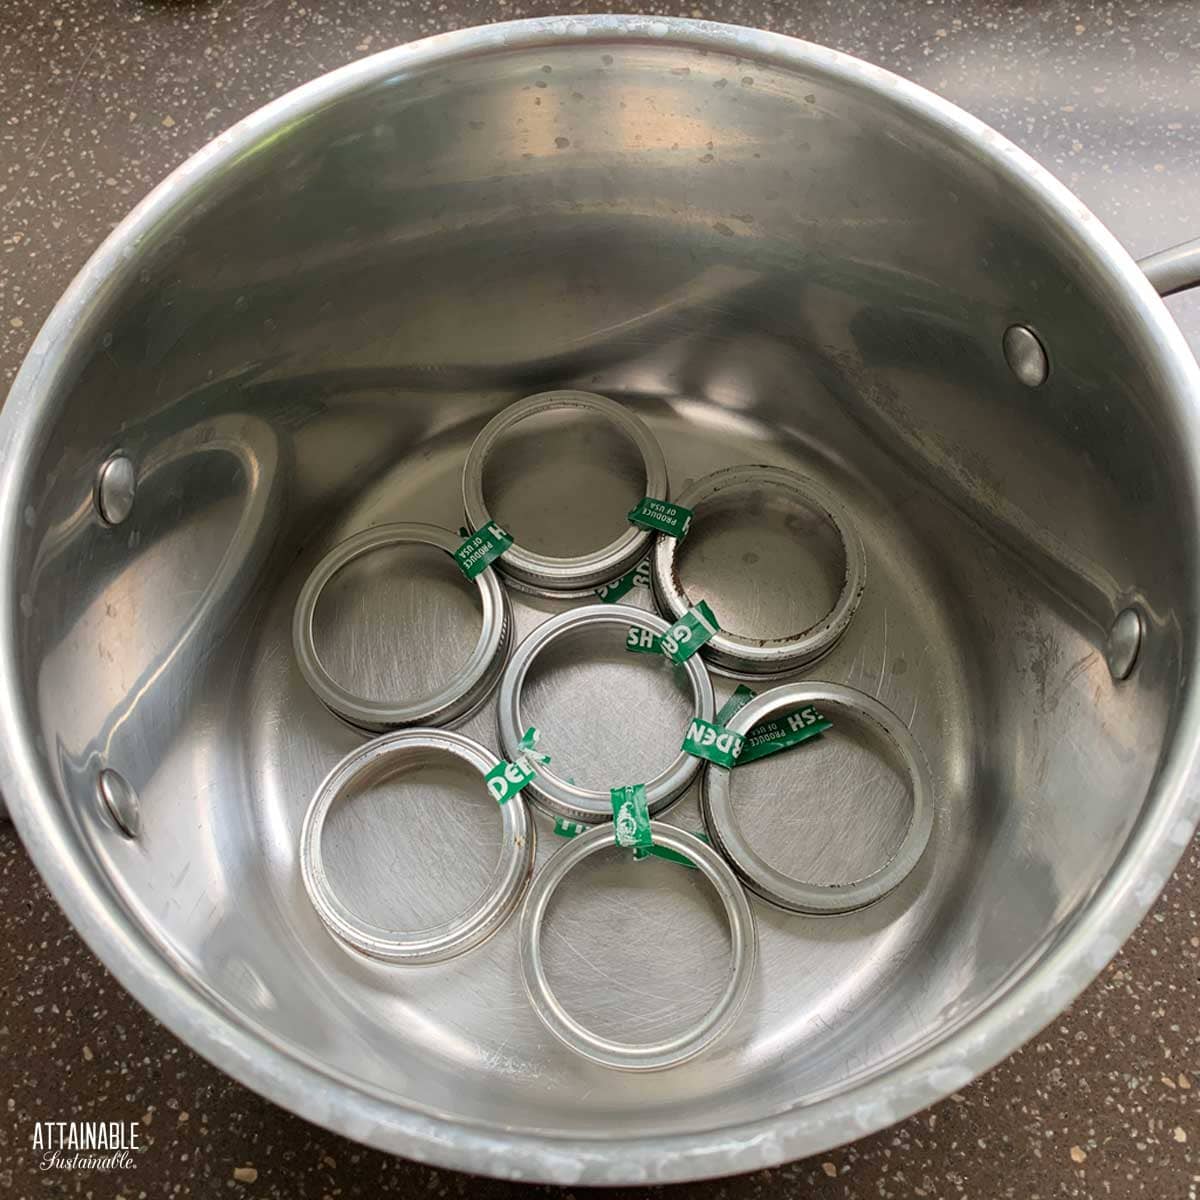
Improvise a canning rack with canning rings.
Tools You’ll Need
While you can get away without a traditional canning pot, you’ll still need some basics.
A rack. This is important, as you don’t want the filled jars sitting directly on the bottom of the pan. You can use a metal trivet, the rack that came with your instant pot, or, if you don’t have anything that works, you can use twist ties to secure canning rings together to create one.
Canning jars. These are special jars intended for home food preservation purposes. They are reusable indefinitely and come in a variety of sizes.
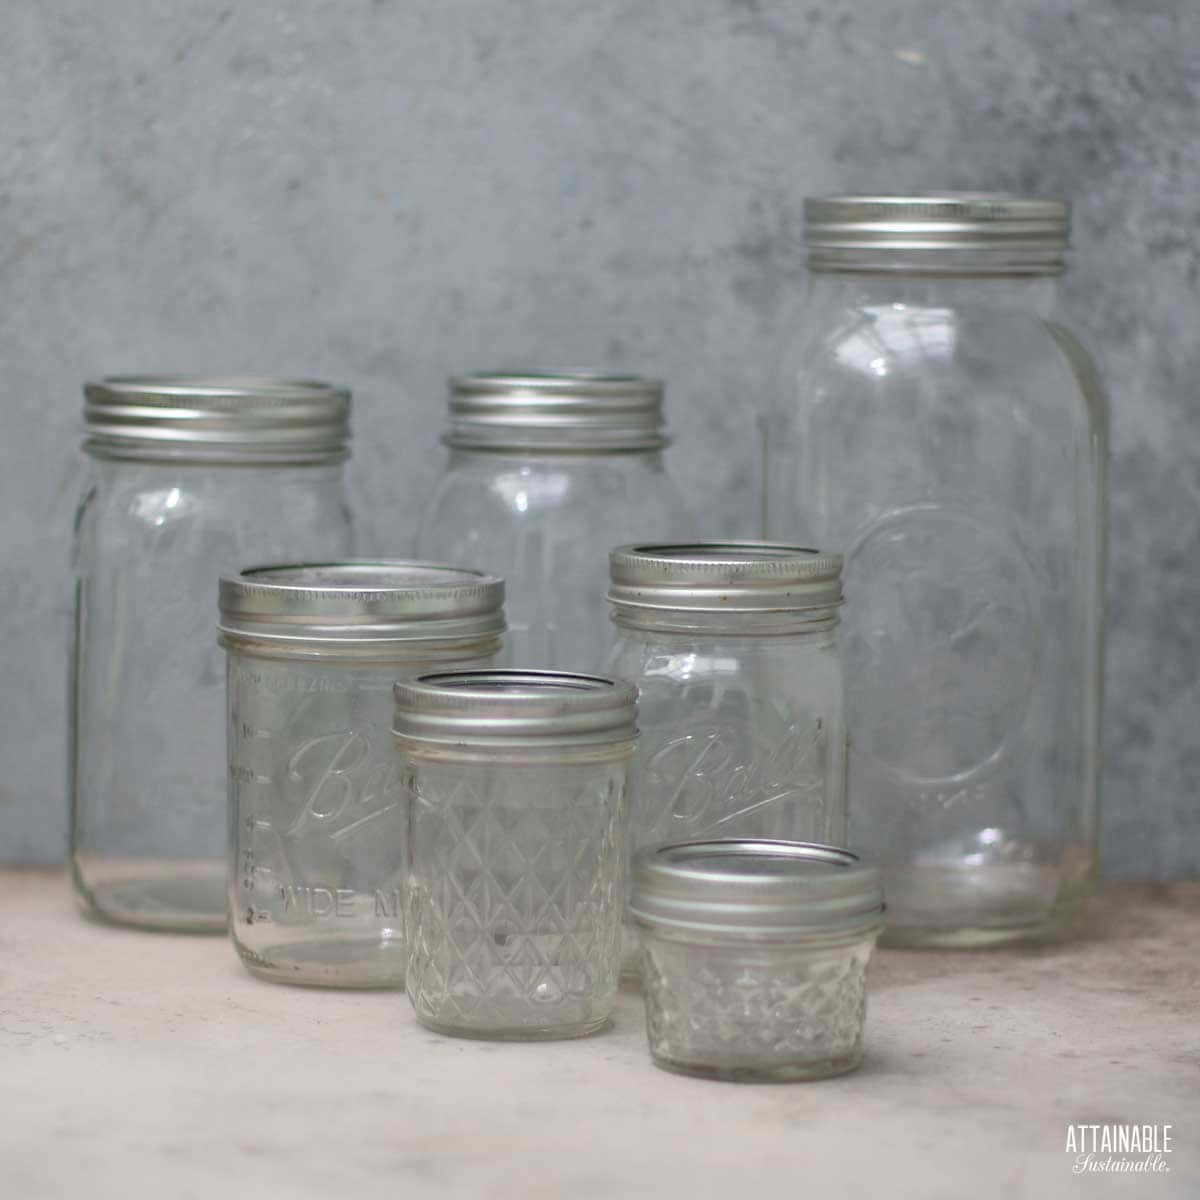
And here’s some good news for the thrifty among us: The National Center for Home Food Preservation says that reusing pint- or quart-size jars that are compatible with two-part canning lids is okay for acid foods that are processed in a water bath. They do warn that canners can expect more breakage when using these jars, but I haven’t found this to be problematic.
Canning lids. This two-part system consists of a ring and a flat lid. The rings, sometimes called bands, are reusable. The lids are not. Please go read more about why canning lids are not reusable.
Canning Funnel. This extra-wide mouthed funnel makes it easier to pour hot ingredients into jars without spillage. If you don’t have one, you can create one by cutting the upper portion of a large plastic bottle or milk jug into a makeshift funnel.
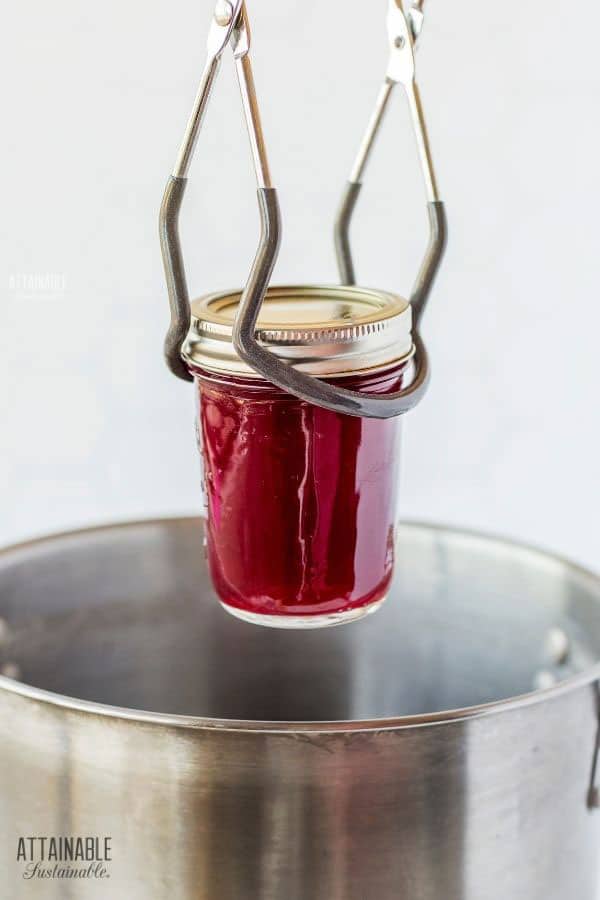
Jar Lifter. This invention makes it easy to lift hot jars in and out of a boiling water canner, no matter its size.
An Intro to the Water Bath Canning Process
Fill pot with enough water to cover jars and start heating. Remember that putting full jars into the water will displace some of the water. It’s a good idea to have some extra boiling water on hand to top off the water if necessary. You can boil some in a separate pot, or do as I do and heat up an electric kettle. (If you don’t need it, you’ll be ready for tea time!)
Wash and rinse Mason jars, inspecting for chips or cracks. Place jars in the heating water in the pot to keep warm.
Prepare the lids as suggested by manufacturer. (Always use new lids!) Boiling canning lids or heating them above 180°F can damage the sealing compound and is no longer recommended.
When your recipe is ready to be transferred to jars, lift and drain the prepared jars and transfer to a towel-lined countertop.
Transfer the prepared food into the jars, leaving headspace (the space between the top of the food and the top of the jar) as required in the recipe. Wipe the rim of the jar with a clean cloth to remove any food residue.
Use a bubble tool or plastic knife to dislodge any trapped air if necessary.
Wipe jar rims with a damp rag to remove residue. Place a new, flat lid on each jar and screw on a metal band.
Use a jar lifter to place jars into the hot canner, ensuring that jars are covered by 2” of water.
When adding filled jars to the canner, the temperature of the water is important. The time it takes for jars to come to boiling is included in calculations for safe processing. Another reason to avoid placing filled jars into boiling water is to reduce thermal shock and prevent jar breakage.
- Raw packed foods: Place filled jars into water that is about 140°F.
- Hot packed foods: Place filled jars into water that is about 180°F.
Return water to a boil and start timer; process for specified time.
Turn off heat and wait 5 minutes. This allows the jars to cool slightly and can help prevent thermal shock.
Once the processing time is complete, carefully remove the jars from the boiling water using a jar lifter. Place the jars on a towel or other protective surface to cool. As the jars cool, you will hear a popping sound as the vacuum seal forms.
Once the jars are completely cool, check the seals to make sure they are properly formed. If any of the jars did not seal properly, store them in the refrigerator and consume them within a few days. The properly sealed jars can be stored at room temperature for several months.
Use a jar lifter to remove jars from canner and place on a solid surface. Allow to cool undisturbed for 12-24 hours. Wash and label jars, then store in the pantry for up to a year.
Head over here to read more on water bath canning (with more than 20 recipes!)
🍅 Safety First!
Canning is an excellent way to preserve food for the pantry, but there are some important safety considerations to keep in mind. The recipes on this site have been made following safe canning procedures by a certified Master Food Preserver.
- Know the difference between water bath canning and pressure canning. Low acid items must be pressure canned for safety.
- Altering ingredients may change the recipe’s pH, posing a safety issue.
- Use the proper jars and lids. Never reuse lids, with the exception of the Tattler or Harvest Right hard plastic lids that are intended for such a purpose.
- For more on canning equipment, please go here.
- Want to learn more? The National Center for Home Food Preservation is the go-to resource for safe canning information.


I loved this post! Canning without a water bath seems so much simpler, and I appreciate the detailed instructions. I can’t wait to try it out with some of my garden produce this season. Thanks for sharing these valuable tips!
I learned the canning process from several older ladies a long time ago. It was helpful to be shown what “check to see if the completely cooled jars had sealed” meant…the center of the lid was DOWN not still up. And also that pushing it down yourself did not count as “being sealed.” PING…music to our ears 🙂
What a lovely way to learn, and YES! 🙂
Great information for a rookie like me Angela