
I’ve run into so many people lately–both in real life and online—who want to learn to tackle home canning. These beginner canning recipes are a good place for novices to start.
Or you could dive into fermentation with these recipes!!
Easy Canning Recipes
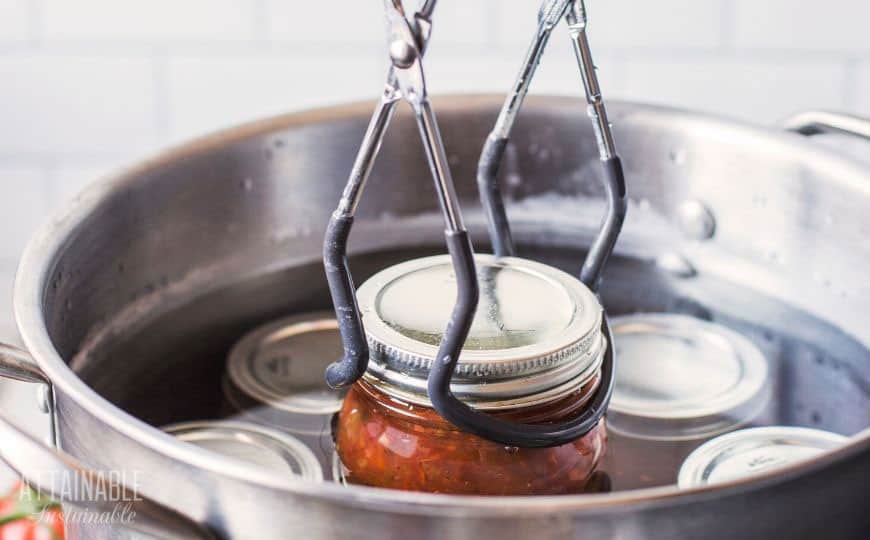
The recipes below can all be safely preserved using a water bath canning method. This method is easy. If you can chop and mix and cook food on the stove top, you will find it easy to take it to the next step, which simply requires putting food into jars and boiling them for a specified amount of time.
Preserving your own food for the pantry, especially if it’s produce from your own garden, can really help cut your family’s grocery budget. Having a pantry full of food offers a little peace of mind, too.
Shortage at the grocery store? Unexpected shortfall in your income? Pulling jars of homemade tomato sauce, dill pickles, or pie fillings can help to add flavor to meals.
Believe me when I tell you that home food preservation is really very easy. There are two canning methods to be aware of: water bath canning and pressure canning. Each requires a different set of equipment.
5 Easy Steps to Transform Your Pantry!
Ready to switch from store bought to homemade? Let me help you make some changes! Grab my FREE five-part guide to getting started.
You just need to keep this one very important thing in mind: Low acid foods like meat and veggies must be processed in a pressure canner. This method of processing jars requires a special piece of equipment. (Note that a pressure cooker is not a safe substitute for a pressure canner.)
High-acid foods, though? Those are safe to preserve in a boiling water bath. Leave the pressure canning to experienced canners for a minute!
A water bath process—basically, immersing full jars in a deep pot of boiling water for a specified period of time—is a great way to preserve a lot of garden fresh produce. You don’t need a special canner for this; head over here to learn how a regular kitchen pot can stand in for a canner.
Items that can be safely processed using a water-bath canning process include jams and jellies, pickles, fruits, and acidified tomato products.
🍅 Safety First!
Canning is an excellent way to preserve food for the pantry, but there are some important safety considerations to keep in mind. The recipes on this site have been made following safe canning procedures by a certified Master Food Preserver.
- Know the difference between water bath canning and pressure canning. Low acid items must be pressure canned for safety.
- Altering ingredients may change the recipe’s pH, posing a safety issue.
- Use the proper jars and lids. Never reuse lids, with the exception of the Tattler or Harvest Right hard plastic lids that are intended for such a purpose.
- For more on canning equipment, please go here.
- Want to learn more? The National Center for Home Food Preservation is the go-to resource for safe canning information.
Acidifying Recipes
You’ll notice that some canning recipes call for the addition of lemon juice, citric acid, or vinegar. This assures that the product within the glass jars have a pH level below 4.6, which is considered by the National Center for Home Food Preservation to be safe for water bath canning. Botulism simply cannot grow in those low acid conditions.
Tomatoes are a borderline ingredient, so the addition of acid — especially in making salsas and other recipes that incorporate low acid ingredients — is important.
Getting Started with Water Bath Canning
Jam and jelly is one of my favorite suggestions for beginners since they’re easy and usually only need 10 or so minutes in the canner.
All of the recipes below are easy enough for beginners though.
Foods can be hot packed or raw packed. Cooked recipes call for ladling hot food into the jars. Raw packing calls for packing fruit pieces and vegetables for pickles into the jars. Once packed, the produce is topped off with a sugar syrup (in the case of fruit) or a vinegar solution (for pickles).
Always follow the instructions as written in safe canning recipes.
The recipes included below all use a water bath method for transforming produce into a delicious shelf stable product. Go here for a detailed look at water bath canning.
The Handcrafted Pantry

Ready to DIY your pantry with more wholesome ingredients? Check out my ebook, The Handcrafted Pantry! Filled with delicious recipes for some of your favorite condiments, snacks, and toppings, it’s the guide you need to start skipping packaged products and embrace homemade.
Water Bath Canning Recipes
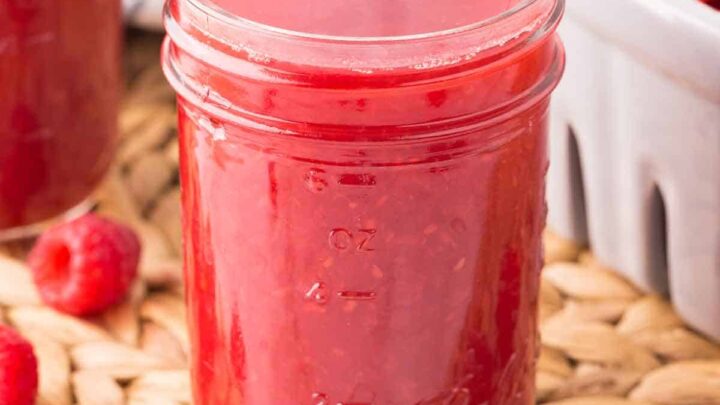
Raspberry Puree
This homemade raspberry puree is a delicious sauce spooned over desserts or a stack of breakfast pancakes. Use it right away, freeze it, or process in a water bath canner for a shelf stable product.
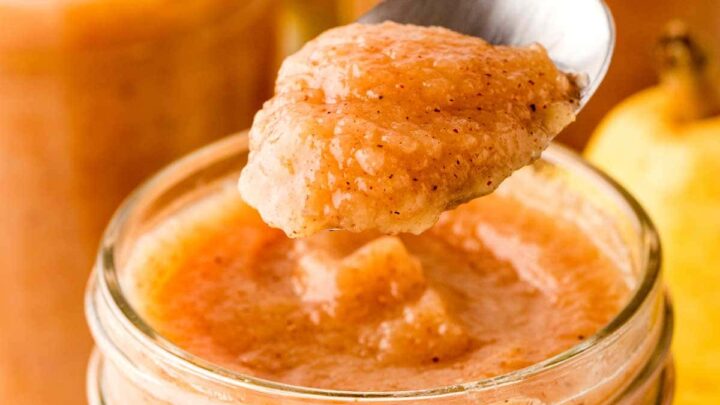
Easy Pear Butter Recipe for Canning
This spiced pear butter captures the flavor of autumn in a jar. Process the jars in a boiling water bath to make them shelf stable, or simply refrigerate the fruit spread and use it up - or give it as a gift - within a couple of weeks.
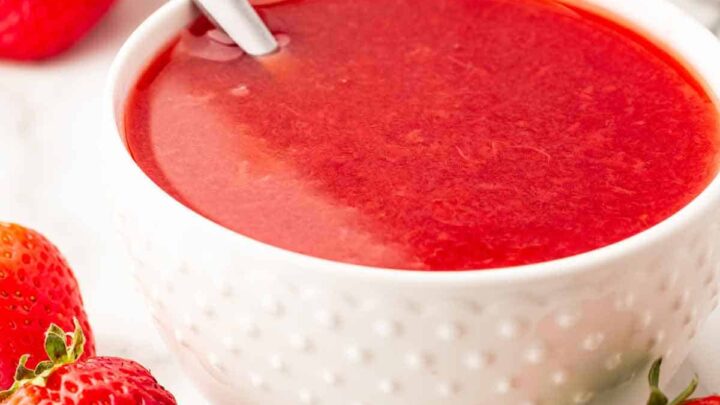
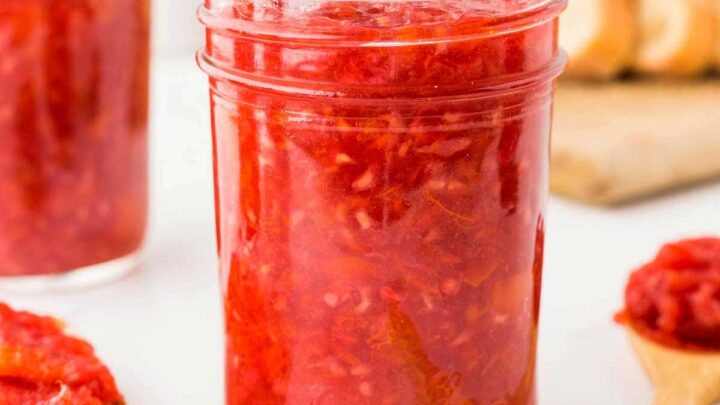
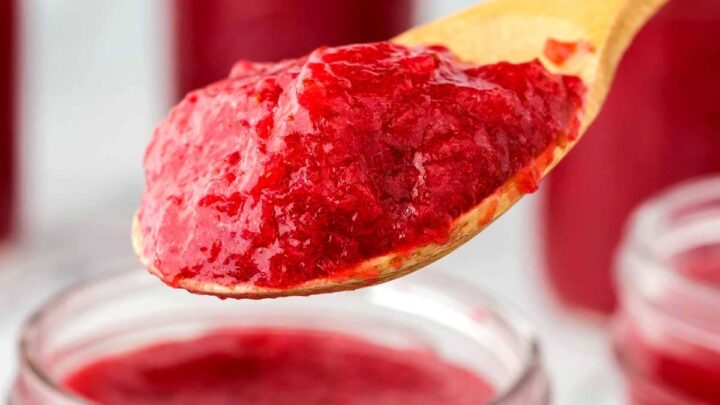
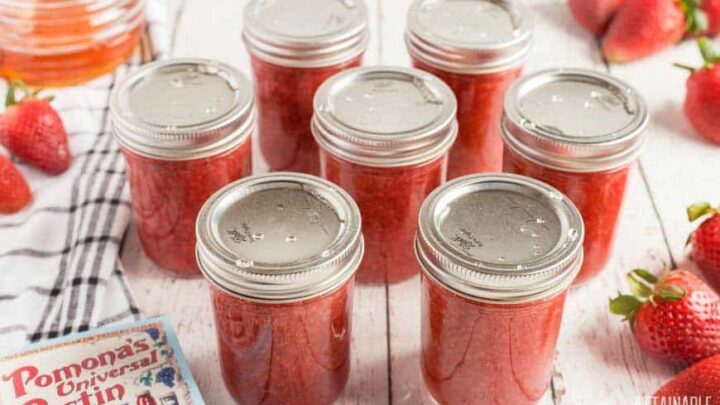
Strawberry Puree
This homemade strawberry puree is a perfect sauce for spooning over desserts or a stack of breakfast pancakes. Use it right away or process in a water bath canner for a shelf stable product.
Homemade Nectarine Jam Recipe
This fruit-forward nectarine jam is an excellent addition to your pantry! Tasting the flavor of summertime in mid-winter? Winning!
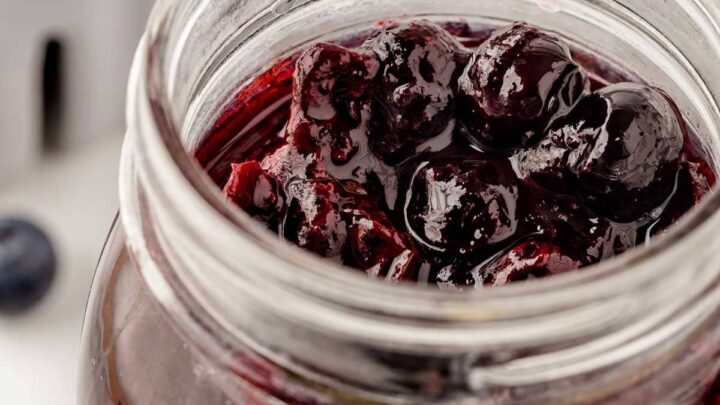
Blueberry Pie Filling Recipe for Canning
This easy recipe is a fun way to save the summertime flavor of juicy blueberries. Use it for pie, scoop some onto yogurt, or spoon some over brie cheese for an easy but elegant appetizer.
Easy Pickled Banana Peppers (Quick Pickled or Canned)
Pickling banana peppers maintains their crispness and adds the tangy bite of vinegar, making them a great condiment to have on hand for a variety of recipes and meals.
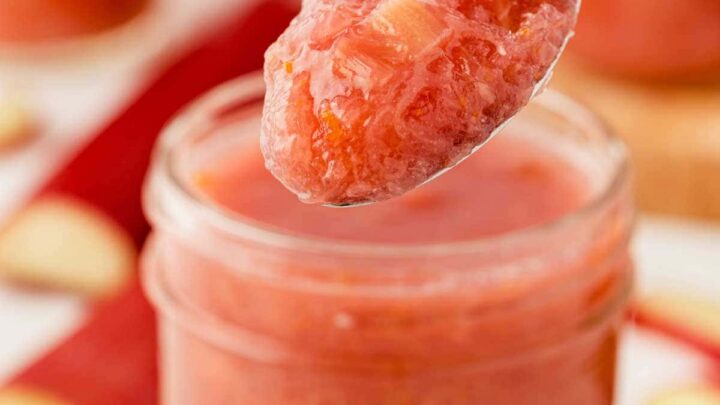
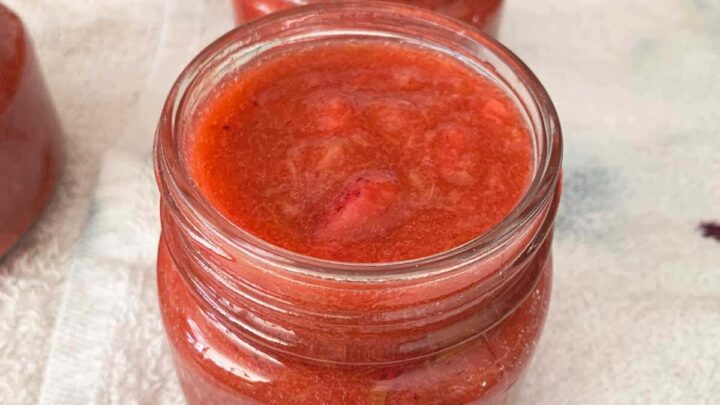
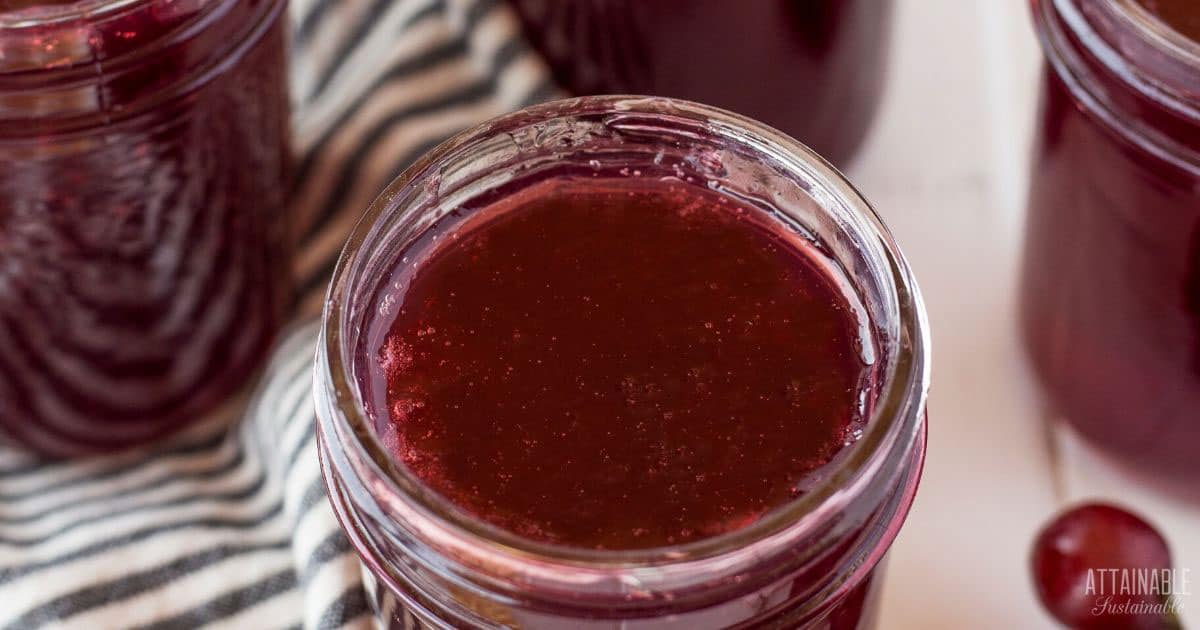
Rhubarb Jam
This lightly spiced rhubarb jam has a hint of ginger and cardamom for a little something different on your morning toast!
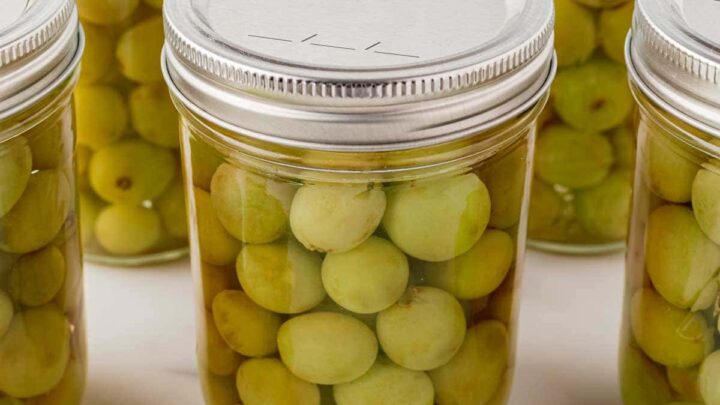
How to Can Grapes
If you've got an abundance of late summer grapes, consider canning them! It's an easy way to preserve them for adding to fruit or chicken salads all year long.
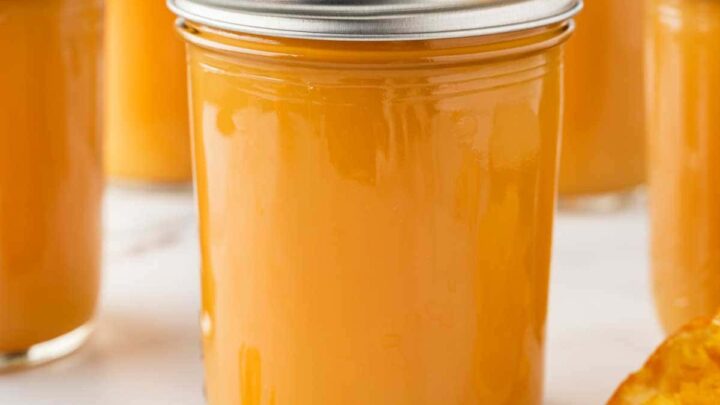
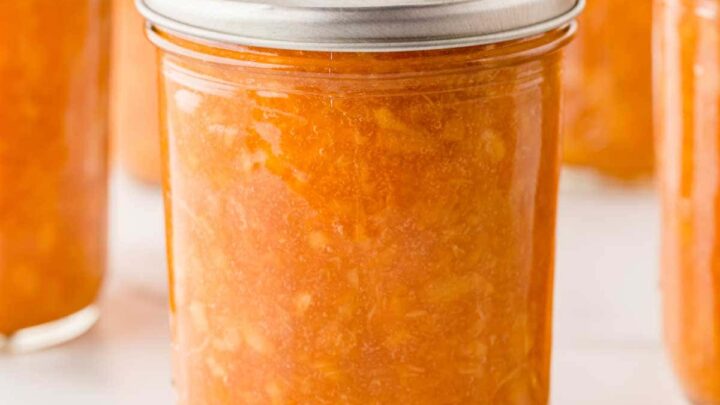
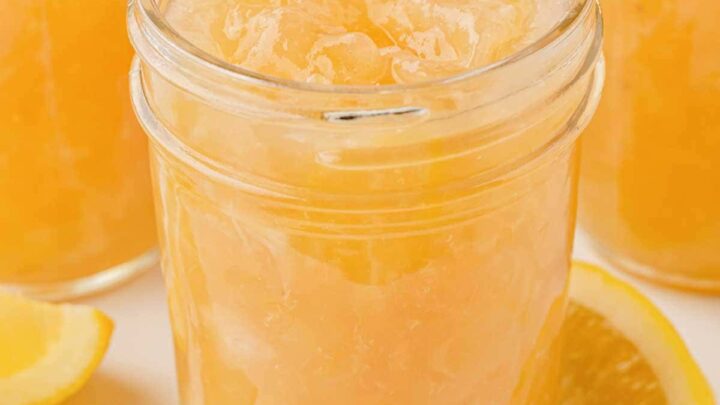
Easy Orange Jelly for Canning
This sunny and bright orange jelly is a great addition to the pantry. Serve it on toast or use it to baste grilled chicken for a pop of flavor.
Raspberry Jam with Apricots
This homemade raspberry jam has a lower sugar content than some recipes. The addition of fresh apricots gives the finished product a fresh, sunny flavor.
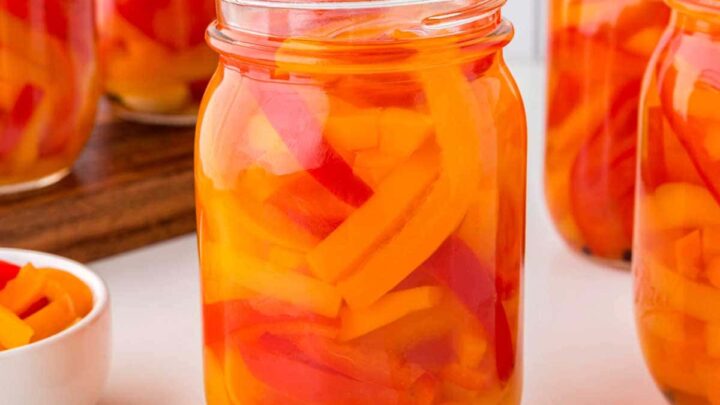
Easy Pickled Peppers Canning Recipe
These easy pickled peppers are a great addition to a well-stocked pantry. They're sweet and tangy and delicious!
Lemon Marmalade
This easy marmalade recipe can be used like any of your favorite jam recipes as a topping for toast. But this delicious recipe is also great as a glaze for grilled meats or stirred into marinades.
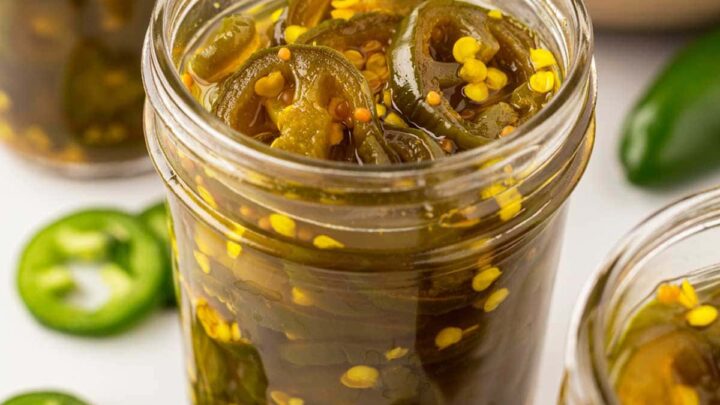
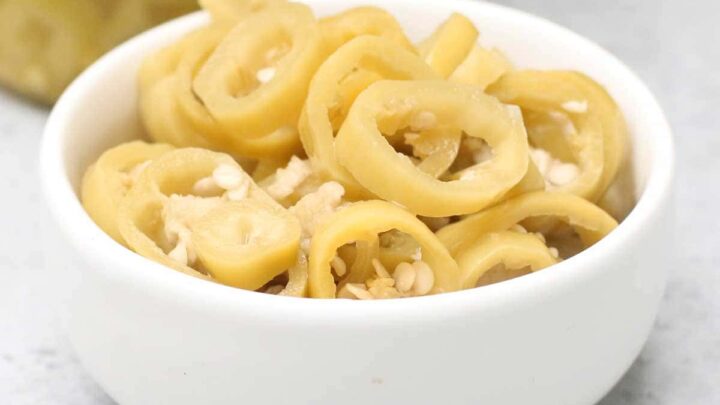
Candied Jalapenos
This recipe for candied jalapeno peppers calls for water bath canning to make a shelf stable product. Alternatively, you can just pop them in the fridge for adding to recipes.
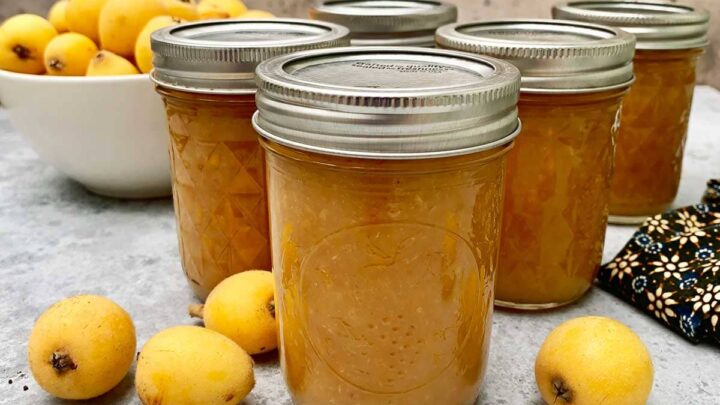
Loquat Jam
It's not likely you'll find this delicious jam at grocery stores! Making loquat jam at home allows you to turn this unique fruit into a flavorful fruit spread.
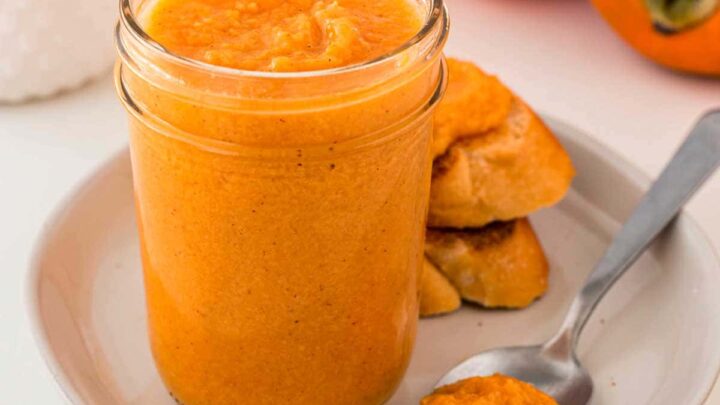
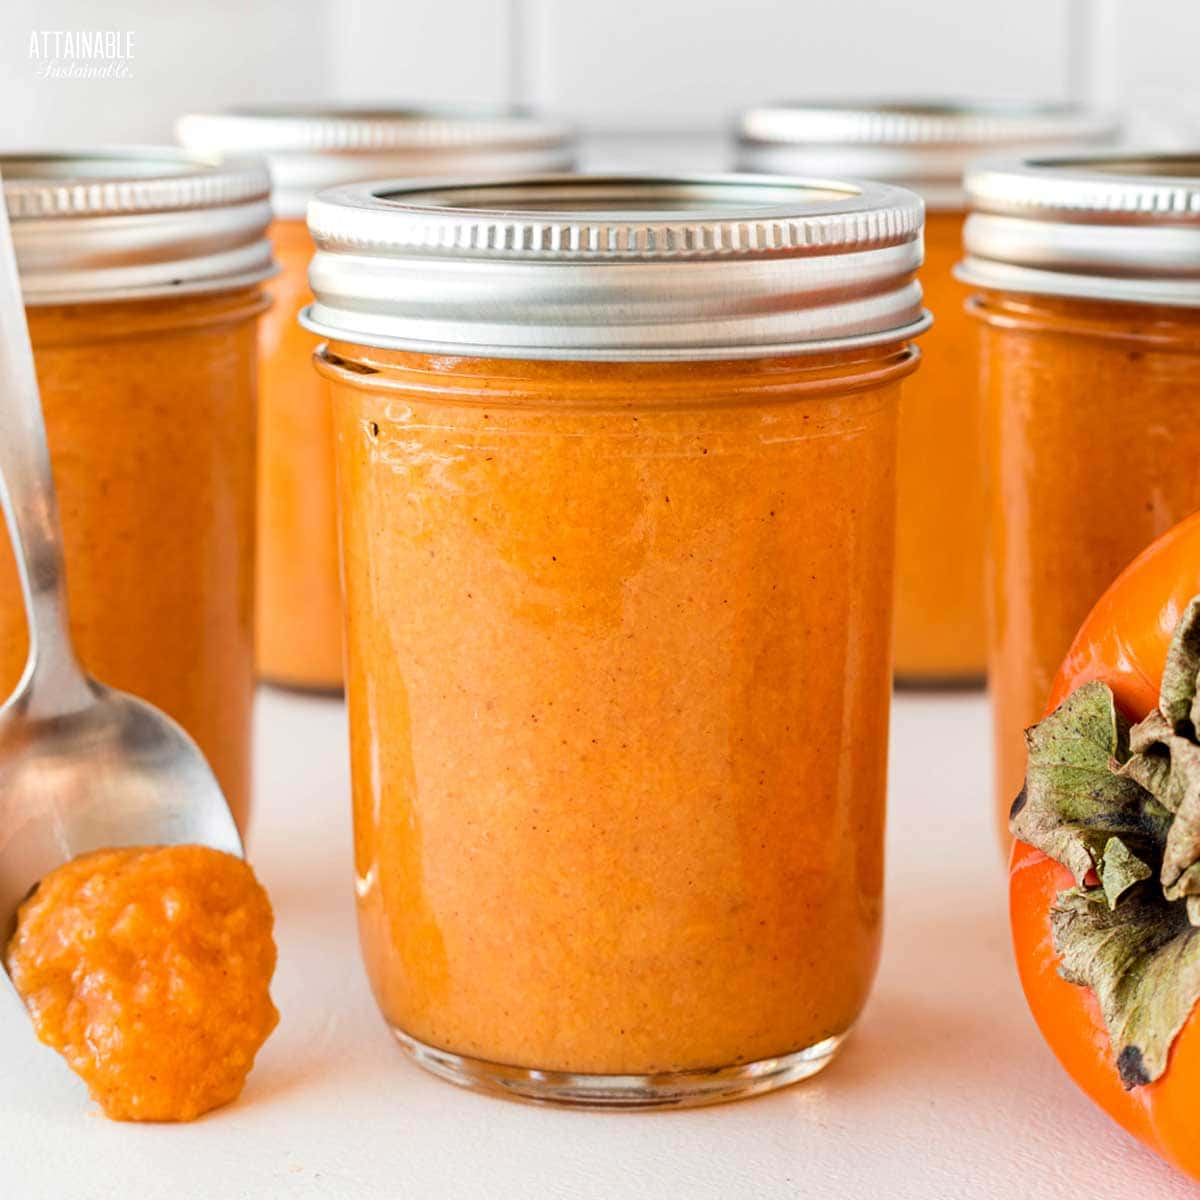
Persimmon Jam
This easy jam recipe turns persimmons into a delicious spiced spread with the flavors of fall. This lower sugar recipe means the flavor of the fruit will shine through!
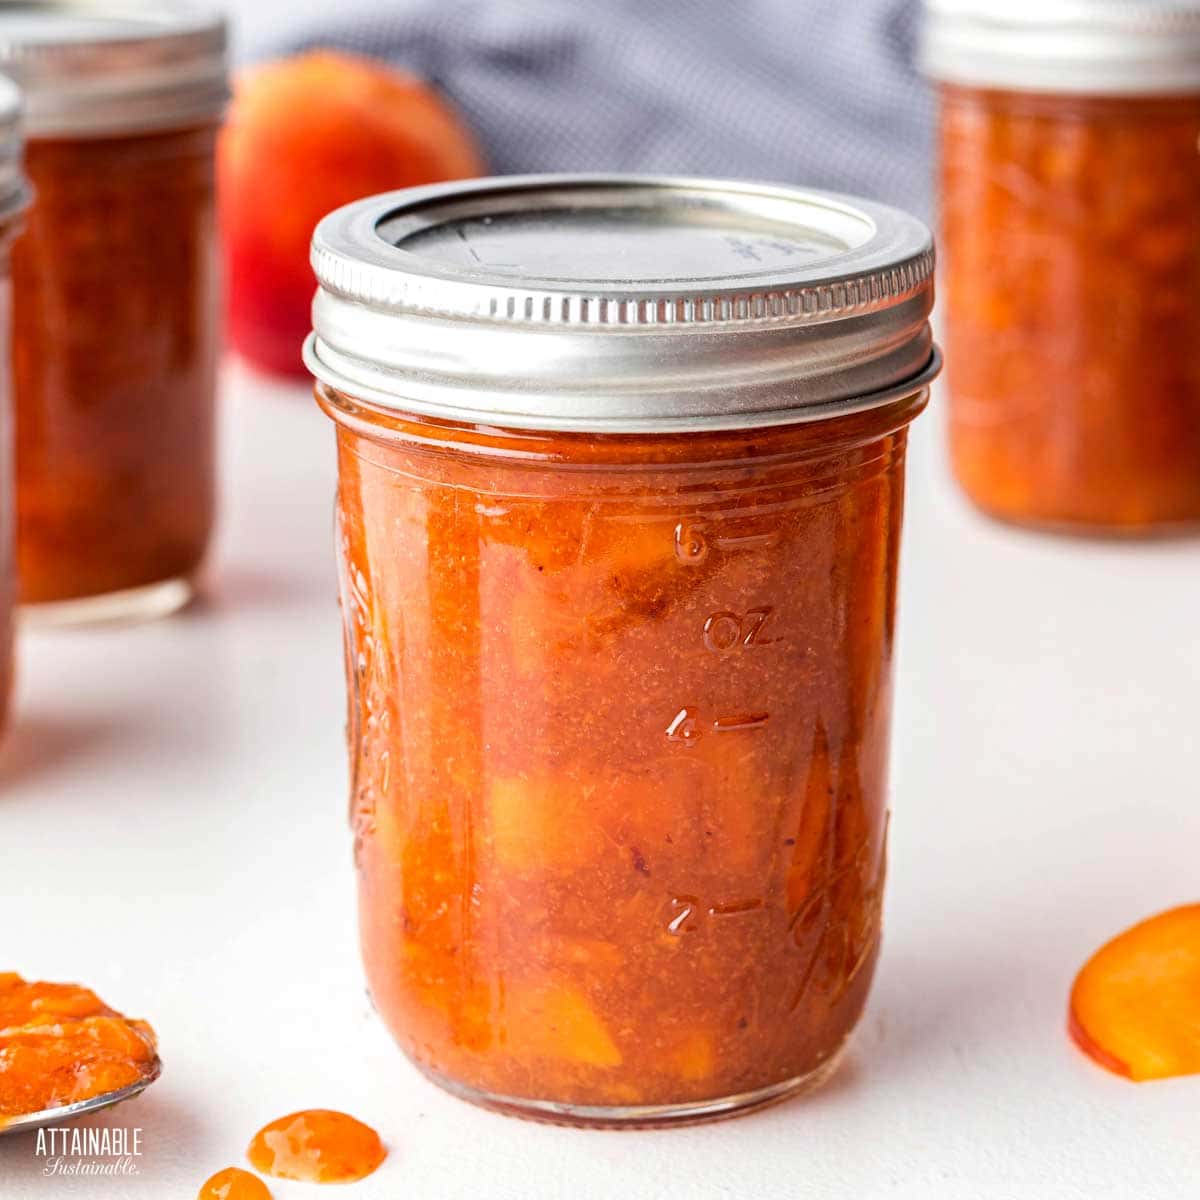
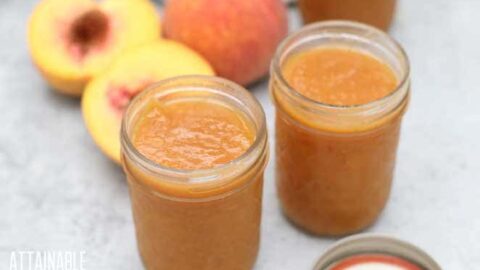
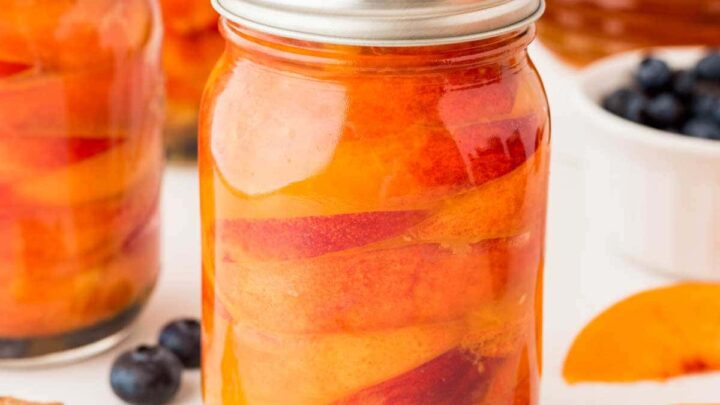
Peach Preserve Recipe
Delicious homemade peach preserves is easy to make for the pantry and it's much less expensive than store-bought jam or preserves.

Old Fashioned Pear Preserves for Canning
Making ginger pear preserves is a delicious way to capture the flavor of fall in a jar. Keep some in your pantry and wrap some jars for gift giving.
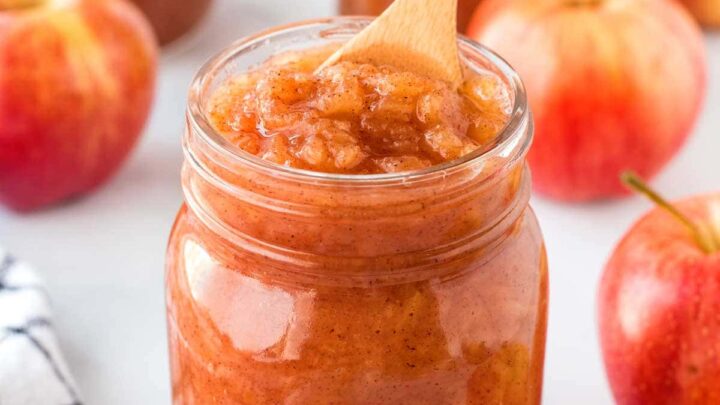
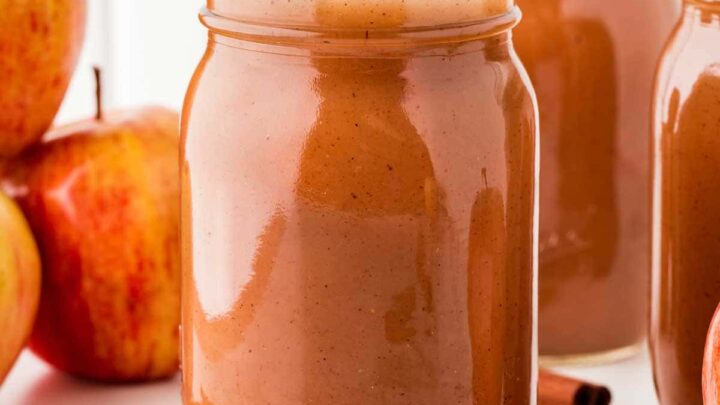
Homemade Applesauce Recipe
This homemade applesauce recipe doesn't require any measuring at all. Eat it fresh or try canning applesauce to stock your pantry. It's like pie in a jar!
Strawberry Rhubarb Jam
The flavor of this easy strawberry rhubarb jam far exceeds what you can pick up in grocery stores. In fact, this particular flavor is hard to find commercially! Consider making a few batches so you can give jars of jam as gifts.
Easy Plum Jam
The old-fashioned flavor of plum jam is one that is hard to find in stores. Making your own is EASY and a great way to preserve the harvest!
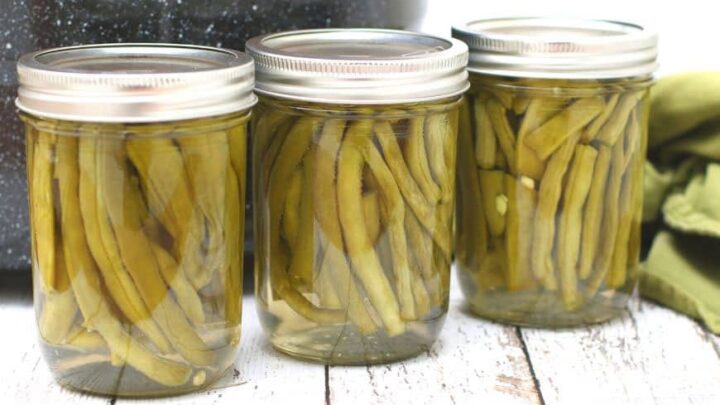
Easy Pickled Green Beans
These pickled green beans are a great way to preserve a summer harvest for the winter pantry. They’re crisp, delicious, and perfect for snacking.

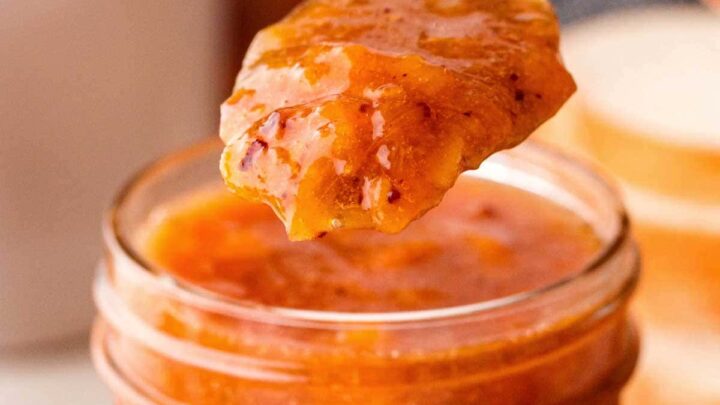
Salsa Recipe for Canning
This salsa recipe for canning is a great way for me to preserve not only the tomatoes, but peppers and onions from the garden, too. I use canned salsa to cap off taco night and as a homegrown ingredient for my chili.
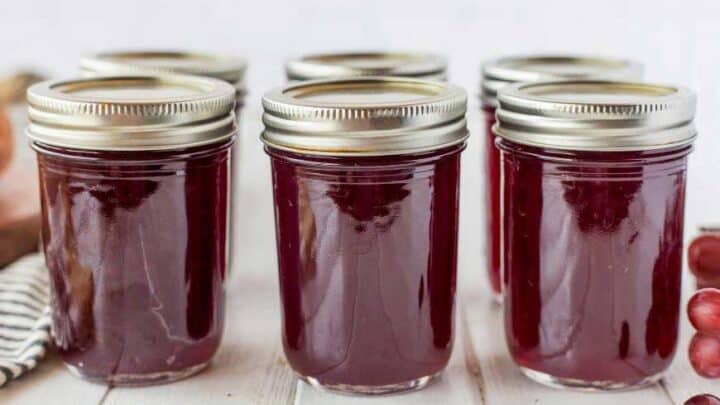
Easy Homemade Grape Jelly
Even if you don’t have ripe grapes on hand, you can whip up a batch of jelly. This grape jelly recipe can be made even in the winter with this little trick.
Homemade Strawberry Jam
This homemade strawberry jam recipe is easy for beginners, sweetened with honey, and you'll be able to savor the goodness of garden fresh berries all year long!
Easy Homemade Peach Butter Recipe
If you're lucky enough to have an abundance of fresh peaches, set some aside to make a batch of peach butter. You can opt to preserve this for the pantry, or simply store in the fridge for topping your breakfast toast, pancakes, or ice cream.

Zucchini Relish Recipe
This zucchini relish recipe is a favorite around here. It's good on burgers, but excellent for mixing into potato salad or egg salad, too.
Sugar-Free Apple Butter
Making this apple butter recipe in the slow cooker is an easy shortcut. Assemble the ingredients and let it cook overnight, and you’ll be ready to start canning first thing in the morning.
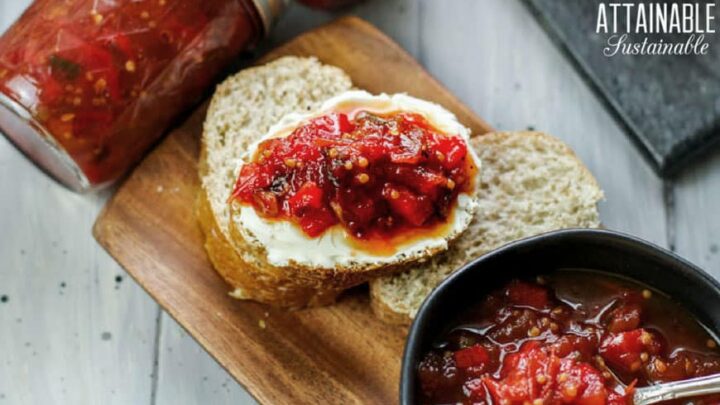
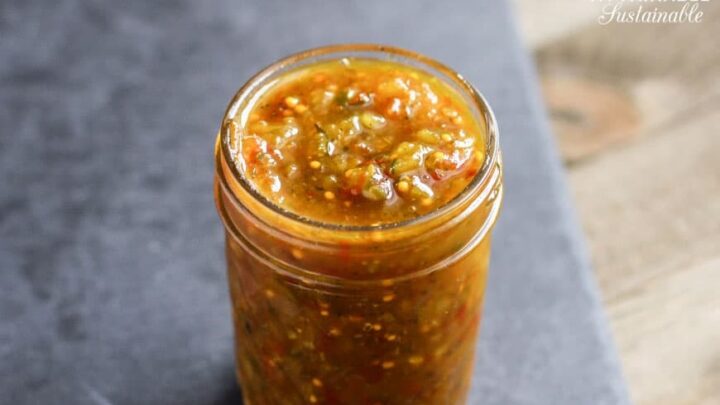
Sweet & Savory Tomato Chutney
This is a fairly new addition to my canning recipes repertoire, but it’s become a must! Tomatoes, peppers, and spices blend to make a zingy topping.
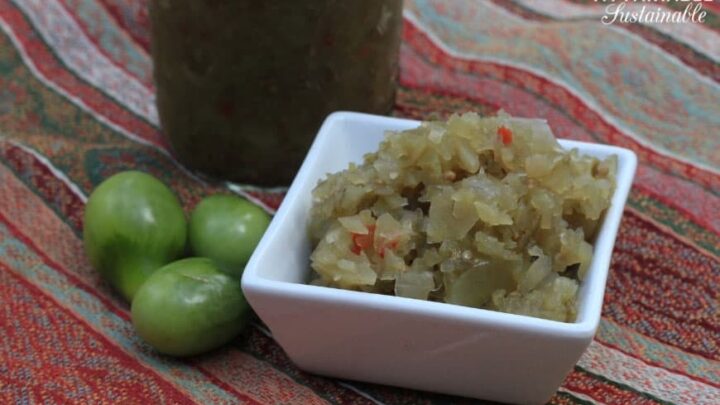
Green Tomato Relish
Save those end-of-season green tomatoes to make chow chow. Yes, it's a funny name, but it's delicious and gives a tangy zip to sandwiches and is great for stirring into egg salad.
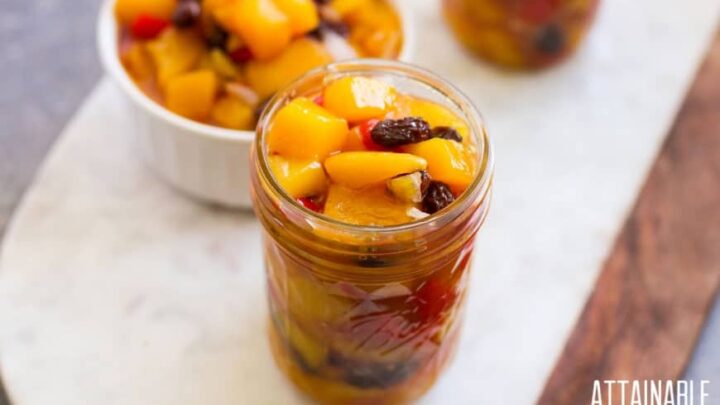
Mango Chutney
Mangoes are something I can forage for here. No mangoes? No reason you can’t substitute peaches.
Watermelon Rind Relish
This watermelon rind relish recipe is a great way to use watermelon rinds for a knock-off old fashioned hamburger relish! A no-waste recipe for good food!
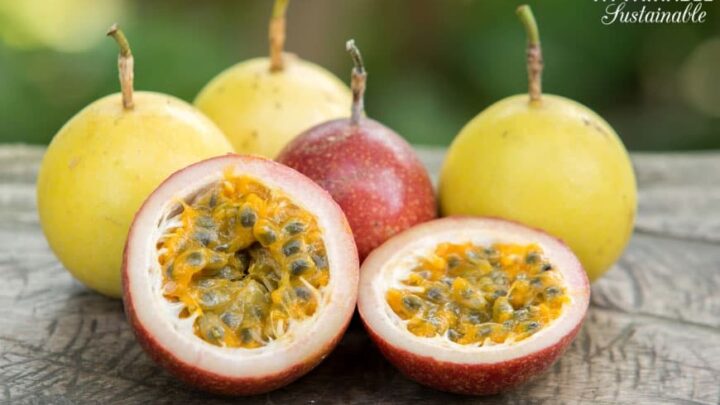
Passion Fruit Jelly
Otherwise known as passion fruit, liliko‘i is Mother Nature’s answer to a SweeTart. The first sour bite of a liliko‘i will jangle all the way back to your jawbone.
Chai Spiced Peaches
Preserve the flavors of summer with this recipe for canned peaches; the addition of chai spices makes these a little extra special.
Blueberry Ginger Nectarines
Canning nectarines with fresh ginger and blueberries gives them a flavorful pop! It's an easy way to preserve the flavor of summertime nectarines.
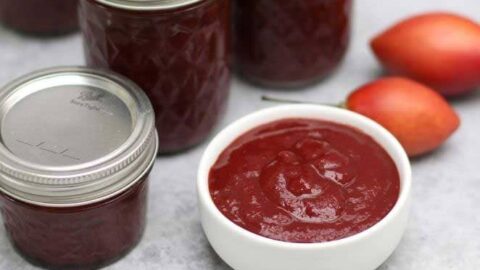
Ketchup
This ketchup recipe for canning starts with tamarillos (aka tree tomatoes), which are often abundant in warmer regions, but you can also use tomatoes.
Originally published in April 2014; this post has been updated.


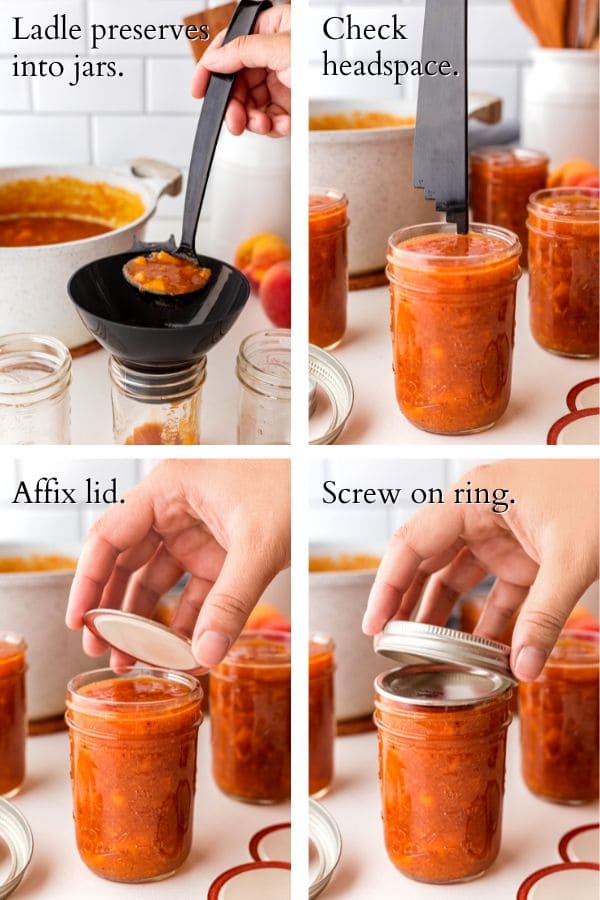
What is a “ring” in the jar?
This post explains it all! https://www.attainable-sustainable.net/canning-equipment/
I love your site and have for years, but I’m concerned with the introductory pic to this article with upside down jars. That’s just not safe!
It’s a box of empty jars.
An infographic for canning with a Pressure Canner would be great.
Love your graphic but needs two tiny amendments. First, NEVER use a knife to release air bubbles unless it’s plastic. Metal knives, no matter how light weight, can fracture the glass of your jars without you knowing it. Second, you need to add to take jar ringsOFF before storing! It’s so important! If your jar comes unsealed (which it can do even weeks or months after processing), a ring on the jar could cause it to re-seal and you are susceptible to eating foods that are no longer bacteria and botulism free.
You can leave rings on it doesn’t hurt it. You should take the rings off and wipe them off and the rim to make sure nothing is on them. I store mine with rings on and they don’t reseal just because rings are on. Second you can use a butter knife I do all the time. It’s just better to use plastic or silicone.
It’s recommended to remove the rings once jars have cooled. If a seal on a jar goes bad and the ring has been left on, it may cause the jar to reseal with temperature or humidity changes. If a seal goes bad on a jar with the ring removed, the lid will pop and stay popped.
I agree, it is important to take the rings off after cooling. Among the reasons already mentioned, if you leave the rings on, they could rust, making it nearly impossible to remove the lid.
Yes, a big problem here in humidity central!
Your pictures are so inspiring! I canned for the first time this year. So far I have canned orange marmalade and pineapple jam. Strawberry jam is next, then hopefully my tomatoes will produce so much that I get tired of canning tomato sauce and salsa!
I don’t think I can ever get tired of canning salsa. Great for chips, toppings, and I add it to my chili and Mexican dishes. Perfect way to preserve the garden bounty!
Yes! I love the infographic! I’ve Cannes using the water bath method three times and it still intimidates me. My husband and I are going to start canning in small batches, a la Food in Jars, and get more practice that way. Thanks for the great post!
The zucchini relish and the wonderful directions accompanying the recipe allowed me to finally try water bath canning. I have said for years I was going to do it then shy away at the last minute. This site made it sound very doable. Everyone says “ it’s easy”, but no one tells you what that means.
Awesome! Now you’re hooked. 🙂