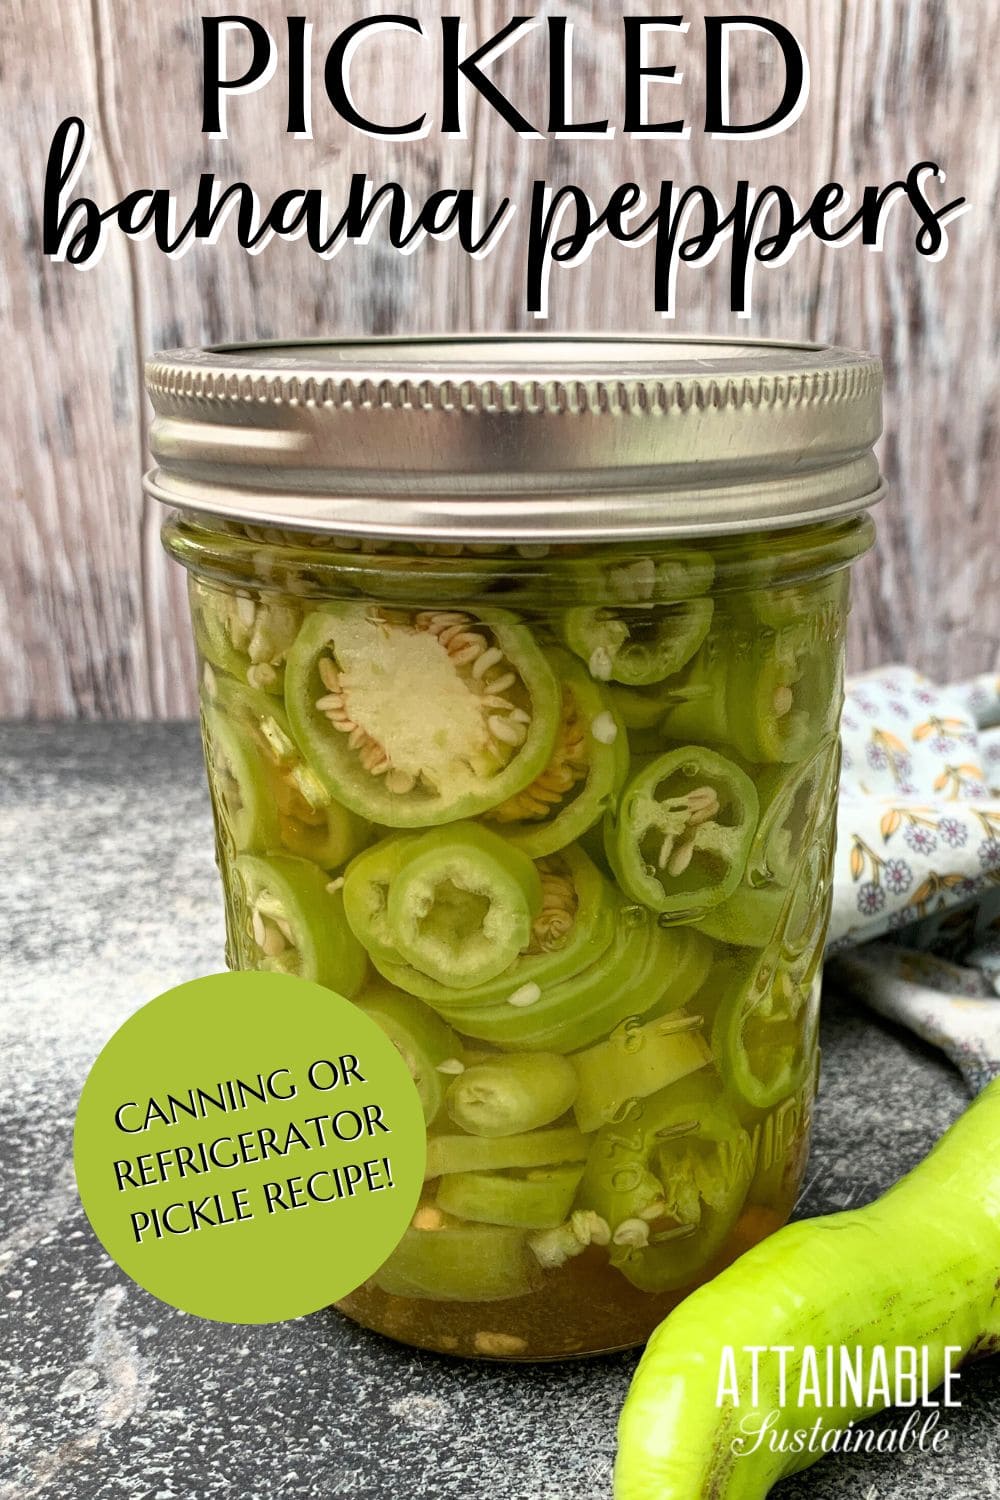
This pickled banana peppers recipe can be made two ways, either as a quick refrigerator pickle or canned for a shelf stable product.
Pickled banana pepper rings are great for adding to sandwiches (as the Subway sandwich chain well knows) or chopping into tuna salad.
If you’re growing banana pepper plants in the garden or find an abundance of banana peppers at the local farmers market, give this easy recipe a try!
 Ready to DIY your pantry with more wholesome ingredients? Check out my new book from National Geographic! Attainable Sustainable Pantry is filled with delicious recipes for some of your favorite condiments, snacks, and toppings, along with an entire section on safe home food preservation. It’s the guide you need to start skipping packaged products and embrace homemade.
Easy Pickled Banana Peppers
As a refrigerator pickle recipe, these peppers take just minutes to make, though you’ll want to let the peppers sit in the brine for a week or so before enjoying them.
For those of you who wish to pickle banana peppers sans refrigeration, there are safe canning guidelines included, too. Either way, this banana pepper recipe will add welcome flavor to whatever you’re eating!
Get a Quick Start Guide to Safe Canning!
Want to learn how to preserve the harvest? Dive in for a look at various canning techniques and methods! Grab my FREE 6-part guide to getting started.
Ingredients
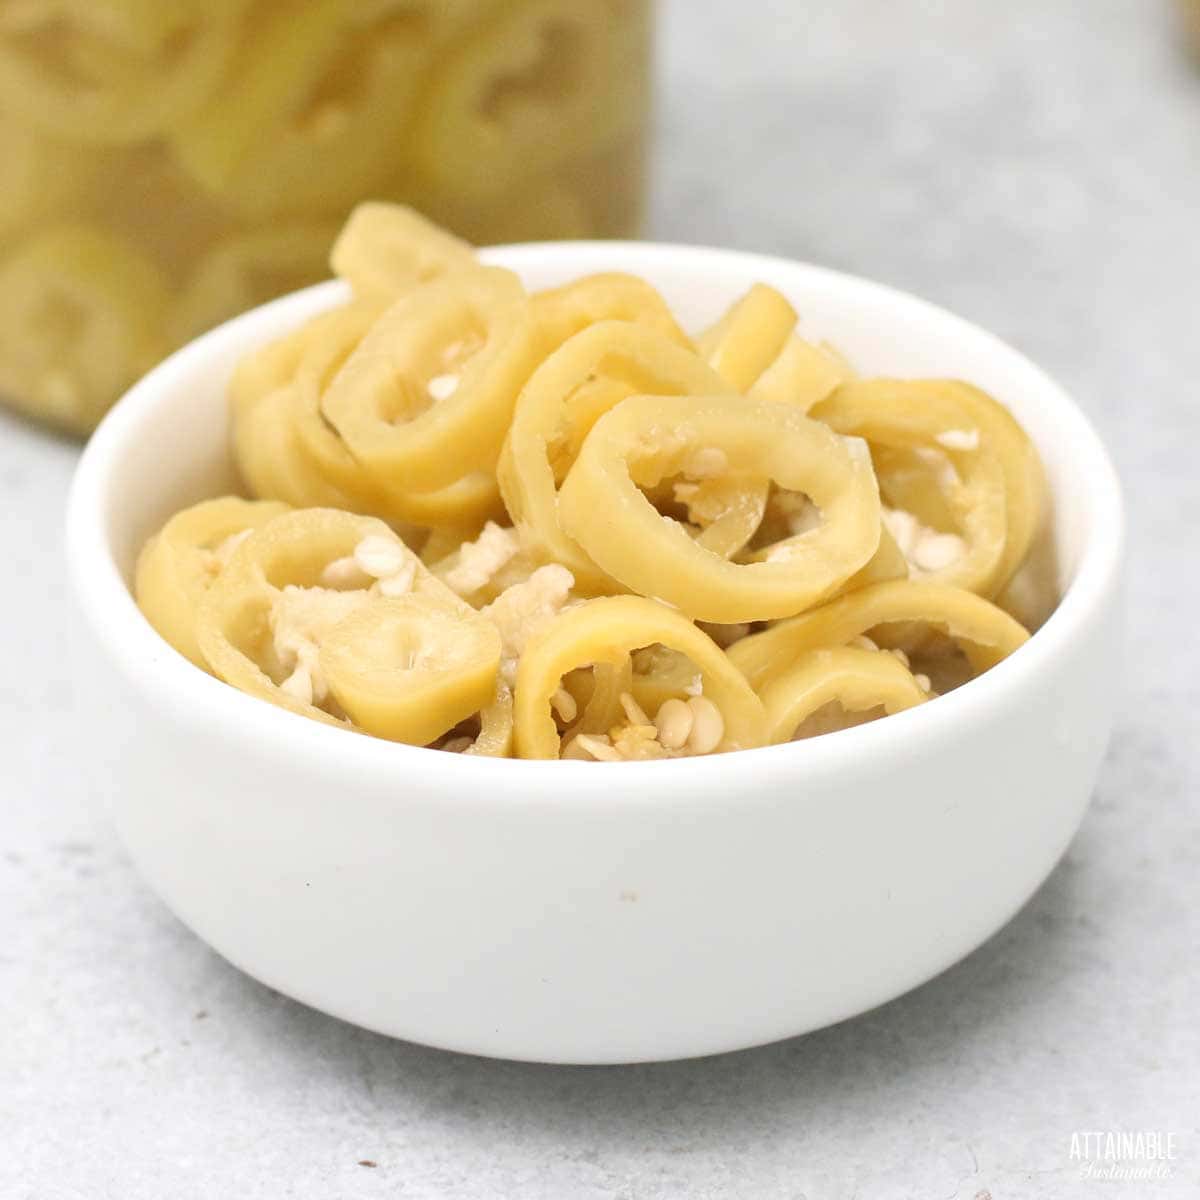
Banana peppers — These yellow peppers have a slight kick (about 500 scoville heat units). They’re quite a bit milder than jalapeño peppers — in fact, some people call them sweet banana peppers — making them good for adding flavor without too much heat. Note that there IS a hot variety, as discussed in this post about growing banana peppers. Be sure you know what you’re getting!
Vinegar — This recipe calls for apple cider vinegar, but you could substitute distilled white vinegar if you like.
Garlic — Adding garlic cloves give the peppers a little pungent flavor.
Sugar — The addition of sugar helps to mellow the brine a little bit; it’s optional, but recommended. Use your favorite brand of granulated cane sugar. I prefer organic.
Salt — Use sea salt, NOT table salt. Table salt often has anti-caking agents that can cause cloudiness in pickles. You can also use canning or pickling salt.
Seasonings — Adding celery seed or mustard seeds is optional; use them if you like, or simply omit them.
Making these Quick Pickled Banana Peppers
To make refrigerator pickles, start by heating the brine. Measure vinegar, water, salt, seasonings, and sugar into a saucepan and bring to a low simmer over medium heat.
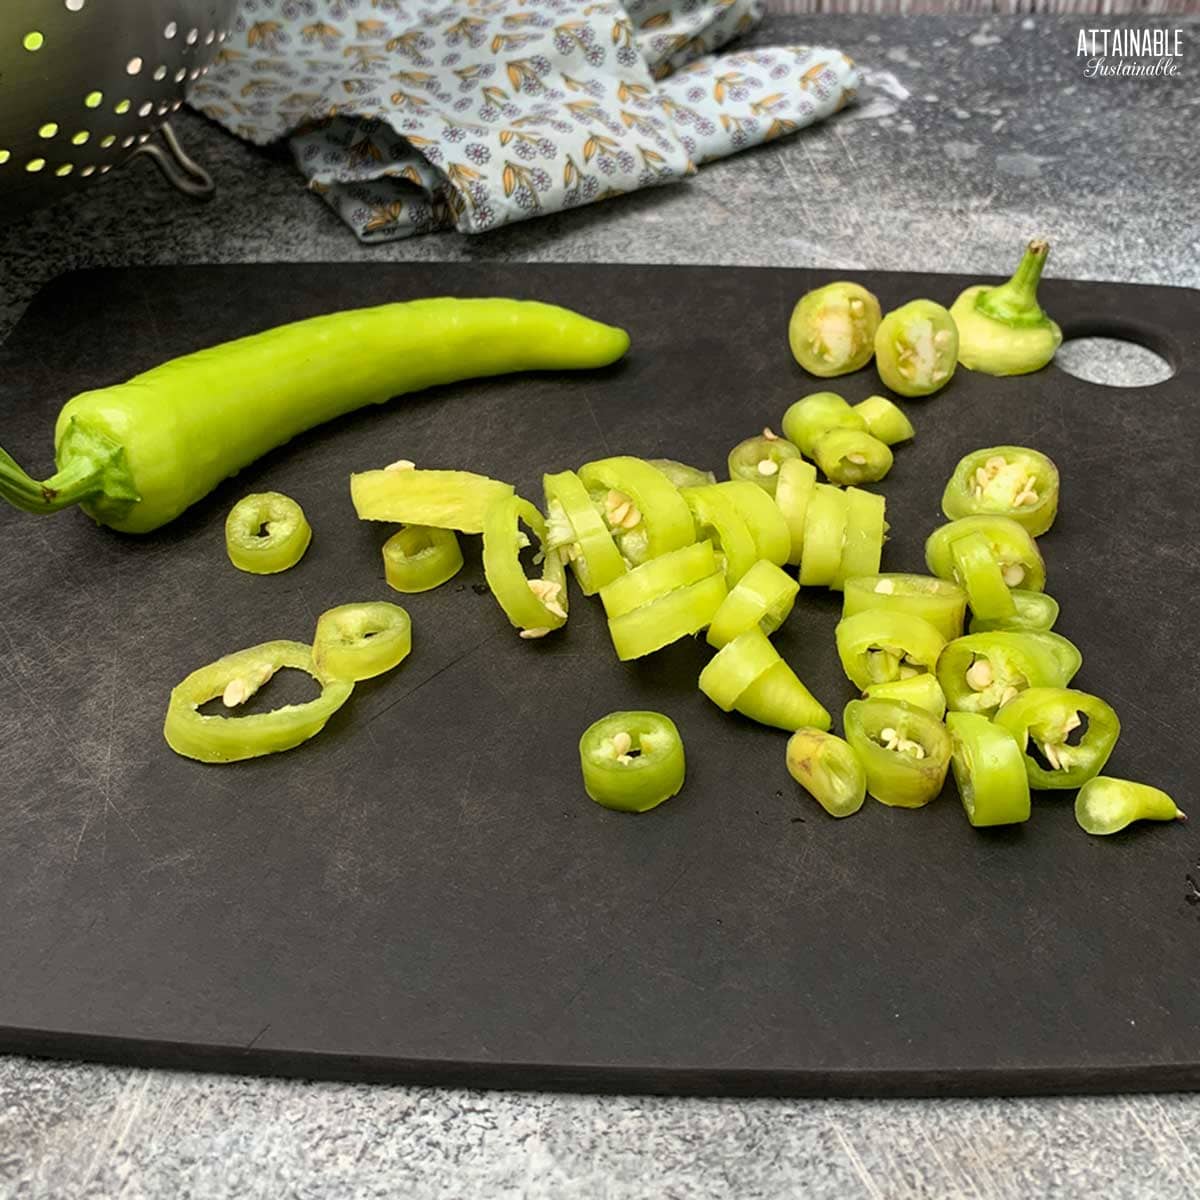
Use a sharp knife or mandoline to slice the peppers into rings 1/8″ thick or less. Transfer sliced banana peppers — seeds and all — into pint-sized jars, pushing them down slightly. This recipe will fill three pint sized jars.
Pour hot brine over the peppers in the jars; a canning funnel makes it easy to do this without spilling. Twist on a lid and allow the jars to cool to room temperature. Transfer to refrigerator and allow to marinate for several days before using them.
These candied jalapeño peppers are another favorite pepper recipe. Or check out all of my pickle recipes here.
Canning the Peppers (Optional!)
Banana peppers (and all peppers) are a low-acid food. The addition of vinegar creates an acidic environment making this recipe safe to process in a water bath canner, based on USDA guidelines.
Start by preparing the pickling brine, combining the vinegar, salt, sugar, and turmeric in a saucepan and bring to a low boil.
While the brine is heating, prepare the peppers by trimming off the stem. Slice into rings.
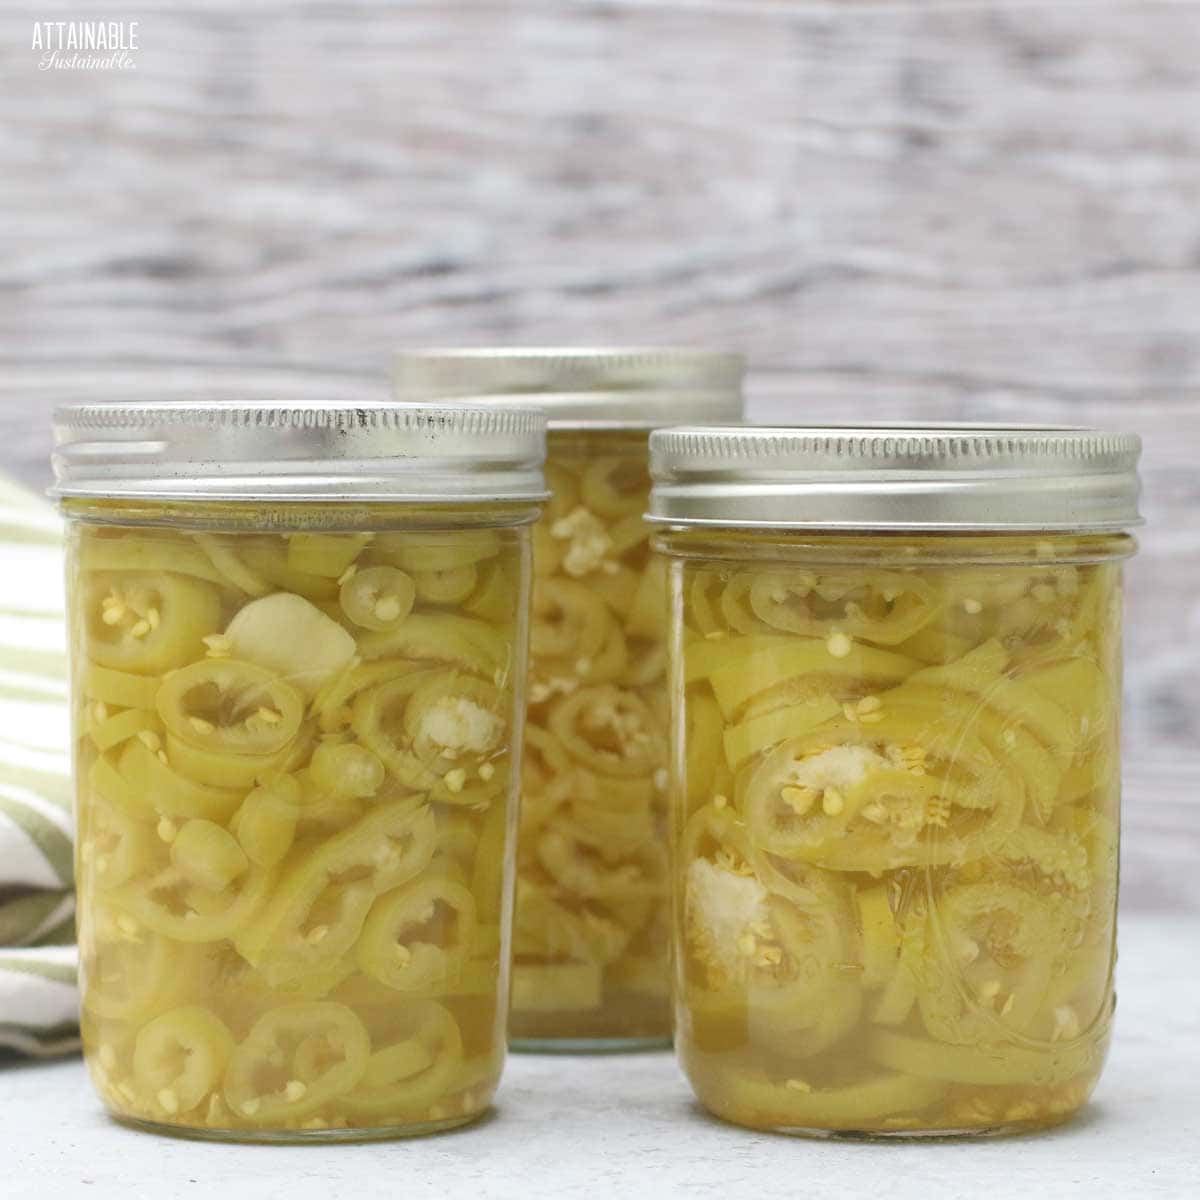
Drop one clove of garlic into each of the pint size mason jars, then divide the pepper rings between the three jars, pressing them in somewhat.
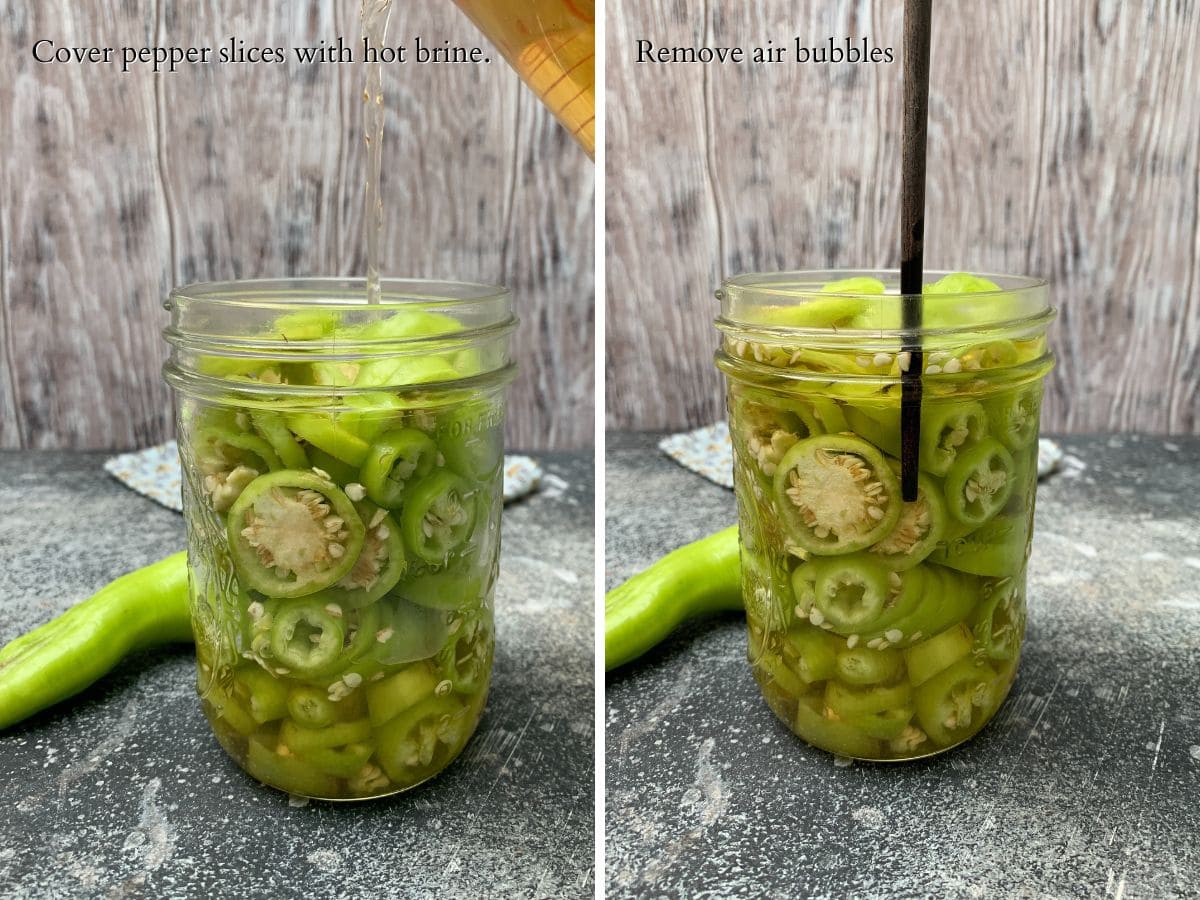
Pour the hot liquid over the peppers to within a half-inch headspace (the distance between the top of the food and the top of the jar ). Use a non-metallic knife or chopstick to release any air bubbles.
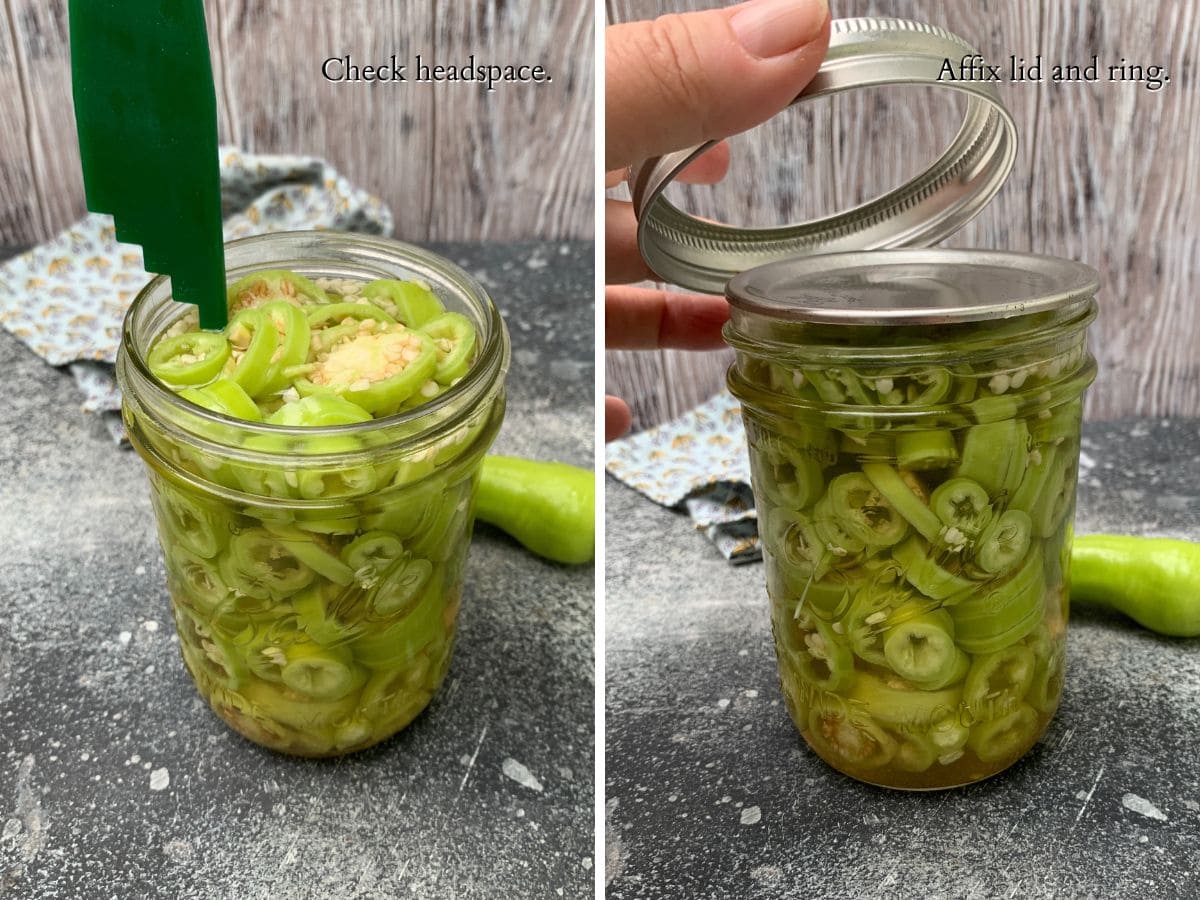
Check headspace and add extra brine if necessary to maintain the proper headspace. Wipe each jar rim to remove residue, set a jar lid in place, and screw on a ring.
Use a jar lifter to transfer jars into the gently boiling water. As stated above, the water in the pot should cover the jars by two inches. If necessary add more water to the canner.
Process jars for the recommended time. (See below.) When time is up, use the jar lifter to transfer hot jars to a flat surface that’s padded with a kitchen towel. Allow jars to cool completely. As they cool, you’ll begin to hear a canner’s favorite sound: That lovely little tink! that indicates a successful seal.
Once jars are thoroughly cooled, check the seal on all of the jars. The lid should be concave and solid. If it flexes at all, it’s not sealed. (Place any jars that didn’t seal in the refrigerator and use them first. They are not shelf stable.)
Remove bands from cooled jars and rinse the jars. Store jars without the bands at room temperature in a cool place.
🍅 Safety First!
Canning is an excellent way to preserve food for the pantry, but there are some important safety considerations to keep in mind. The recipes on this site have been made following safe canning procedures by a certified Master Food Preserver.
- Know the difference between water bath canning and pressure canning. Low acid items must be pressure canned for safety.
- Altering ingredients may change the recipe’s pH, posing a safety issue.
- Use the proper jars and lids. Never reuse lids, with the exception of the Tattler or Harvest Right hard plastic lids that are intended for such a purpose.
- For more on canning equipment, please go here.
- Want to learn more? The National Center for Home Food Preservation is the go-to resource for safe canning information.
Using these Pickled Peppers
My son, a lover of hot peppers, will tell you that just about any recipe will benefit from a sprinkling of these crunchy banana . He uses hot peppers on everything!
- Stir some into scrambled eggs
- Sprinkle onto your favorite sandwich
- Roll up into a shredded chicken taco
- Sprinkle them on nachos
- Add them to quesadillas
- Stir them into pasta salad
Easy Pickled Banana Peppers (Quick Pickled or Canned)
Equipment
- 3 pint jars
- 3 canning lids and rings
Ingredients
- 2 cups apple cider vinegar
- 1 ½ cups water
- 2 teaspoons non-iodized salt see notes
- 2 tablespoons sugar
- ¼ teaspoon turmeric
- 3 cloves garlic peeled
- 1 ½ pound banana peppers
- ¾ teaspoon celery seed optional
- 3 teaspoons mustard seeds optional
Instructions
Recipe yields 3 pint jars.
Refrigerator Pickled Peppers
- Combine vinegar, water, salt, sugar, and turmeric in a small saucepan and heat to boiling.2 cups apple cider vinegar, 1 1/2 cups water, 2 teaspoons non-iodized salt, 2 tablespoons sugar, 1/4 teaspoon turmeric
- While liquid is heating, wash peppers and cut off the stems.
- Place 1/4 teaspoon celery seed, 1 teaspoon mustard seed, and 1 clove garlic into each pint-size jar.3/4 teaspoon celery seed, 3 teaspoons mustard seeds, 3 cloves garlic
- Slice peppers into 1/8-inch rings and add to jars.1 1/2 pound banana peppers
- Pour the warm brine over the peppers in the jar; seal.
- Cover with a lid, cool to room temperature, and let marinate in the fridge for several days before using them.
- Store in the refrigerator for a couple of months or more.
Canning Peppers (optional)
Prepare for Canning
- Wash the jars you'll use in hot soapy water, making sure each is clean and free of nicks in the rim, which could impede sealing.
- Place empty jars in a canning pot with enough water to cover by an inch or two, cover pot, and set on high heat. It can take awhile for the water to heat, so get it started before you begin making the recipe.
- Wash canning lids and rings in hot water; set aside.
Making and Processing the Pickles
- Combine vinegar, salt, sugar, and turmeric in a small saucepan and heat to boiling.
- While liquid is heating, wash peppers and cut off the stems.
- Slice peppers into 1/8-inch rings.
- Remove empty jars from canner and place on a towel-lined countertop. Drop one clove garlic in each jar. Divide the banana pepper rings between 3 pint jars, packing slightly.
- Pour the hot brine over the peppers in the jar to a 1/2" headspace.
- Run a non-metallic butter knife or canning tool around the inside of the jar to release any air bubbles. Add more liquid to the jar if necessary to maintain 1/2" headspace.
- Wipe the jar rims; a clean rim is essential to a good seal.
- Set a flat lid in place. Screw a canning ring on, firmly tight.
- Use a jar lifter to gently place jars into the boiling water bath. Be sure to put a wire rack in the bottom of the pot to prevent the jars from sitting directly on the bottom. Water should cover the top of the jars by two inches. The water will cool somewhat in reaction to the addition of the jars. Return the water to a low boil and then set the timer.
- Process pint jars for 10 minutes. (15 minutes if you are situated between 1,000- 6,000' in elevation, 20 minutes over 6,000 elevation.)
- Remove jars to a flat surface and allow to cool to room temperature.
- Check seals. Lids should be solid and pulled down tight. (if they flex and pop, the jar didn’t seal; put unsealed jars in the refrigerator and use those first).
- Remove rings and wash outsides of jars. Store in a cool, dry place. These canned peppers have a shelf life of 12-18 months.
Notes
- Recipe yields 3 pint jars.
- Feel free to mix and match the peppers; adding a chili pepper will increase the heat slightly. It takes about 4-5 banana peppers to fill a pint jar.
- If you're not using the canning process to preserve these banana peppers for long-term storage, you can use any upcycled glass jar. If you are using the hot water bath canning method, it's crucial that you use specialized canning jars and lids.
- Salt with additives can cause pickles to become cloudy. The best salt options for pickles include sea salt, kosher salt, or pickling and canning salt.
- SOURCE: Adapted from the United States Department of Agriculture (USDA) Complete Guide to Home Canning, pickled hot peppers, page 6-22.


