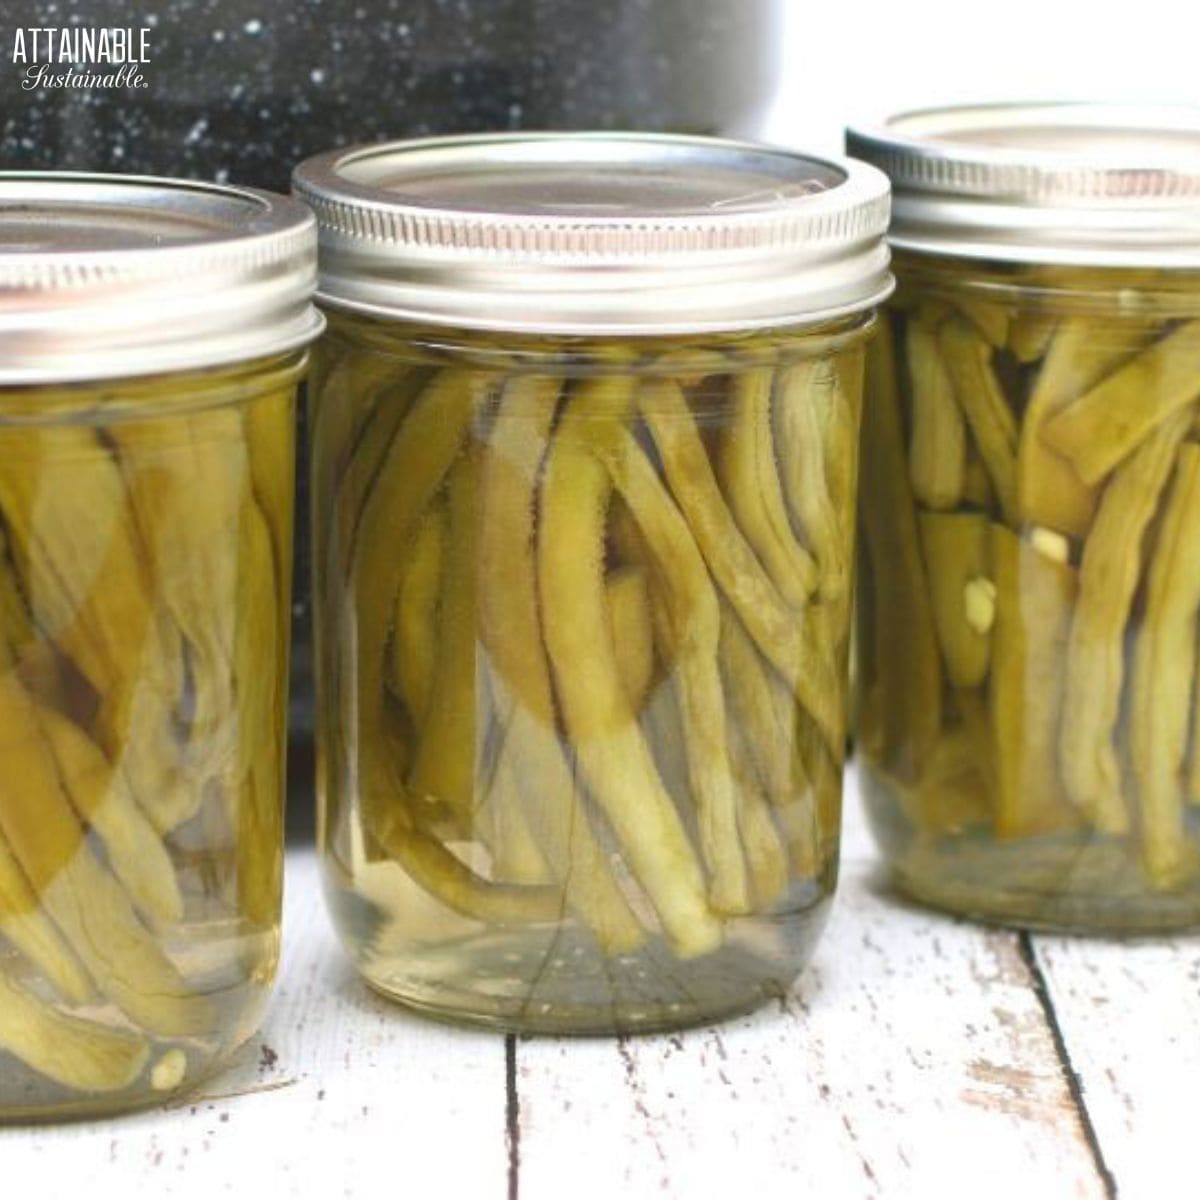
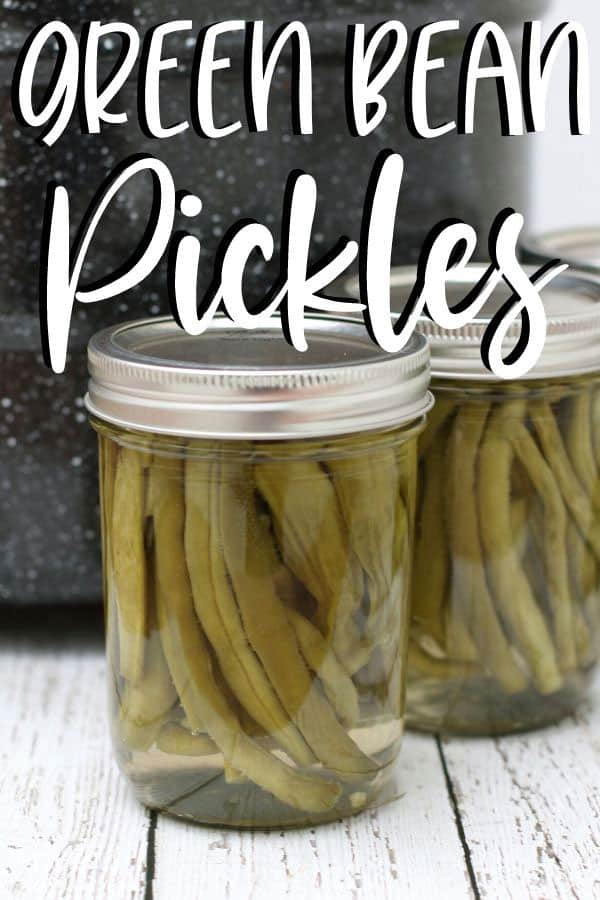
These green bean pickles are a great way to preserve a summer harvest for the winter pantry. They’re crisp and delicious, and with an easy boiling water bath process, they’re shelf stable.
Not ready to start canning quite yet? Try these refrigerator dilly beans.
Serve these pickled green beans as a snack, use them to stir a bloody Mary, or add them to your favorite three bean salad.
 Ready to DIY your pantry with more wholesome ingredients? Check out my new book from National Geographic! Attainable Sustainable Pantry is filled with delicious recipes for some of your favorite condiments, snacks, and toppings, along with an entire section on safe home food preservation. It’s the guide you need to start skipping packaged products and embrace homemade.
Making Pickled Green Beans
The basic recipe for pickling brine — vinegar, water, salt — can be used to make either dill beans or spicy green bean pickles. Choose the spice combination you like!
Ingredients
Fresh Green Beans — Preserve all of the summer garden bounty easily when you make pickles. These are fun to eat straight out of the jar.
Vinegar — Use white vinegar or apple cider vinegar, either one is fine. Be mindful of this little tidbit when buying apple cider vinegar.
Get a Quick Start Guide to Safe Canning!
Want to learn how to preserve the harvest? Dive in for a look at various canning techniques and methods! Grab my FREE 6-part guide to getting started.
Pickling Salt — This is a fine grain salt without any additives (no anti caking agents) that will easily and fully dissolve into the water. Read more about pickling salt vs. table salt in canning.
Garlic — Please only use fresh cloves here! It will give you the best flavor for pickled green beans.
How to Make Green Bean Pickles
Prepare the beans by washing and trimming them to fit into pint size canning jars, then pack them in snugly. The more tightly they’re packed into the jar, the less the beans will tend to float once they’re processed.
Filling the Jars
If you’re new to pickling and filling jars, worry not. It’s easy. Just tilt the jar as you fill it, to keep the beans pointing in mostly the same direction. This allows you to get more in the jar than just putting them in all catty-wampus.
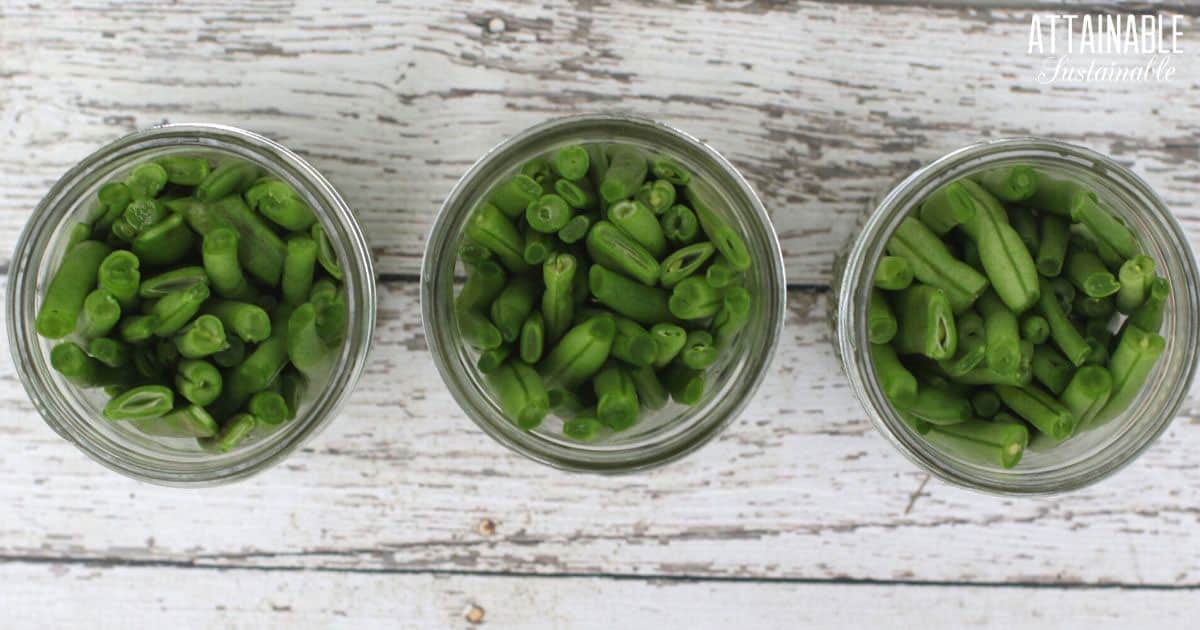
This is considered a “raw pack” method, meaning that you won’t cook the beans before packing them into the jar. The bright green raw beans will darken after being processed. This is normal.
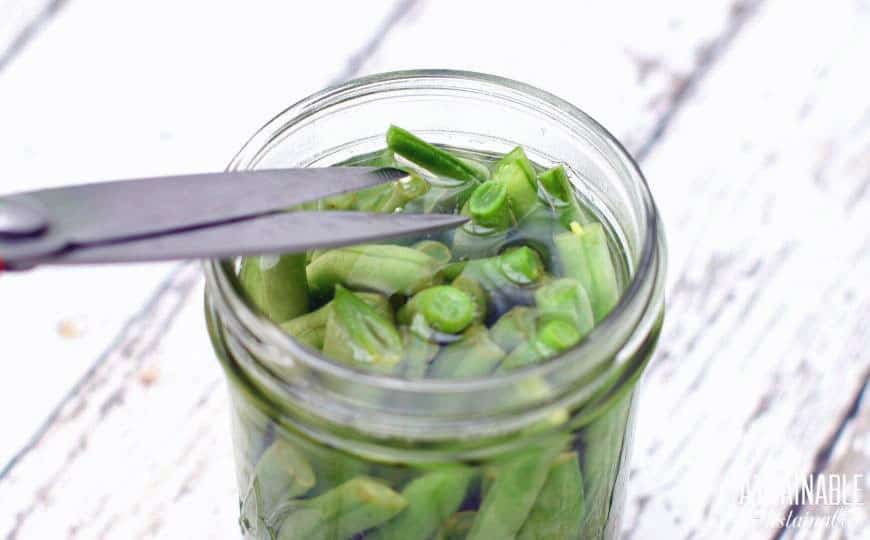
After heating the brine, pour it over the green beans in the jar. If there are some beans sticking up too high, I’ve found the easiest way to deal with this is to snip them off with kitchen shears.
🍅 Safety First!
Canning is an excellent way to preserve food for the pantry, but there are some important safety considerations to keep in mind. The recipes on this site have been made following safe canning procedures by a certified Master Food Preserver.
- Know the difference between water bath canning and pressure canning. Low acid items must be pressure canned for safety.
- Altering ingredients may change the recipe’s pH, posing a safety issue.
- Use the proper jars and lids. Never reuse lids, with the exception of the Tattler or Harvest Right hard plastic lids that are intended for such a purpose.
- For more on canning equipment, please go here.
- Want to learn more? The National Center for Home Food Preservation is the go-to resource for safe canning information.
The Canning Process
Green beans are a low-acid food. The addition of vinegar creates an acidic environment making this recipe safe to process in a water bath canner. If you wish to can green beans (not pickled) you MUST use a pressure canner to create a safe product. This recipe has been adapted from one on the National Center for Home Food Preservation’s website.
Wipe each jar rim to remove residue, set a jar lid in place, and screw on a ring.
Use a jar lifter to transfer jars into the gently boiling water. As stated above, the water in the pot should cover the jars by two inches. If necessary add more water to the canner.
Process jars for the recommended time. (See below.) When time is up, use the jar lifter to transfer hot jars to a flat surface that’s padded with a kitchen towel. Allow jars to cool completely. As they cool, you’ll begin to hear a canner’s favorite sound: That lovely little tink! that indicates a successful seal.
Once jars are thoroughly cooled, check the seal on all of the jars. The lid should be concave and solid. If it flexes at all, it’s not sealed. (Place any jars that didn’t seal in the refrigerator and use them first. They are not shelf stable.)
Remove bands from cooled jars and rinse the jars. Store jars without the bands at room temperature in a cool place.

FAQs
How long can I keep pickled green beans?
Stored in a cool, dark place, the unopened jars should last about a year. Make sure to label and date everything you can and use the “first in, first out” principle.
Do I need to use pickling salt?
You can substitute Kosher salt if this is something you keep on hand and don’t want to seek out pickling or canning salt. Just make sure it doesn’t contain any anti caking agents.
Using Pickled Green Beans
Use these as a side dish on their own, in a Bloody Mary, or making a bean salad. Their flavor is so delightful I bet you’ll enjoy eating them straight out of the jar!
You can also cook and can dried beans so that you have all you need for a bean salad, completely from scratch. And if you aren’t up for learning how to can just yet, refrigerator pickles are a great option.
Storing Green Bean Pickles
Like all of your canning bounty, keep them in a cool room out of direct sunlight for the best longevity.
★ Did you make these pickled green beans? Don’t forget to rate the recipe! ★
Easy Pickled Green Beans for Canning
Equipment
- 4 pint jars
- 4 canning lids and rings
- canning funnel
- water bath canner with lid or deep pot
- jar tongs
- canning bubble popper/measurer optional but handy
Ingredients
- 2 lbs fresh tender green or yellow beans 5 to 6 inches long
- ¼ cup pickling salt
- 2 cups vinegar 5 percent - I used apple cider vinegar
- 2 cups water
- 4 cloves garlic
For dilly beans:
- ½ teaspoon red pepper flakes
- 8 fresh dill heads or 4 teaspoons dill seed
For spicy pickled green beans:
- 3 teaspoons mustard seeds
- 2 teaspoons black peppercorns
- 4 teaspoons chile pepper flakes
- 4 allspice berries
- 2 teaspoons dill seed
Instructions
Recipe yields 4 pint jars.
Prepare for Canning
- Wash the jars you'll use, making sure each is clean and free of nicks in the rim, which could impede sealing.
- Wash the lids and rings in hot soapy water. (If you're using non-Ball brand lids, prepare as suggested by manufacturer.)
- Place empty jars in a canning pot or large stock pot with enough water to cover by an inch or two, cover pot, and set on high heat. It can take awhile for the water to heat, so get it started before you begin making the recipe.
Making and Processing the Pickles
- Wash and trim ends from green beans. Cut beans into 4" lengths.2 lbs fresh tender green or yellow beans
- Put one of the garlic cloves into each of four pint jars. Divide spices between the 4 jars.4 cloves garlic, 1/2 teaspoon red pepper flakes, 8 fresh dill heads , 3 teaspoons mustard seeds, 2 teaspoons black peppercorns, 4 teaspoons chile pepper flakes, 4 allspice berries, 2 teaspoons dill seed
- Pack beans upright into jars, leaving 1/2" headspace.
- Combine vinegar, water, and salt in a saucepan, bringing the liquid to a boil.1/4 cup pickling salt, 2 cups vinegar, 2 cups water
- Pour hot brine over beans.
- Run a non-metallic butter knife or canning tool around the inside of the jar to release any air bubbles. Add more liquid to the jar if necessary to maintain 1/2" headspace.
- Wipe the jar rims; a clean rim is essential to a good seal.
- Set a flat lid in place. Screw a canning ring on, firmly tight.
- Use a jar lifter to gently place jars into the hot water bath. Be sure to put a wire rack in the bottom of the pot to prevent the jars from sitting directly on the bottom. Water should cover the top of the jars by an inch or two. The water will cool somewhat in reaction to the addition of the jars. Return the water to a low boil and then set the timer.
- Process pint jars for 10 minutes. (15 minutes if you are situated above 6,000' in elevation.)
- Remove jars to a flat surface and allow to cool to room temperature.
- Check seals. Lids should be solid and pulled down tight. (if they flex and pop, the jar didn’t seal; put unsealed jars in the refrigerator and use those first).
- Remove rings and wash outsides of jars. Store in a cool, dry place.
Notes
- Recipe yields 4 pint jars.
- A full sized water bath canner takes about 30 minutes or so to heat up, so get it started before you start to make this recipe.
- Pickling salt is a fine grain salt without any additives (no anti caking agents) that will easily and fully dissolve into the water. You can also use plain white sea salt or kosher salt, so long as they are free of anti-caking agents, which can make the brine cloudy.
- Note that the National Center for Home Food Preservation does not offer an approved canning recipe for quart jars of green bean pickles.
- Boiling lids or heating above 180°F as once recommended can damage the sealing compound.
- SOURCE: Adapted from the United States Department of Agriculture (USDA) Complete Guide to Home Canning, page 6-14.
Nutrition
Originally published July 2020; this post has been updated.


I just tried this easy pickled green beans recipe, and they turned out fantastic! The crunch and flavor are amazing, plus it’s a great way to preserve my garden’s bounty. Can’t wait to share these with my friends and family. Thanks for the great tips!
Made the dilly beans. Excellent. Will do it again.
How log does it need to pickle before opening?
There’s not a designated pickling time, but I like to wait a few days for the best flavor.
I tried making these today with green beans from our garden. It’s my first time pickling green beans and we’re excited to try them! How long should we wait before opening our first jar?
I’m slow to respond, so NOW. 😉 With pickles, a couple of weeks is usually good.
I would like to do 6 pints – Can I multiply the ingredients by 1.5 or best to just double?
Personally I think it would be easier to double it, the amounts will be easier that way and you want to make sure to keep it safe for canning. Another option is to make quick pickled green beans! https://www.attainable-sustainable.net/dilly-green-beans/
Can you add sugar for sweet beans? Any changes to the timing of the water bath?
It is safe to add sugar to canning recipes, maintain the same canning time.
When do I take the empty jars out of the water bath in the “preparing for canning section” of the instructions? Do they need to come to a boil before filling? If so, how long? Thanks for clarifying!
They don’t need to boil. You’re using the water to warm the jars to help prevent thermal shock.
I put the jars into the water bath and the bottom cracked. What did I do wrong?
The bottom cracking is usually due to drastic temperature changes. If the jar was cool going into hot water, for instance, it might break.
What happens if you use anti caking ingredients in the pickled green bean recipe by accident I used kosher salt. Was not told about the anti caking ingredients and not to use them.
It causes cloudiness in the brine, but they are safe to eat.
How many pint jars will this make?
For the variations: do you add the ‘extra’ ingredients TO the regular pickled bean ingredients, or INSTEAD of?
Could you make one pint of each of the variations? (that would be only 3 pints…) in the same batch.
Sorry if my questions are basic…new to this type of canning. I used to water bath and pressure can…but that was centuries (LOL) ago, and only just simple one basic food per jar.
I have won many county fairs for my pickled vegetables and you can count on a quality pickle is you use distilled water or from an artesian well not tap water in your brine
Both are viable options if available.
What is the pressure it needs to can at? How long of a shelf life will it have as raw pack?
This doesn’t need to be pressure canned. Raw pack and then process in a water bath as directed. Shelf life will be a year.