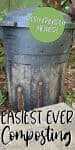
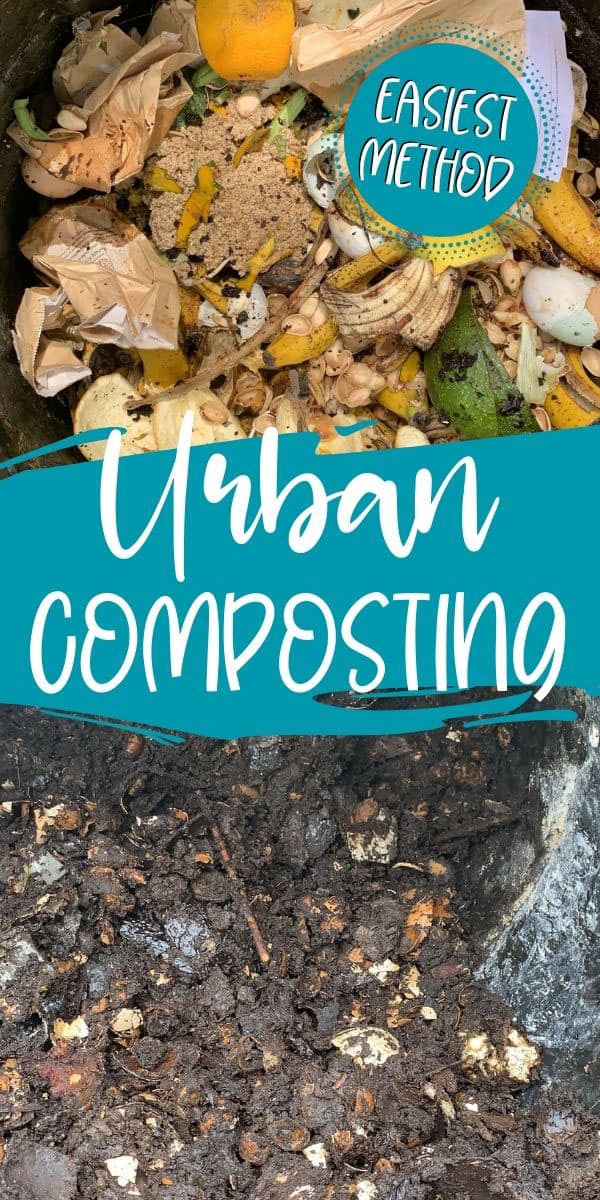
Composting kitchen waste creates a valuable garden amendment. It’s easy and totally doable in the suburbs with this garbage can method!
If you’re new to composting be sure to check out this extensive post on composting for beginners.
I’ve been using a garbage can method to compost weeds for a number of years. It works beautifully. Essentially, I cram as many weeds as possible into a large garbage can and then let it sit. In a matter of months, those weeds have been reduced to a lovely rich compost.
When I mentioned that method awhile back, a reader* told me she uses essentially the same method to handle her kitchen scraps. I was skeptical. Wouldn’t this turn into a stinky, mushy mess? I mean, banana peels and coffee grounds and salad??
Well, you know I had to try it.
Making a garbage can kitchen composter
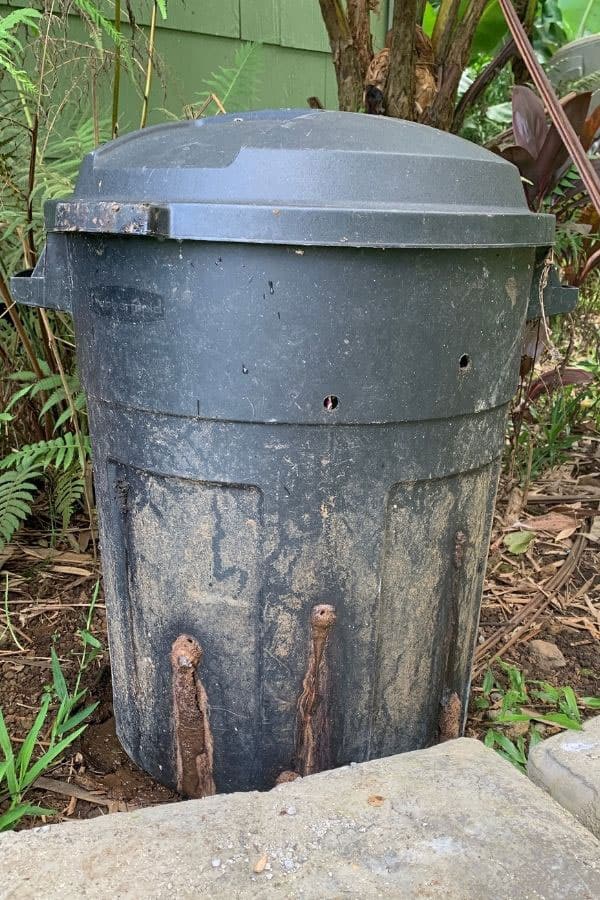
I drilled a number of holes in a rubbish can for drainage, one on the bottom and several around the side of the can. I started filling it with nothing but the food scraps from my kitchen compost bucket.
Grow Some Greens!
Ready to grow fresh greens, no matter WHERE you live? Sign up for my
FREE quick-start guide and start growing some of your own food!
I didn’t stir it or add any carbon material beyond that occasional piece of paper that ends up in my kitchen compost bucket.
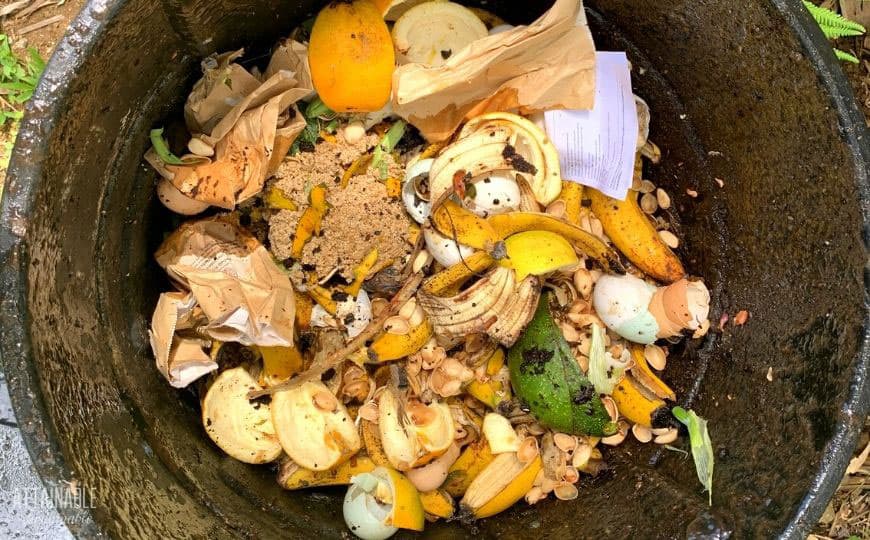
I’ve added to the can daily, sometimes several times a day and it’s not unusual for me to add raw kitchen scraps by the 5 gallon-bucketful when I’m juicing passion fruit or making dried bananas.
It’s like a magical can, though, because after months of adding scraps, the garbage can was only half full.
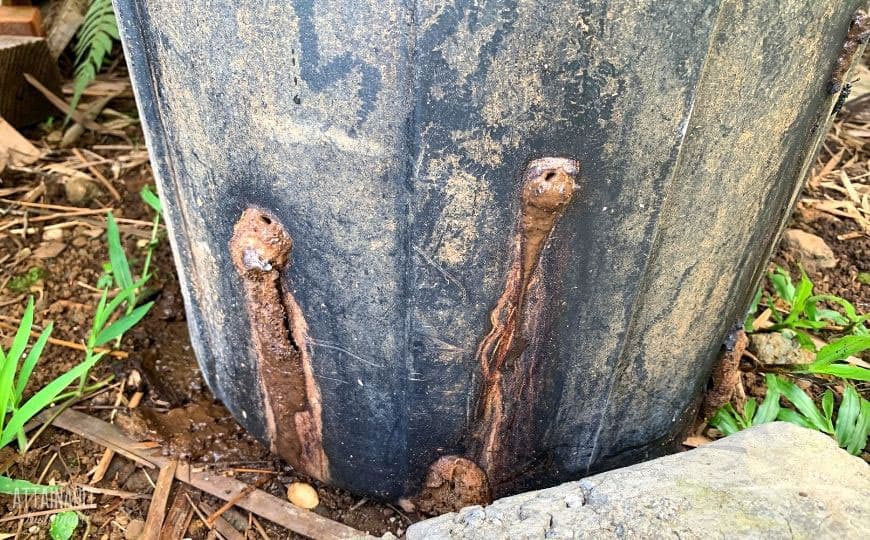
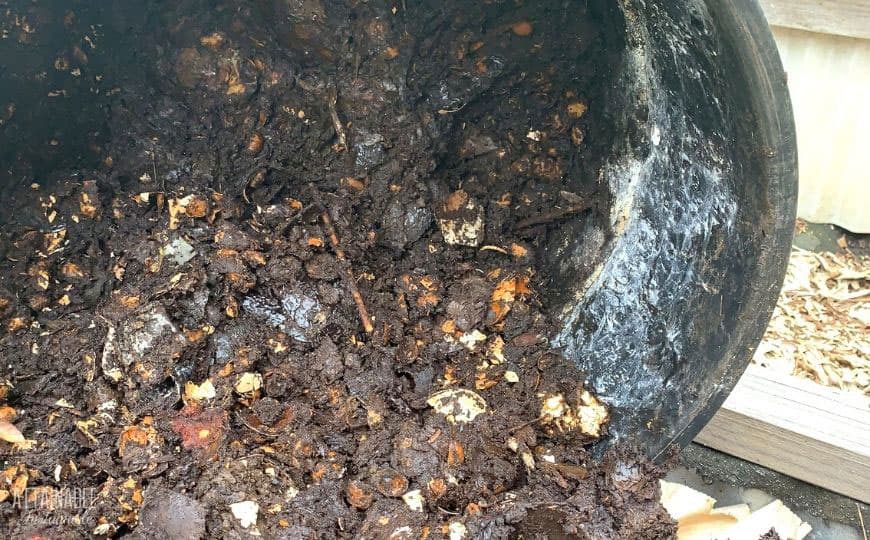
During this time, the contents of the can remained somewhat wet but slowly broke down. There was always drainage coming from the bottom of the can (and some oozing from the side) and the side of the can, inside were a bit drippy. It did not stink.
I added material to this can for just about 15 months before it was finally full. Once full, I let the contents sit for another couple of months. When I turned it out into a planter, it was still a pretty moist mix.
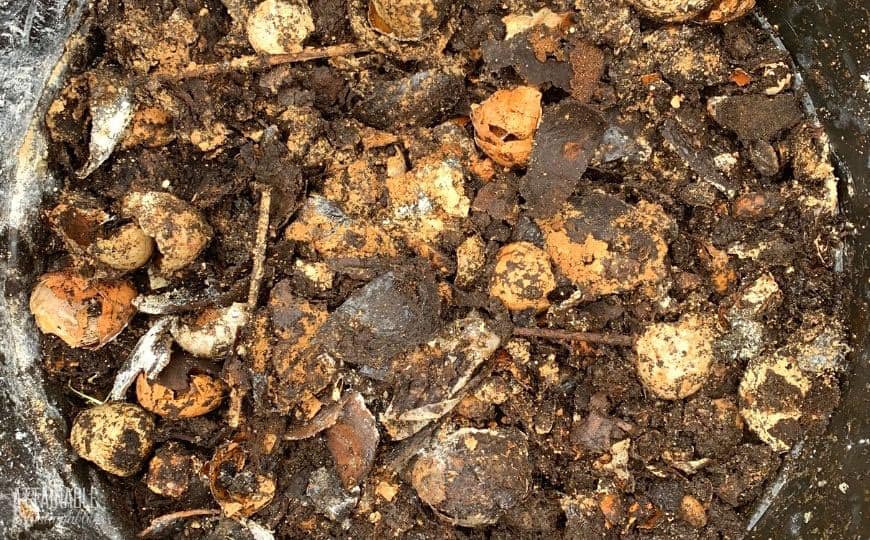
Items like nut shells, egg shells, and avocado skins were still intact, especially at the top of the can. None of these items would cause a problem in a garden bed, though, so I didn’t feel the need to sort them out. If you were using the compost as part of a seed starting plan, you could.
Composting in the city
This easy method is a perfect solution for the folks who lament their lack of space for composting. The way I see it, you’d need space for two garbage cans in order to make this work. One active can and then a second can to put into service during the few months when you let the first can “rest” before harvesting it.
Because the can will seep, apartment dwellers will probably not want to keep this on the balcony. It’s best situation right on the ground, where the liquid can drain into the soil.
Harvest the compost
Once the can has finished the composting cycle, you’ll need to harvest it for use in the garden. There are a number of options for doing this.
- Leave it in the can and just remove shovels full as you need them for side-dressing in the garden.
- Turn the can right into a bed that needs a rich amendment.
- Turn the can into a wheelbarrow so you can cart it off to where you need it.
Accidental black soldier fly composter
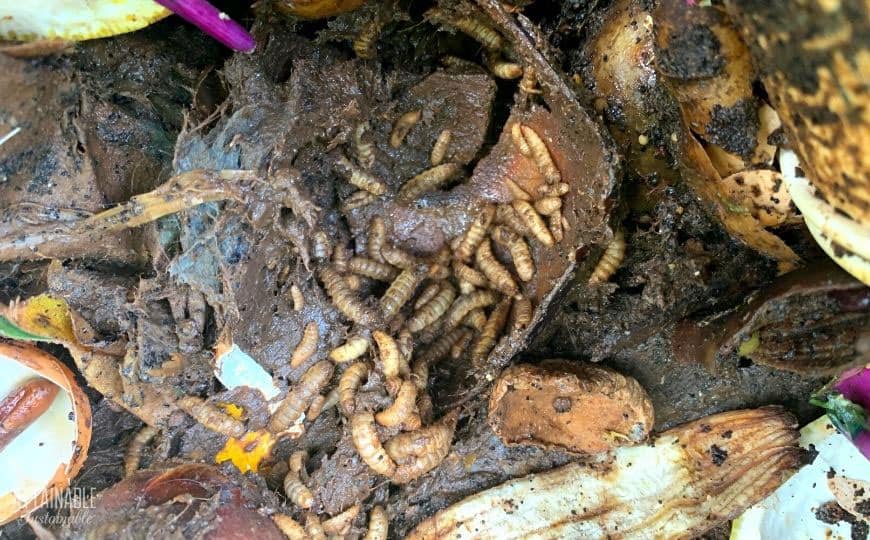
One unexpected turn as I tried this compact composter is that it has attracted black soldier flies. This is a good thing! Their larvae are happily munching the contents, helping to break it down.
This may gross some of you out, but if you’ve got chickens, those larvae are excellent free food for your flock – the girls love them!
The black soldier flies make their way into the container through the holes that are drilled into the side. The larvae demolish the food waste inside the can, getting fat and plump, either becoming chicken food or transforming into an adult black soldier fly.
How to Make a Small-Scale Compost Bin
Equipment
- Drill with 1/2" bit
Ingredients
- 32 gallon garbage can
Instructions
- Using the 1/2" bit, drill about a dozen holes around the outside of the garbage can. This doesn't have to be perfect!
- Drill another hole in the bottom of the garbage can.
- Set the garbage can in place, keeping in mind that it will drain. I keep mine on the ground and the liquid seeps into the soil.
- Begin adding kitchen waste immediately. Keep the lid on the can. Continue adding kitchen waste as you have it.
- When the can is completely full, let it sit undisturbed for several months.
- Harvest compost by the shovelful or by upending the can into a planter bed or wheelbarrow.
Notes
- This easy method is a perfect solution for the folks who lament their lack of space for composting. The way I see it, you’d need space for two garbage cans in order to make this work. One active can and then a second can to put into service during the few months when you let the first can “rest” before harvesting it.


I’ve been doing this for over a year. The garbage can is still not full because the contents keep breaking down. Eventually I will plant something where the can has been sitting, because compost tea drains out the bottom and sides every time I water the can. The ground under it is so fertile now!
I am so glad to have read this article, I have been doing this for years in my back yard in Florida, I didn’t know actually what I was doing but it works amazingly!!
That’s great to hear! 🙂
Any suggestions for folks who live where 6 months of the year are cold and snowy? I’m thinking two smaller cans, continuing to add to one during the winter months when of course there will be less waste than when the garden is up and running. Starting the other in spring while the first can sits and starting the cycle again. Would that work?
you can also try bokashi-method. here in the netherlands we have (relativly) small houses (we are a small country after all). bokashi can be kept inside and works like a charm. but you need to invest money in it.
Did you try the 2 smaller garbage cans?
I life where ther is 6 months of cold/snow.
Annabelle
I think this is worth a try if you haven’t already. Let us know how it works! 🙂
Someone said they often store their gallon bag of scraps in the freezer between dumping. She said she just threw it in the bin frozen and it worked just fine, so I’m thinking you could do the same as well except since yours may be frozen it probably won’t break down but you’ll still have then to do that during the summer.? Just a thought
Sure looks inexpensive and easy. Hope your all doing well. Say “hey” to the big guy.