Capture the sweet crunch of fresh corn on the cob with this zesty corn relish recipe for canning.
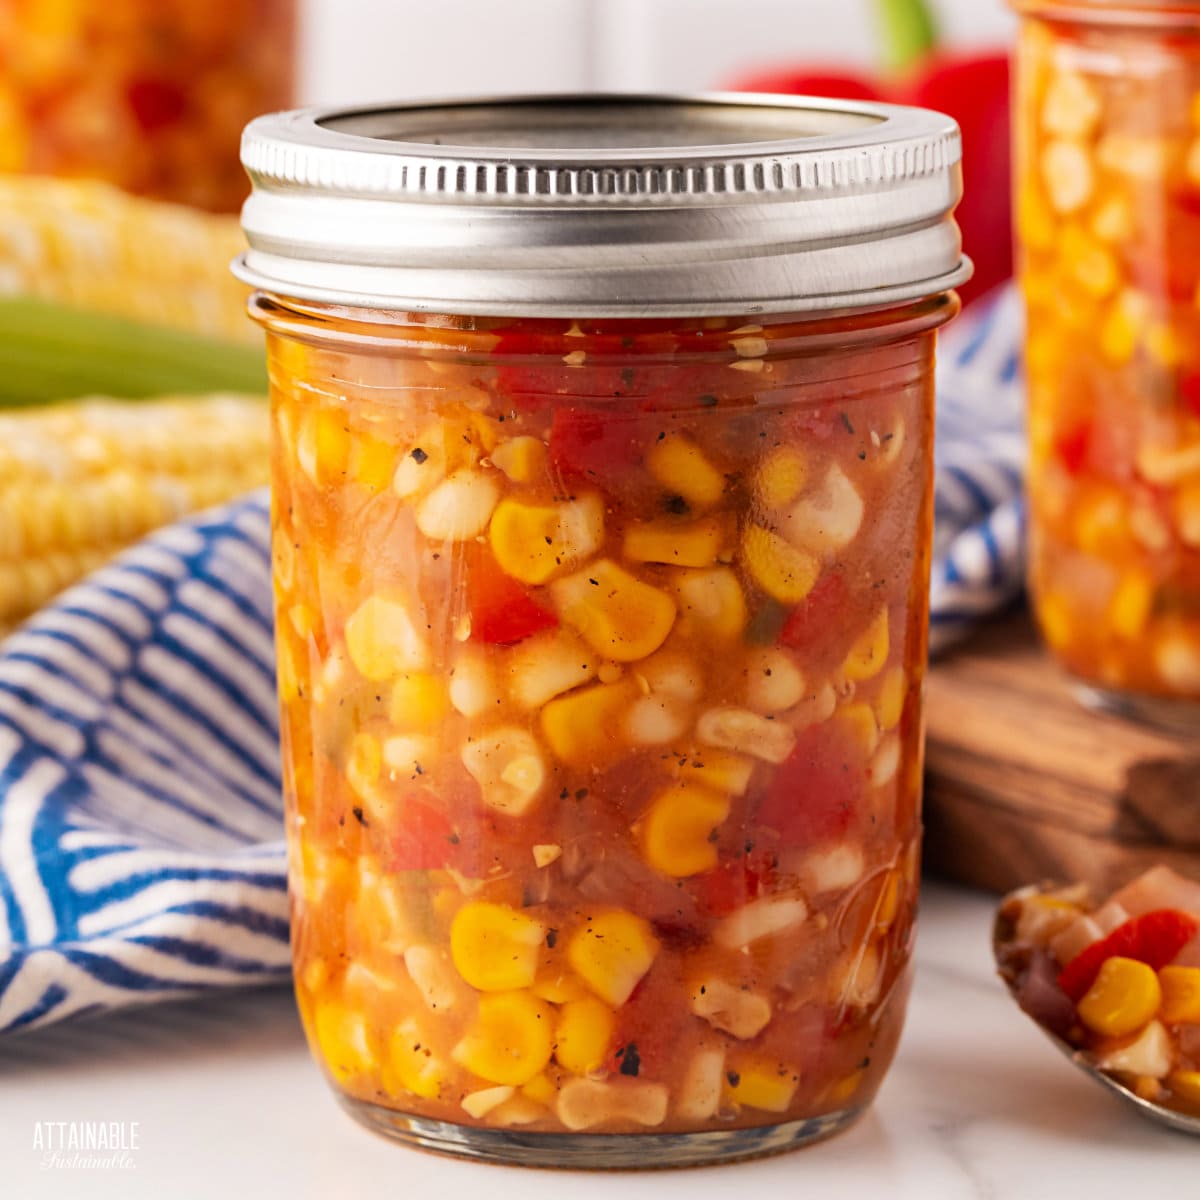
This corn relish has a bit of a sweet and sour flavor that pairs well with grilled meats and veggies. It’s a little different from pickle relish, less something that you’d mix into a recipe and more of a side flavor.

Ingredients
Fresh sweet corn: This is the star of the recipe, and an opportunity to preserve one of summer’s best flavors. You can use white or yellow corn, and you could safely use frozen corn.
Onion: The recipe calls for red onion, again adding a little sweetness. It’s perfectly safe to use a white or yellow onion.
Peppers: Red bell peppers add sweetness to the recipe. A jalapeño pepper provides a little bit of spicy heat, but if you prefer to keep things tamer in the flavor department, feel free to omit it. (Could you use green bell peppers? You could, safely, but I think the flavor will suffer.)
Get a Quick Start Guide to Safe Canning!
Want to learn how to preserve the harvest? Dive in for a look at various canning techniques and methods! Grab my FREE 6-part guide to getting started.
Tomatoes: The recipe calls for paste tomatoes, since they’re meatier. If you have slicing tomatoes, squeeze out some of the juicy pulp before measuring.
Apple cider vinegar: Be mindful of this little tidbit when buying apple cider vinegar. If you prefer to use plain vinegar, it will alter the flavor slightly, but it’s perfectly safe. Just be sure the vinegar you use has a 5% acidity.
Sugar: Use your favorite brand of granulated cane sugar.
Herbs & Spices — Flavor this corn relish with mustard seeds, cumin, coriander, salt, and pepper.

Making the Relish
Making this recipe is really a matter of prepping vegetables and mixing them together in a big pot.
Removing the kernels of corn from the cob requires a little effort and safety. If you have a Bundt pan, try setting the corn in the center hole to stabilize it. Use a knife to cut the kernels off, and they should (mostly) fall into the pan itself.
Once everything is prepped and chopped, combine them in a big stock pot and simmer.
🍅 Safety First!
Canning is an excellent way to preserve food for the pantry, but there are some important safety considerations to keep in mind. The recipes on this site have been made following safe canning procedures by a certified Master Food Preserver.
- Know the difference between water bath canning and pressure canning. Low acid items must be pressure canned for safety.
- Altering ingredients may change the recipe’s pH, posing a safety issue.
- Use the proper jars and lids. Never reuse lids, with the exception of the Tattler or Harvest Right hard plastic lids that are intended for such a purpose.
- For more on canning equipment, please go here.
- Want to learn more? The National Center for Home Food Preservation is the go-to resource for safe canning information.
Process the Jars
You’ll need special canning jars, lids, and rings to make this a shelf-stable product, but the process isn’t difficult.

Transfer the corn relish into canning jars, leaving a half-inch headspace. Use a non-metallic knife, chopstick, or bubble tool to remove any air bubbles. Wipe the rims of the jars, removing any residue.
Place the lids on and process them in a boiling water bath canner. What this means is you’ll put the filled and sealed jars of pie filling into boiling water and heat them for a specific amount of time. This assures that the jars will seal well and kills off any potential bacteria in the tomato mixture itself.

Jars must be covered by 1″ to 2″ of water.
Use a jar lifter to remove the hot jars to a towel-covered countertop and allow to cool fully. As they cool, you’ll hear the little “tink” sound of the jars sealing. Store any unsealed jars in the fridge and use those first. (This is unusual, but it does happen once in awhile.)
Remove the ring from each sealed jar, rinse to remove any sticky residue, and store (without the ring) at room temperature in a dark place such as the pantry. Opened jars should be kept refrigerated; they’ll last in the fridge for a month or more.

Corn Relish Recipe for Canning
Equipment
- 7 half-pint jars
- 7 canning lids and rings
- canning funnel
- water bath canner with lid or deep pot
- jar tongs
- canning bubble popper/measurer optional but handy
Ingredients
- 1 ¾ cups diced red onions about 1 large
- 1 ½ cups seeded and diced red bell pepper about 1 pepper
- 4 ½ cups corn kernels about 6 ears
- 2 cups diced paste tomatoes 2 to 3 large
- 1 jalapeño pepper seeded and minced
- 1 ½ cups apple cider vinegar 5% acidity
- ¾ cup sugar
- 2 tablespoons non-iodized salt
- 2 teaspoons mustard seeds
- 1 teaspoon ground cumin
- 1 teaspoon black pepper
- ½ teaspoon ground coriander
Instructions
Yield: 7 half pint jars
Prepare the Relish
- Wash the jars you'll use, making sure each is clean and free of nicks in the rim, which could impede sealing.
- Wash the lids and rings in hot soapy water.
- Place empty jars in a canning pot or large stock pot with enough water to cover by an inch or two, cover pot, and set on high heat. It can take awhile for the water to heat, so get it started before you begin making the recipe.
- Combine all ingredients in a large stockpot. Bring to a boil over high heat, stirring often. Reduce heat to a simmer, and cook for 15 minutes.
Process the Jars
- Remove the empty jars from the canner, draining the water back into the pot.
- Transfer the hot relish into prepared jars, leaving 1/2 inch headspace.
- Use a non-metallic tool around the inside of the jars to remove air bubbles.
- Wipe jar rims to remove any residue that may have spilled.
- Set jar lids in place. Screw bands on finger tight.
- Use a jar lifter to gently submerge jars into the hot (180°F) water in the canning pot. Water should cover the top of the jars by 1 to 2 inches. Bring water to a boil and set the timer.
- Process 15 minutes at elevations between 0-1,000-feet altitude; 20 minutes at elevations between 1,001-6,000 feet; or 25 minutes at elevations above 6,000 feet.
- Remove jars from water using the jar lifter and transfer to a solid, towel-covered surface. Allow to coo