
Making dehydrated apples while fresh apples are season means you can enjoy your favorite fruit all year long. Pack some of these easy dried apples in your lunch or take them on the trail for a wholesome snack.
My other favorite way to preserve the flavor of apples is with this homemade applesauce for canning.
 Ready to DIY your pantry with more wholesome ingredients? Check out my new book from National Geographic! Attainable Sustainable Pantry is filled with delicious recipes for some of your favorite condiments, snacks, and toppings, along with an entire section on safe home food preservation. It’s the guide you need to start skipping packaged products and embrace homemade.
Preserving Apples with Dehydration
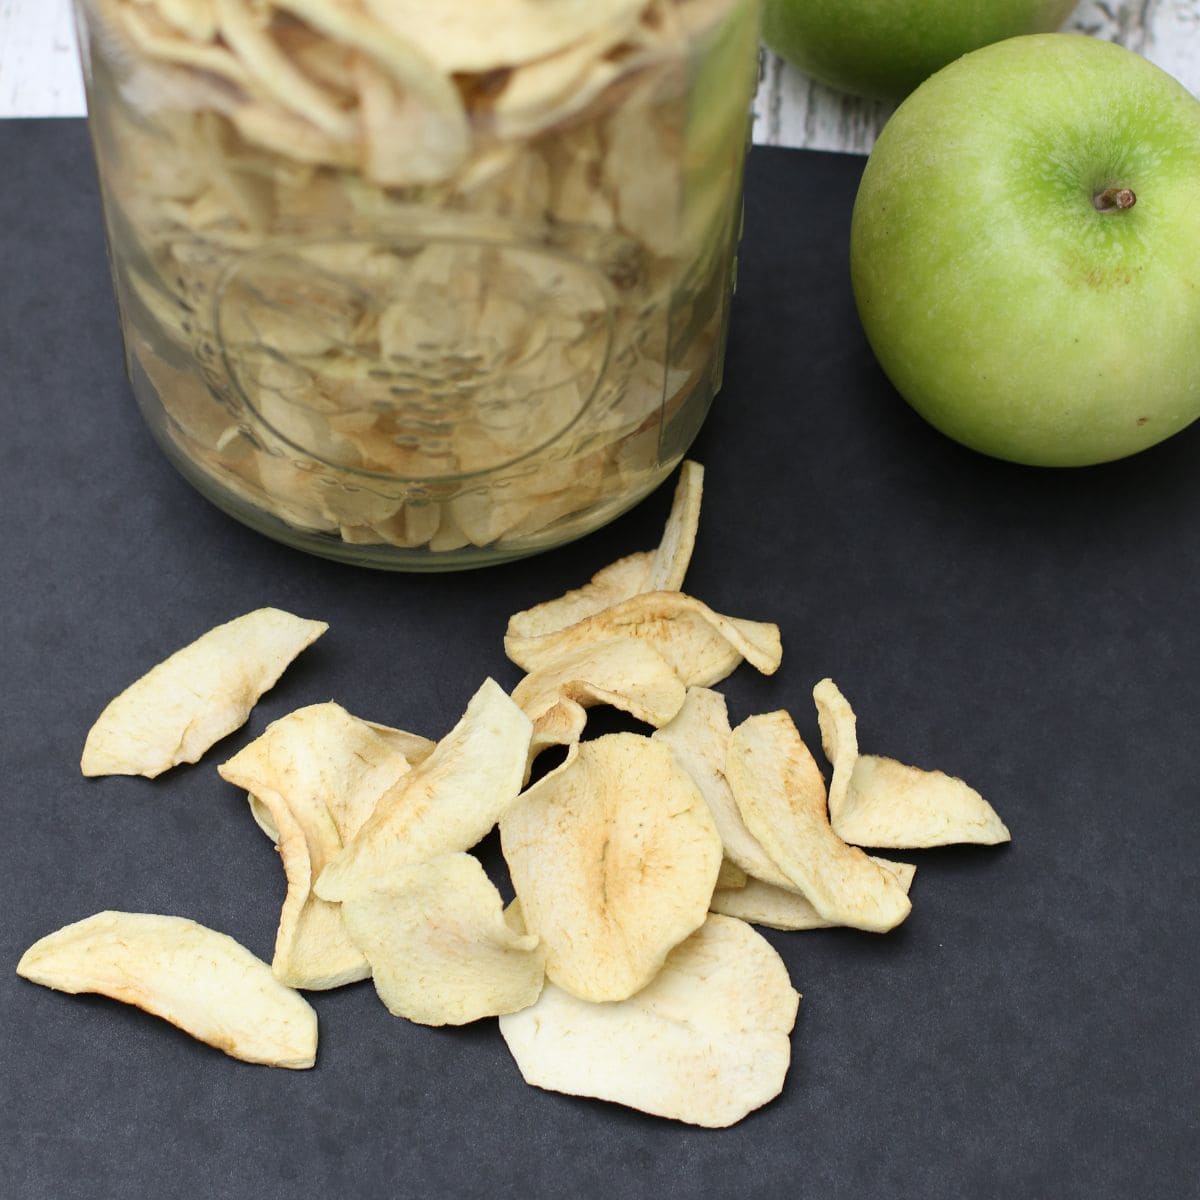
There are a number of ways to dehydrate fresh fruit, but the end result is generally the same. Homemade dried apple slices are chewy and delicious.
The crispy dried apple chips (also delicious!) you can pick up at the supermarket are actually freeze dried; you won’t be able to replicate that without a specialized piece of equipment.
Ingredients
Apples —The type of apple you use will depend upon what’s available to you. My favorite apple is the Gravenstein, but any variety of apple will work. Just choose apples that are firm and ripe. Peeling the apples is optional. The apple peel can tend to be a bit stiffer than the flesh when dehydrated, but many people simply skip peeling to save time.
Lemon juice — Sliced apples will oxidize and turn brown. This is somewhat dependent on the sugar content of the fruit. If you’re concerned about this, toss the sliced apples in a bit of lemon juice to help prevent browning, but this is a purely optional ingredient.
Get a Quick Start Guide to Safe Canning!
Want to learn how to preserve the harvest? Dive in for a look at various canning techniques and methods! Grab my FREE 6-part guide to getting started.
Preparing the Apples for Dehydration
Slice the apples into a uniform thickness using a sharp knife. I aim for an eighth of an inch thick or so. This means that the resulting dehydrated apple slices will be more likely to be ready at the same time.
Peeling and coring the apples before you slice them allows you to make dried apple rings if you’re into aesthetics, but that’s an extra unnecessary step. I like to take the easy route and slice them randomly, much as I do for apple pie or this French apple cake.
Making Dehydrated Apples – 3 Methods
Not every household is equipped with the same tools. That’s why it’s nice to know there are three different ways you can make these dried apple slices.
Making Dried Apples in a Food Dehydrator
A food dehydrator is a specialized appliance specifically made for drying fruits, veggies, and meat. They come in a variety of shapes and sizes, but all include a number of trays that allow warm air to freely circulate.
This is my preferred method of drying fruit. My 9-tray Excalibur dehydrator holds the largest amount of fruit out of all three of the methods listed here, making the most of the energy used to dry them.
Place apple slices in a single layer on the dehydrator trays and dry at 135ºF for 4-6 hours.
Oven Dried Apples
Drying apples in the oven utilizes equipment most people already have on hand. It’s not the most energy-efficient method, but it does the trick in a pinch.
Set the oven to a low temperature. 135ºF is the ideal, but not all ovens offer that precise low heat. If you have an oven with a bread proofing setting you can try that. Older ovens that only go as low as 200ºF can be used, but you’ll need to prop the oven door open.
Place sliced apples on a wire rack on baking sheets. This allows the air to flow around the slices. Alternatively, you can line each sheet with parchment paper.

Dehydrating Apples in an Air Fryer
We can’t really grow a great crop of apples here, but that’s what the area I grew up in is famous for. Visiting my mom during apple season means I get to indulge in fresh apples, but I wanted to bring some home to share with my family. She doesn’t own a dehydrator, but she does have an air fryer. Sometimes you’ve gotta use what’s available to you.
The air fryer doesn’t hold as much as my large dehydrator, so it wouldn’t be a great solution if you needed to dry a lot of fruit at once. Use it if you have one, certainly, but my money’s still on a dehydrator for best use of energy and time.
Dry for 6-8 hours at 135ºF.
Storing Dried Apple Slices
It’s critical that you remove enough moisture from the apples. If they’re not thoroughly dehydrated, they’ll mold in storage. The apples should feel leathery and pliable when done. If any feel soft and fleshy, return them to the dehydrator and continue drying them.
Conditioning Dried Fruit
Due to inconsistent thickness, some pieces of fruit may retain a bit more moisture than others. As a result, moisture levels can vary within a single slice of fruit. Conditioning the dried fruit will help redistribute the moisture evenly.
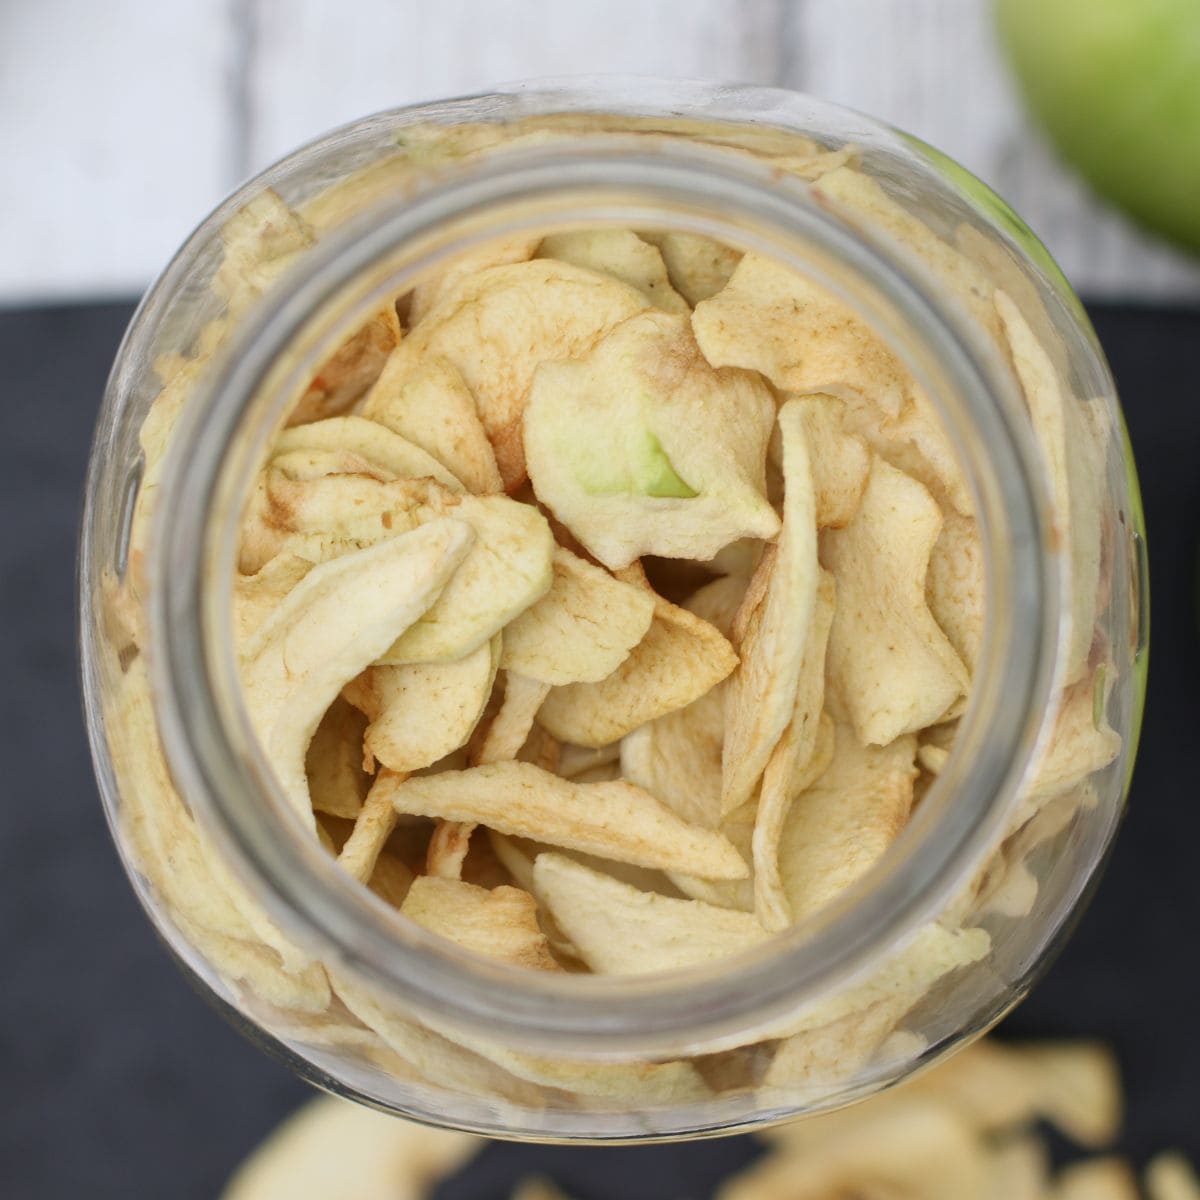
Cool fruit thoroughly and place loosely packed pieces in a large jar. Seal the jar and let stand for a week, shaking it daily to break up the fruit. The excess moisture in some pieces will be reabsorbed by drier pieces. If any condensation appears on the inside of the jar itself, there’s still too much moisture in the fruit. Return it to the dehydrator to remove more moisture.
Store dried apples in an airtight container, such as a mason jar, after conditioning.

★ Did you make these dried apples? Don’t forget to give them a star rating below! ★
How to Make Dried Apples at Home
Ingredients
- 4 pounds apples
- Lemon juice optional
Instructions
- Peel (optional) and slice apples. Aim for uniform thickness so all of the slices will dry at the same rate. Toss in lemon juice if desired.4 pounds apples, Lemon juice
In the dehydrator
- Place sliced apples on trays, close together but not touching. Dry on 135ºF for 4 to 6 hours or until fruit is leathery.
In the oven
- Place wire racks on a rimmed baking sheet. Place sliced apples on racks, close together but not touching.
- Set oven to 200 degrees or lower, with the ideal temperature being 135ºF. This will depend upon your oven. The bread proofing setting on newer ovens works well. On older ovens, you'll likely have to set it at the lowest temperature. Even then, you may need to prop the door open to prevent it from getting too hot. (You don't want to cook the apples!)
- The timing for this is entirely dependent upon the temperature you use. Dried apples are done when they're leathery.
In the air fryer
- Place sliced apples on trays, close together but not touching. Dry on 135ºF for 4 to 6 hours or until slices are leathery.
Notes
- Conditioning the dried fruit will help redistribute the moisture evenly. Cool fruit thoroughly and place loosely packed pieces in a large jar. Seal the jar and let stand for a week, shaking it daily to break up the fruit. The excess moisture in some pieces will be reabsorbed by drier pieces. If any condensation appears on the inside of the jar itself, there’s still too much moisture in the fruit. Return it to the dehydrator to remove more moisture.
- Adjust the quantity of apples according to how many you have on hand. You'll use the same cooking time no matter how full your dehydrator or air fryer is.
- Peeling the apples is optional. The apple peel can tend to be a bit tougher than the flesh when dehydrated, but many people simply skip peeling to save time.
- Peeling and coring the apples before you slice them allows you to make full apple rings.
- Sliced apples will oxidize and turn brown. To prevent browning, toss the sliced apples in a bit of lemon juice to help prevent browning.
Nutrition
Originally published in June 2020; this post has been updated.


Brings back memories. My grandmother used a big piece of cardboard on top of her chest freezer to do this. She covered them with a clean bed sheet to keep bugs off, and just let them dry. She would rehydrate them to make her Christmas stack cake.
Thank you for such an encouraging, easy-to-follow tutorial. We’re in far northern Minnesota, with a shorter growing cycle, as expected. We have one apple tree that never bore fruit, no matter how we pampered it. My little English Toy Spaniel (like a smaller Cavalier), Gio, passed away last year at 13+ and we buried him under this particular tree. It now produces so many apples, I knew I had to figure something out to honor Gio. So, I’m starting to dehydrate them. Your article broke it down well for a novice and I’m looking forward to many years of Gio Apples!
One question. Can the dehydrated apples be frozen? I have SO many and I want to enjoy them all year. Any long-term (up to a year or so) storage would be greatly appreciated.
Again, thank you for an informative and fun website!
Kathy
You might try desiccant packs and sealing in mylar.
I have dehydrated apples many times for snacks but I put a bit of cinnamon on mine so the brown do not show. Always a really good snack !
Yes! Sounds delicious.
I dehydrate apples by the bucket loads.
I use my 9 tray Excalibur. I use to use the lemon juice so they wouldn’t oxidize. I don’t anymore. Once apples have been dried they turn brown. And sometimes I have found the lemon taste lingers on the apples.
I’m glad you’ve tweaked what you do to find success!