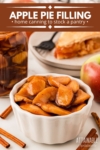
When apples are fresh, set aside some time for canning apple pie filling. Your future self will love you for it!
Having homemade pie filling in the pantry makes it a snap to bake up a pie, cobbler, or crisp for dessert. It’s also delicious spooned over vanilla ice cream or stirred into hot oatmeal.

Ingredients
Apples — Bar none, my favorite apple for making pie is the Gravenstein apple, but any apple will work. Not sure what to use? These are some of the best apple varieties for pie.
Sugar — I prefer the rich molasses flavor of brown sugar in this recipe, but it’s perfectly fine to use white sugar. The amount of sugar you use will depend on the type of apple; use less for sweeter apples, more for tart apples.
Pectin – This recipe is made using Pomona’s Universal Pectin. This is the only pectin I use anymore as it allows me to use much less sugar (or other sweetener). This product uses a low methoxyl method and calls for using two different ingredients, which are included in the box: pectin (the large packet) and calcium powder (the small packet). The dry pectin is mixed with the sweetener before being added to the fruit. The calcium water is added directly to the fruit.
Get a Quick Start Guide to Safe Canning!
Want to learn how to preserve the harvest? Dive in for a look at various canning techniques and methods! Grab my FREE 6-part guide to getting started.
Lemon juice — USDA preserving recipes all call for using bottled lemon juice. This assures that the acidity level in recipes is safe for canning.
Spices — I use cinnamon and nutmeg in this recipe. You can safely add more if you prefer a stronger spice profile.
Making the Pie Filling Recipe
If you have one of those handy apple peeler/corers, now’s the time to get it out. Preparing the apple slices is the most time intensive part of this recipe. Peel the fruit and slice 1/4″ to 1/2″ thick.

Mix the sugar with the pectin; set aside.
Combine the apples in a largestock pot with cold water, lemon juice, calcium water, and spices and bring to a boil.
Add the sugar mixture, stirring to dissolve. Cook until the mixture returns to a boil. (The apple pie filling mixture thickens further as it cools.)

Process the Jars
You’ll need special canning jars, lids, and rings to make this a shelf-stable product, but the process isn’t difficult.
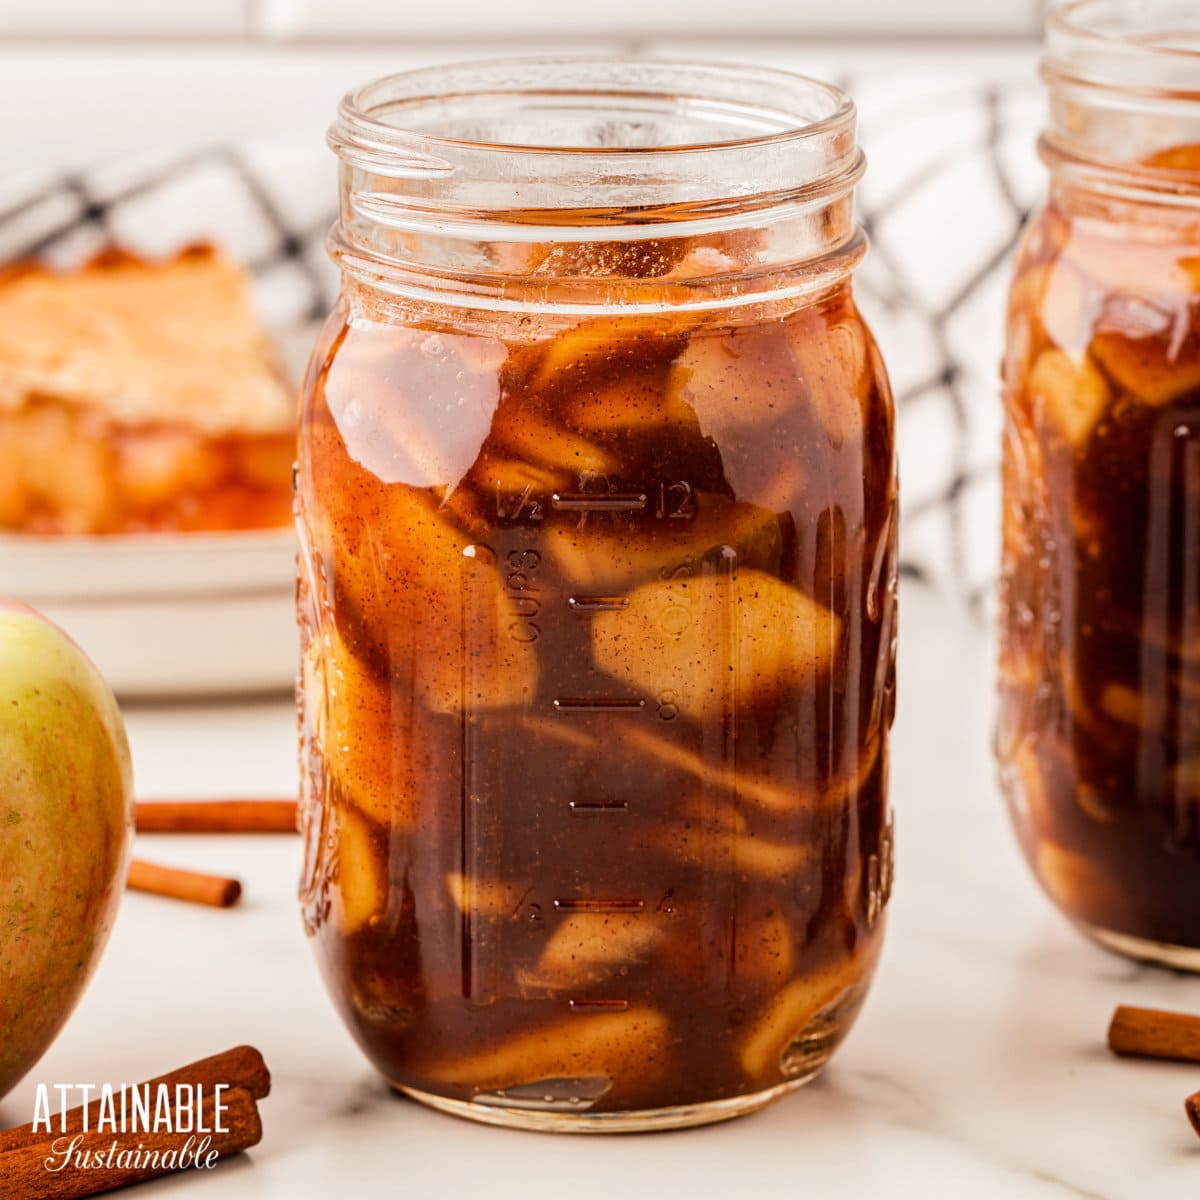
Transfer hot pie filling into pint-sized canning jars, leaving a generous one-inch headspace. Use a non-metallic knife or bubble tool to remove any air bubbles. Wipe the rims of the jars, removing any residue.

Place the lids on and process them in a water bath canner. What this means is you’ll put the filled and sealed jars of pie filling into boiling water and heat them for a specific amount of time. This assures that the jars will seal well and kills off any potential bacteria in the apple mixture itself.

Jars must be covered by 1″ to 2″ of water.
Use a jar lifter to remove the hot jars to a towel-covered countertop and allow to cool fully. As they cool, you’ll hear the little “tink” sound of the jars sealing. Store any unsealed jars in the fridge and use those first. (This is unusual, but it does happen once in awhile.)
Remove the ring from each sealed jar, rinse to remove any sticky residue, and store (without the ring) at room temperature in a dark place such as the pantry. Opened jars should be kept refrigerated; they’ll last in the fridge for a week or so while you decide how to use them.

🍅 Safety First!
Canning is an excellent way to preserve food for the pantry, but there are some important safety considerations to keep in mind. The recipes on this site have been made following safe canning procedures by a certified Master Food Preserver.
- Know the difference between water bath canning and pressure canning. Low acid items must be pressure canned for safety.
- Altering ingredients may change the recipe’s pH, posing a safety issue.
- Use the proper jars and lids. Never reuse lids, with the exception of the Tattler or Harvest Right hard plastic lids that are intended for such a purpose.
- For more on canning equipment, please go here.
- Want to learn more? The National Center for Home Food Preservation is the go-to resource for safe canning information.
Use this canned apple pie filling as a shortcut to make homemade apple pie, apple cobbler, or these caramel apple cinnamon rolls.
Canned Apple Pie Filling for the Pantry
Equipment
- 9 pint jars
- 9 canning lids and rings
- canning funnel
- water bath canner with lid or large stock pot
- jar tongs
- canning bubble popper/measurer optional but handy
Ingredients
Recipe yields 8-9 pints
- 1 to 1 ½ cups packed brown sugar
- 4 ½ teaspoons Pomona’s Universal Pectin
- 22 ½ cups apples 8 to 10 pounds, peeled and sliced
- 1 ⅓ cups water or apple juice
- ½ cup lemon juice bottled
- 4 ½ teaspoons calcium water
- 2 tablespoons ground cinnamon
- 2 teaspoons ground nutmeg
Instructions
Prepare for Canning
- Wash and rinse jars, lids, and rings, inspecting jar rims for chips or cracks that could impede sealing.
- Fill water bath canner with water, submerge empty jars, and begin heating.
Prepare the Apples
- Thoroughly combine sugar and pectin in a bowl. Set aside.1 to 1 ½ cups packed brown sugar 4 ½ teaspoons Pomona’s Universal Pectin
- Place apples in an 8-quart (or larger) stock pot and add water, lemon juice, calcium water, and spices. Bring to a boil over medium heat, stirring apples; boil several minutes until apples are heated through.22 ½ cups apples 1 ⅓ cups water ½ cup lemon juice 4 ½ teaspoons calcium water 2 tablespoons ground cinnamon 2 teaspoons ground nutmeg
- Add sugar mixture, stirring gently to dissolve pectin; return to a full boil and remove from heat.
Process the Jars
- While mixture is returning to a boil, remove the empty jars from the canner, draining the water back into the pot.
- Ladle hot apple pie filling into prepared jars, leaving a generous 1-inch headspace. Remove air bubbles using a plastic knife or debubbler.
- Wipe jar rims to remove any syrup that may have spilled.
- Set jar lids in place. Screw bands on finger tight.
- Use a jar lifter to gently submerge jars into hot (180°F) water in the canning pot. Water should cover the top of the jars by one to two inches. Bring water to a boil and set the timer.
- Process jars for 15 minutes at 0-1,000 feet altitude in the boiling water bath. Add an additional 1 minute to the processing time for every 1,000 foot above sea level.
- Remove jars from water using the jar lifter and transfer to a solid, towel-covered surface. Allow to cool for at least 12 hours.


