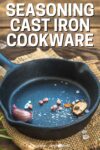
Cast iron cookware is some of the most iconic kitchen equipment on a small homestead. Here’s what you need to know about seasoning cast iron pans, cooking with them, and cleaning them properly.
Originally published May 2018; this post has been updated.
The durability, flexibility, and usefulness of a cast iron skillet or Dutch oven cannot be understated. That’s probably why most pioneer stories you come across involve cooking with these durable pans. But with the modern cookware we have available to us today, many are intimidated by cooking with and caring for such a piece of antiquity.
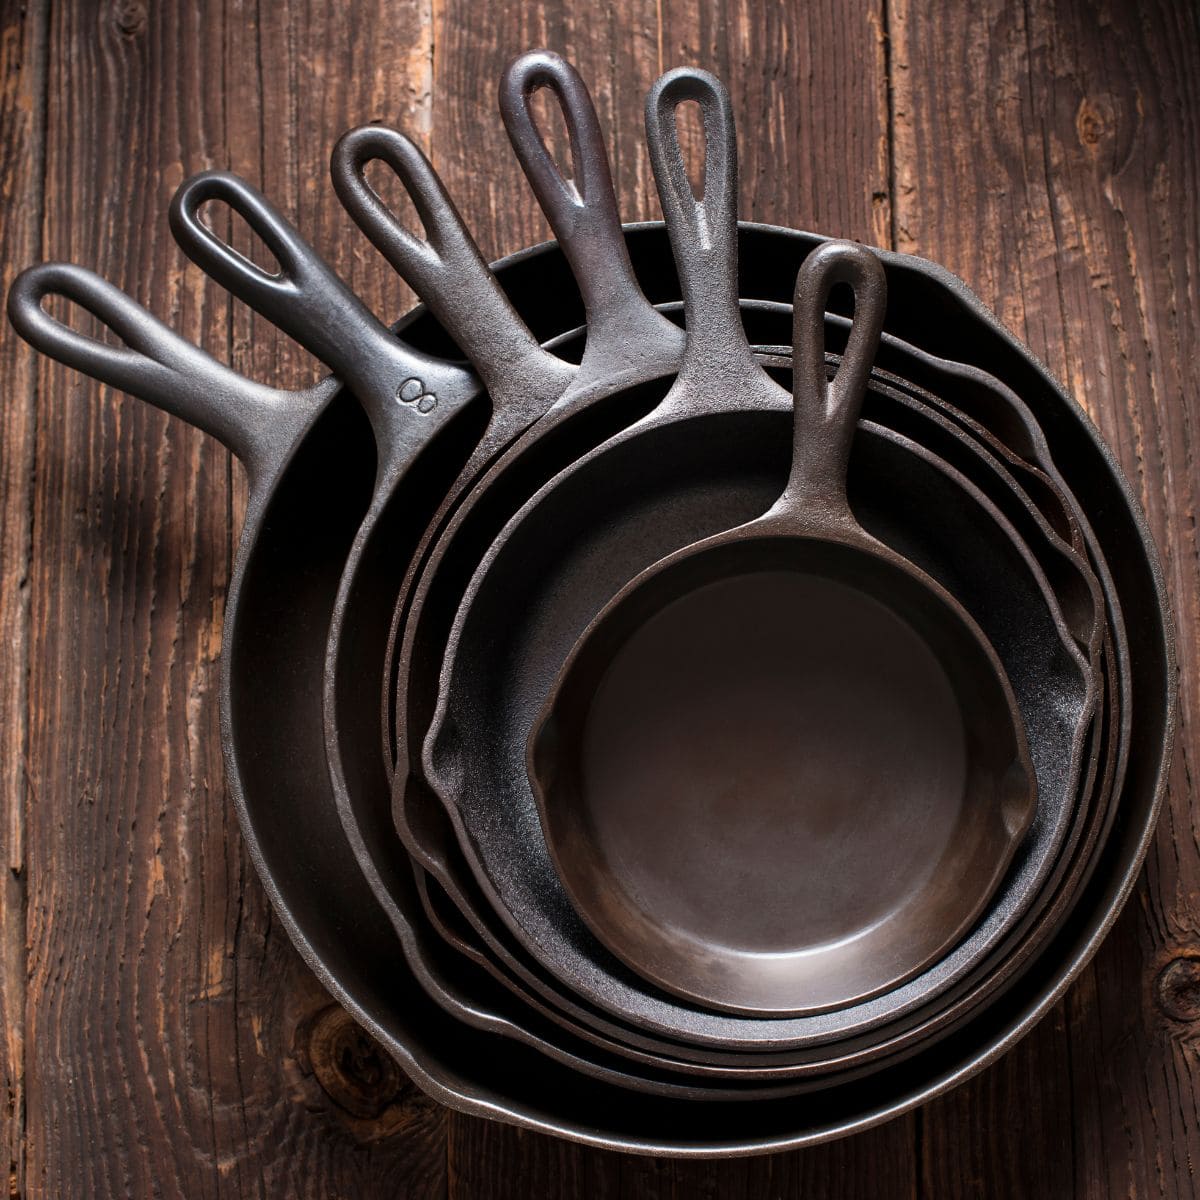
I cook with cast-iron every single day. I have a collection that includes a couple of skillets, two sizes of Dutch ovens, and a griddle pan that makes homemade tortillas a breeze.
Cast Iron Cookware Basics
Cooking with cast-iron is not hard to do or get used to, but it is slightly different than stainless steel. It is definitely much heavier which means it takes a bit longer to heat up. But it holds heat really well so you don’t have to keep it over such a high heat.
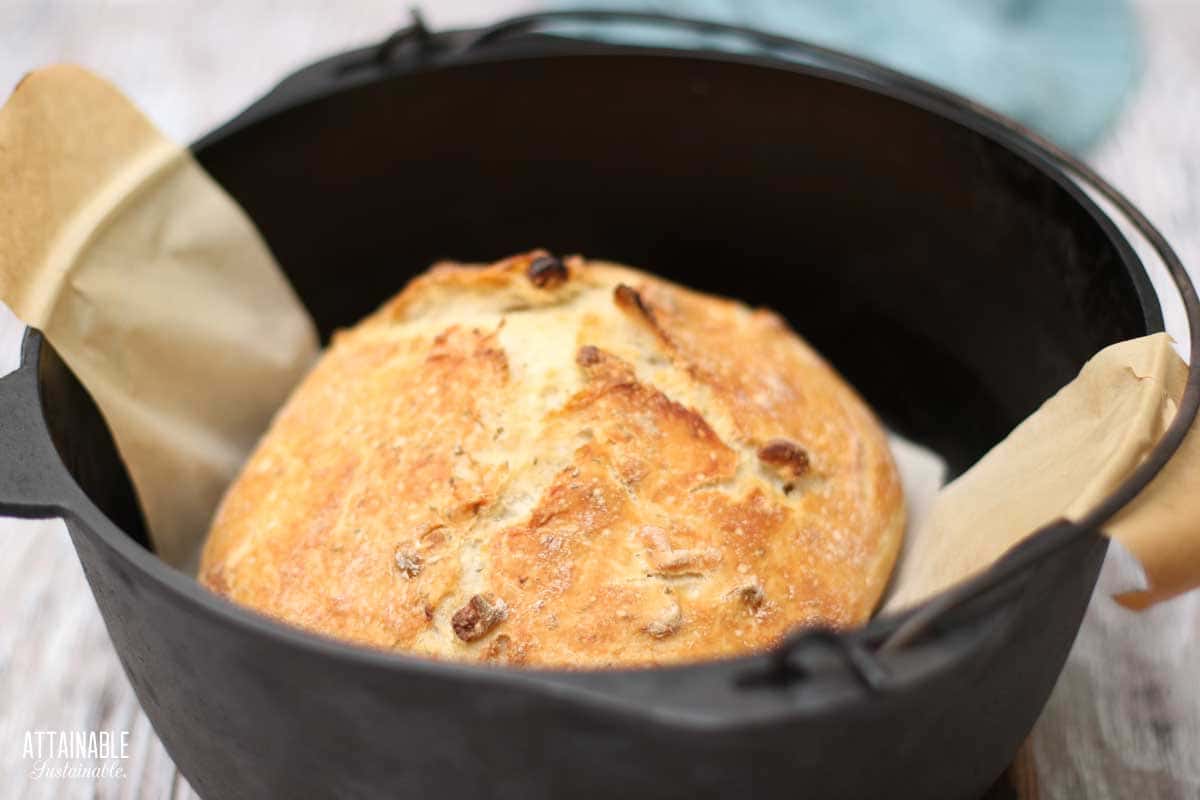
Cast-iron pans are durable and can be used on a fancy new stove top or the top of a wood stove or even over an open fire. It also works great in an oven, baking amazing breads, muffins, and more.
Take a Peek Inside My Book!
Get a free excerpt from my book, Attainable Sustainable: The Lost Art of Self-Reliant Living! You’ll also get my free weekly newsletter, complete with recipes, gardening tips, and a little peek at what’s going on around here — both the zany and the mundane.
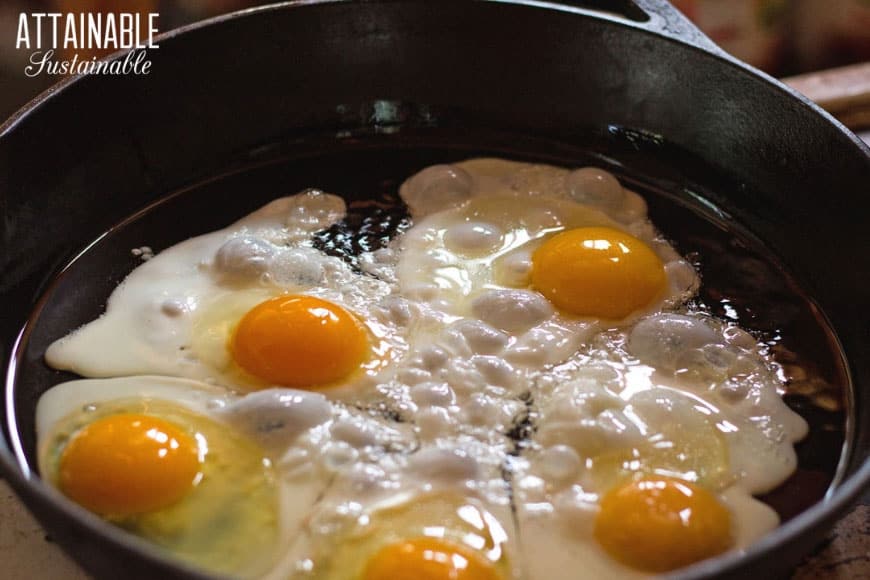
Well-seasoned cast iron can be utilized for stick-free cooking and, as such, is a great alternative to modern, toxic teflon pans. Seasoning cast iron pans is an effort that’s well worth it, to avoid those toxins.
Caring for Cast Iron Pans
While cast iron can easily replace Teflon or stainless steel cookware, it does take some special care, from seasoning cast iron pans properly, to cleaning and storing it.
A well seasoned piece of cast iron is great for stove top cooking, stewing, and even baking desserts, and a cast iron Dutch oven is a must for baking bread.
I’ve seen some people suggest avoiding acidic foods, but my husband regularly uses our Dutch oven to cook this Bolognese sauce. (Do yourself a favor and try this recipe!) We just clean it well afterwards and no problem.
Seasoning Pans for a Non-Stick Finish
The nonstick aspect of cast iron pans comes with proper seasoning. Seasoning cast iron does not involve salt, pepper, or herbs.
Rather it is the process of baking fat into the surface of the pan at a moderate heat. This hardens the fat into the nooks and crannies of the cast-iron surface which, when done properly, truly creates a stick-free pan.
There is great debate over which type of fat or oil to use to season cast iron.
Some say flax oil is the only one that works, others say old-fashioned lard is what great grandma used so it ought to be the go-to choice.
But really, any fat or vegetable oil will work, though I prefer something that can handle high heat without going rancid such as lard, tallow, or coconut oil.
The Seasoning Process
Whether you are starting with an old pan from a thrift store or a brand new name-brand skillet, you are going to want to scrub it well with soapy water. I know new pans will say they are pre-seasoned but that is generally done with industrial oils like soy.
New cast iron pans could have chemical or manufacturing residue. You’ll want to wash this off before seasoning cast iron for use in your kitchen.
Once the pan is clean and dry, it will look dull and slightly greyish. Now you can carefully spread the fat all over the surface of the pan – from the cook surface to the sides and bottom. In addition to creating a non-stick surface, seasoning cast iron on all its surfaces prevents it from rusting.
You want a thin layer so wipe away any excess fat.
Now place that into a 250 degree oven for a few hours and you will have your first layer of seasoning. To prevent the fat from puddling, completely coat the cookware and then place the skillet or Dutch oven upside down on the rack of the oven, with a baking sheet below it to catch any drips..
This should be sufficient to get you started but further seasoning can be done for a tough non-stick layer.
I actually find the best way to ensure a non-stick surface is to put them to work frying foods. It doesn’t have to be deep-fried – a simple 1/8 of an inch of fat for cooking things like falafel, salmon burgers, or other favorite shallow-fried foods really helps to ensure that non-stick layer.

Cleaning the Pans
This is the part that usually trips people up. Unlike most pans, you don’t want to utilize soap in cleaning cast-iron.
The reason for this is simple: You’ve put some effort into creating a non-stick seasoning using fat. Fat emulsifies and is washed away when you wash with soap. Therefore, you will lose at least some of your cast iron seasoning every time you wash with soap.
I am not a no-soap purist, though I do my best to skip soap when I can. The first thing we do is maybe going to freak some people out. If we’ve cooked something in the pan that is 1. not meat and 2. hasn’t left much to clean, we simply use an old rag to wipe it out.
The oils left in the pan from cooking are spread across the surface of the pan, helping to keep a nice coating on the iron.
If there are stuck on pieces of non-meat foods like eggs or sweet potatoes that won’t wipe out with a rag, I’ll wash it with plain water.
When we do cook meat in the pan? That’s when the dish soap comes out. I’ve also found it useful to stick with one pan for cooking meat and another for non-meat items. This means that only one pan is getting the occasional soap treatment.
Scrubbing
Assuming your non-stick surface is not perfectly non-stick – and there are always times when mine aren’t – you’re going to need to scrub some food stuffs from that pan.
The best way I have found is to use something that is only very lightly abrasive to clean the inside of the pan. A stainless steel scrubber (the kind that looks like chain mail), a ball of aluminum foil, or coarse salt and a damp cloth are all good for removing any stuck-on food pieces.
Once loosened, simply wipe the pan clean with a dry cloth. I find using a few dedicated cloths for my cast-iron helps since they get stained and greasy.
If no food has stuck to the pan in the cooking process, simply wipe it clean. (And yes, seasoning cast iron pans properly really can leave them this non-stick!) This actually leaves a light layer of oil, seasoning cast iron further.
Once you have scrubbed, if necessary, and wiped your pan clean, put it on a low burner and heat it up. This will kill any bacteria and you can put a thin layer of fat on it while it heats. This further builds your layer of seasoning and assures that the pan is completely dry.
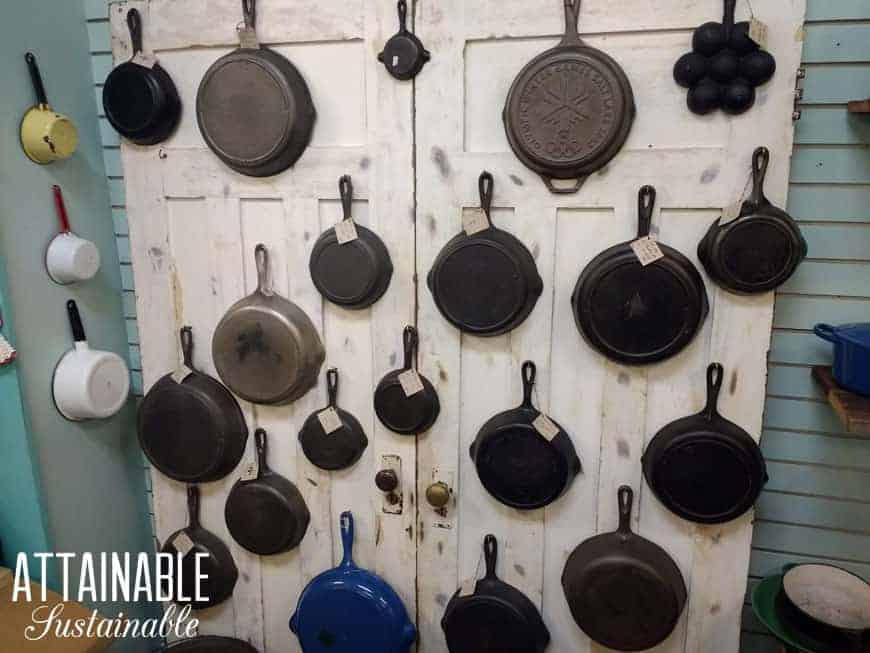
Storing Cast Iron
You never, ever want to put your cast iron cookware away when it’s damp. (Put away damp, they’ll rust and you’ll be back at square one with seasoning cast iron pans.) Furthermore, I find that stacking cast-iron pans can lead to unpleasant moisture or rust or dust collecting in pans.
You can store your pans in your oven, in a cabinet, or on very sturdy hooks. Make sure that if you are hanging your pans, they are braced with studs very, very sturdily. To this day I avoid hanging them above where people may be standing or walking – these pans are just too heavy to take a chance.


how can I clean the outside of my pan it has a lot of crud on it
If it were me, I’d start by setting it upside down and covering it with a moist, hot towel for 5-10 minutes to see if that lifts off some of the crud.
You can put it in a self-cleaning cycle of your oven.
Another shortcut!
I have had cast iron pans since I was 17, over 40 years now and have stopped using non-stick pans entirely. Got my 1st pan from my grandmother who had been using it since she was a girl. They are heavy, require maintenance, and will break toes if you allow them to. Start your collection now and you won’t go wrong.
Yes, watch the toes! 😉