
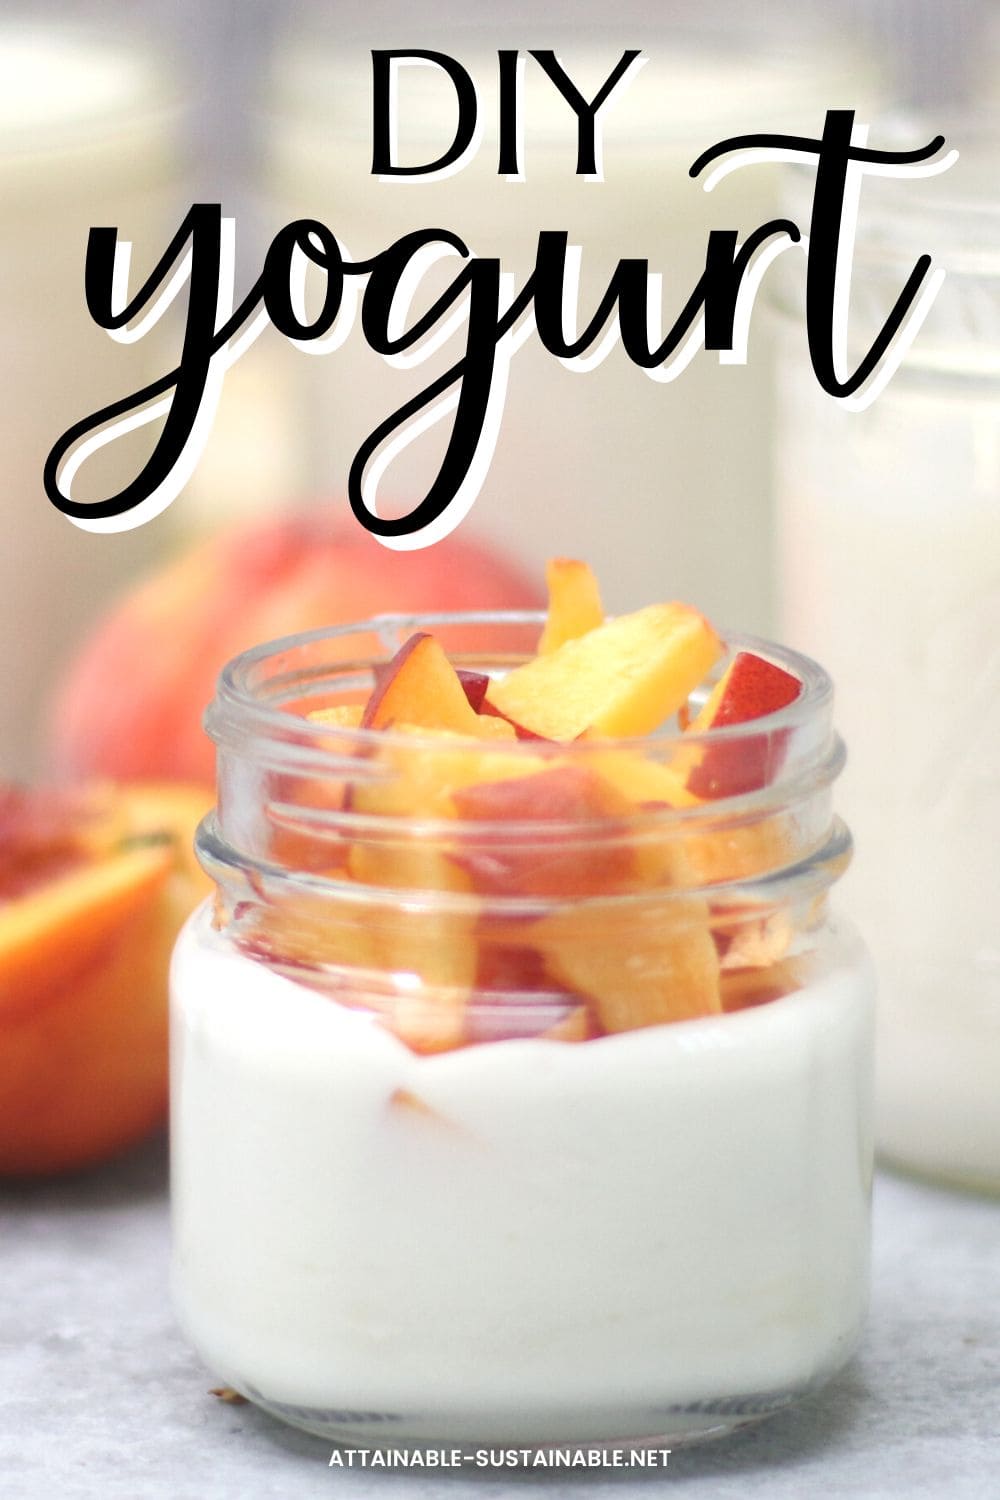
It’s simple to make yogurt at home with just a few common kitchen ingredients. This vanilla yogurt recipe can be topped with your favorite fruit or jam for a variety of flavors.

 Ready to DIY your pantry with more wholesome ingredients? Check out my new book from National Geographic! Attainable Sustainable Pantry is filled with delicious recipes for some of your favorite condiments, snacks, and toppings, along with an entire section on safe home food preservation. It’s the guide you need to start skipping packaged products and embrace homemade.
Making Homemade Yogurt
I’ve been making my own yogurt for years now and I’m here to tell you: it’s easy. It tastes great, it’s MUCH cheaper than store-bought, and it doesn’t result in lots of plastic waste. I make vanilla yogurt and top it with fruit in season or homemade jam or jelly for a variety of flavors.
Ingredients
Milk — The base for this yogurt recipe is milk (cow’s milk). You can use whole milk or low-fat milk, but try to find milk that hasn’t been ultra-pasteurized for the best results.
Starter yogurt — You’ll need to purchase one container of yogurt with active cultures to use as a yogurt starter, but if you get in the habit of making it regularly, you can set aside six ounces from each batch of homemade yogurt to use as the starter.
Honey — I like to sweeten my homemade vanilla yogurt with honey, but if you prefer sugar, that will work, too. Skip this ingredient (and the vanilla!) to make plain yogurt.
Vanilla — This is what gives this vanilla yogurt recipe it’s characteristic flavor. Most people have vanilla extract in the cupboard, but you could also use vanilla powder here.
5 Easy Steps to Transform Your Pantry!
Ready to switch from store bought to homemade? Let me help you make some changes! Grab my FREE five-part guide to getting started.
Making this Vanilla Yogurt Recipe
While this is not difficult and the hands-on time is limited, you do need to pay attention while this recipe is in process. (Hint: A kitchen timer is your friend!)
You’ll also need a thermometer to check the temperature. I use a candy thermometer.
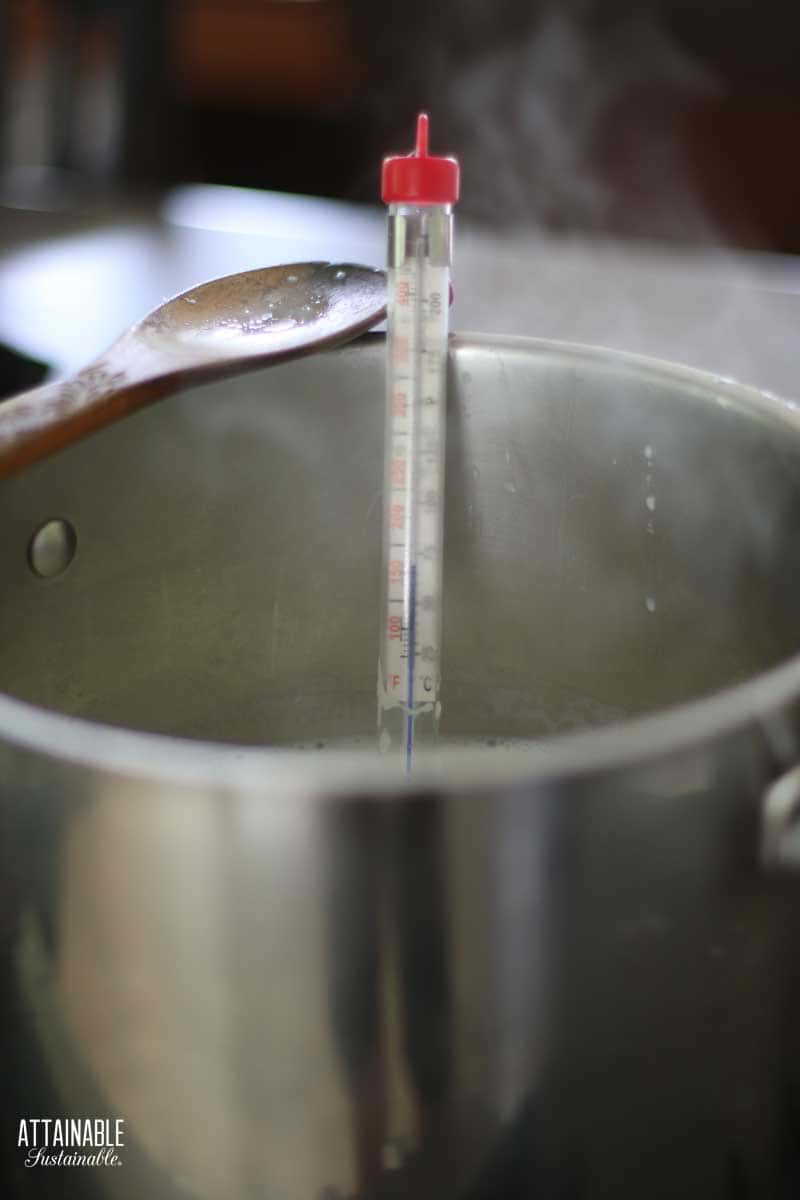
A candy thermometer helps you track the temperature of the milk.
First, you’ll warm the milk to 180 degrees.
Then you’ll set it aside for half an hour or so until it cools to 125 degrees, at which point you can stir in the honey and vanilla.
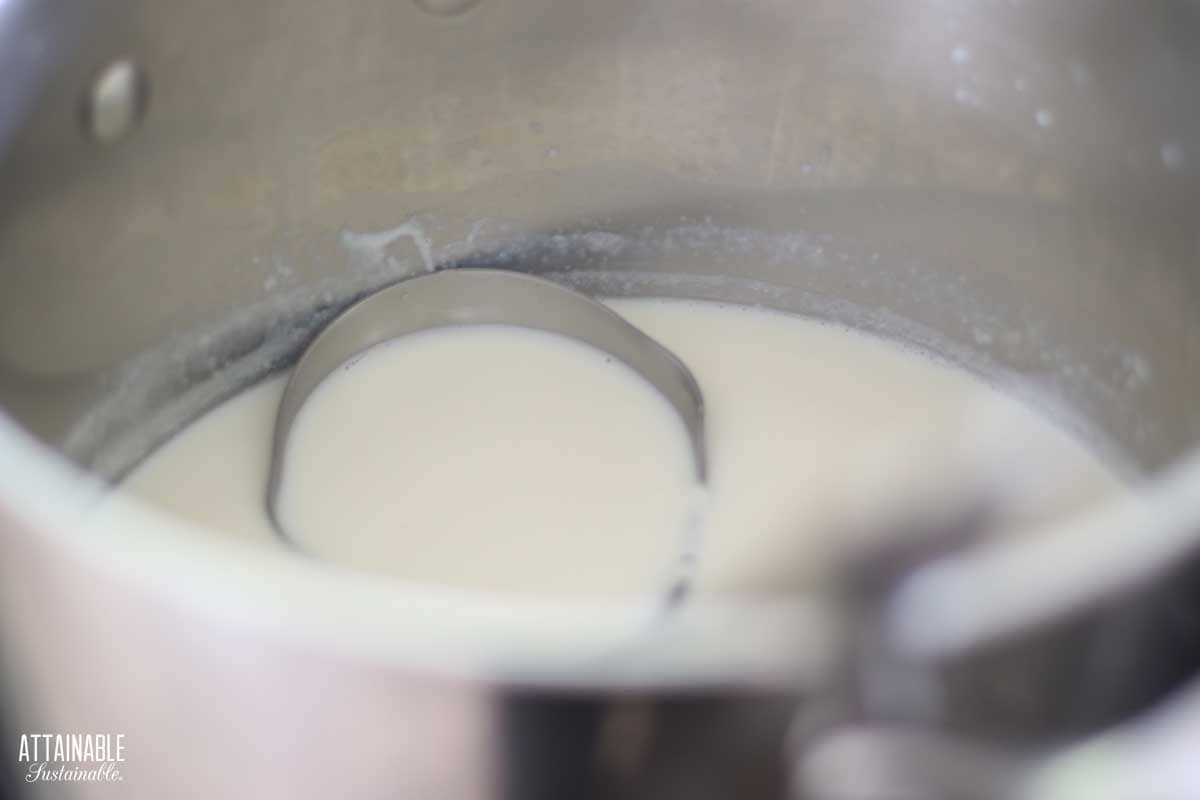
Ladle yogurt into jars when it’s about 110°F.
When it cools to 110 degrees, you’ll add the remaining ingredients. Allowing the mixture to cool is necessary! Adding yogurt cultures to a hotter mixture will kill off the bacteria necessary for proper fermentation.
Set a timer to remind yourself to check the temperature!
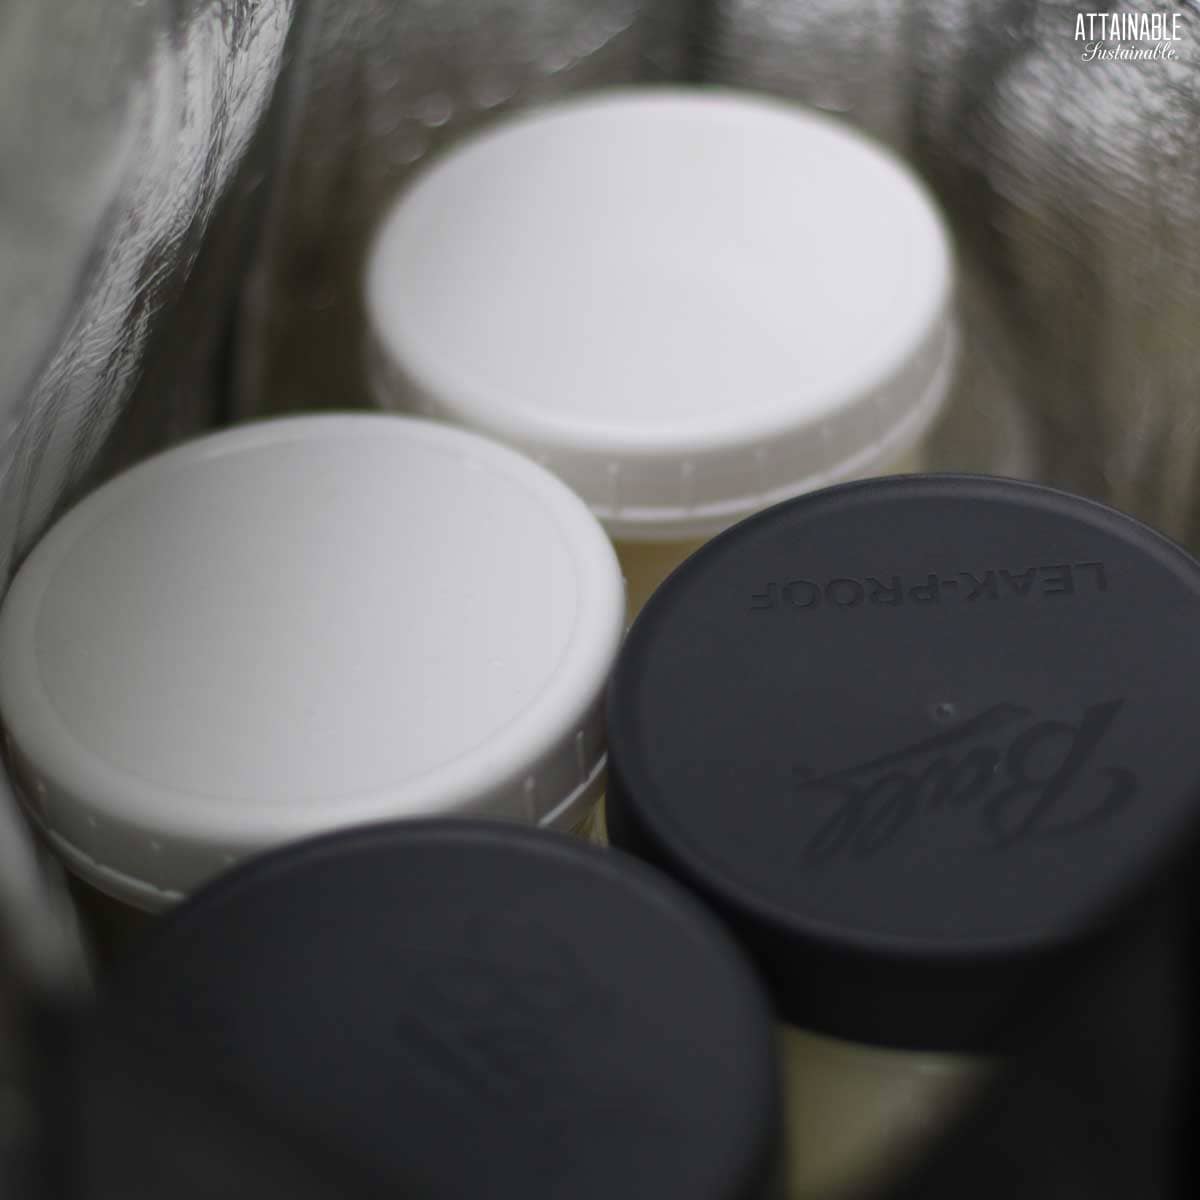
Put jars of yogurt in an insulated cooler to incubate.
Incubating Yogurt
The ideal temperature range for culturing yogurt is between 108°F to 112°F. Too cool and culturing will be slow; too warm, and the bacteria can be damaged. Either of these can result in failure to set.
There are a number of methods that work well for incubating yogurt.
Insulated cooler: This is my go-to method and easy to do. I like to put a couple of jars of hot water inside a lunch-sized cooler to pre-warm it before putting the jars of prepared yogurt inside. When the yogurt is ready, add them to the cooler and secure the lid. If your cooler isn’t well insulated, you can wrap it in a towel to help retain the heat.
Oven: If your oven has a bread proofing setting, that’s perfect for incubating yogurt. If not, turn the oven on to warm before placing jars of yogurt inside to incubate, then turn the oven on for short bursts every 1/2 hour or so to help maintain the warm environment. The pilot light on a gas stove may be sufficient to maintain the temperature.
Slow cooker: Heat the milk and make the yogurt directly in the slow cooker. When ready to incubate, wrap the slow cooker in a bowl for insulation. The heat of the crock will help hold it at the right temperature.
Instant Pot: Many of the newer models of electric pressure cookers have a variety of settings. If yours has a yogurt setting, set jars inside and follow manufacturer’s instructions.
Yogurt machine: This is a specialized appliance just for making yogurt at home. Follow manufacturer’s instructions.

After incubating, the yogurt will be a creamy consistency.
Choosing Containers for this Vanilla Yogurt Recipe
No matter how you choose to incubate the yogurt, you’ll need to decide what size jars to use. If your family likes to eat vanilla yogurt straight out of the container, you can fill to-go containers (the size of your choice) so they’re ready to pop into the lunch box.
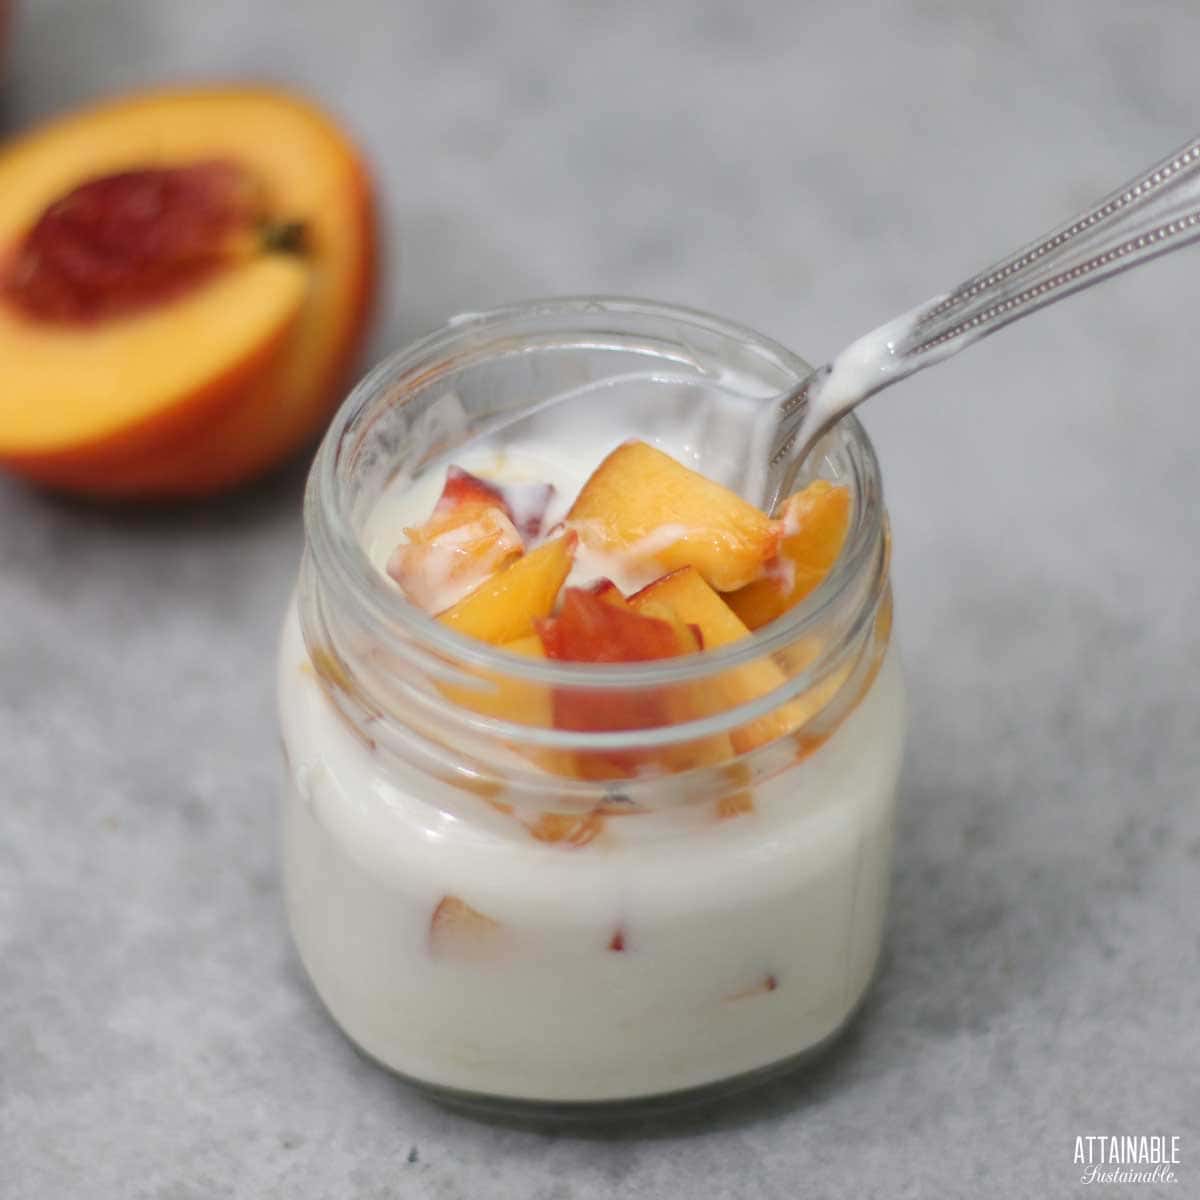
If you prefer to add fruit or jam to flavor the yogurt, like I do, consider making the yogurt in pint sized jars and transferring it to portable containers so there’s room to add toppings. This allows you to choose a different flavor every day, too!
The yogurt will set up no matter what size container you use, so make it convenient for your life.
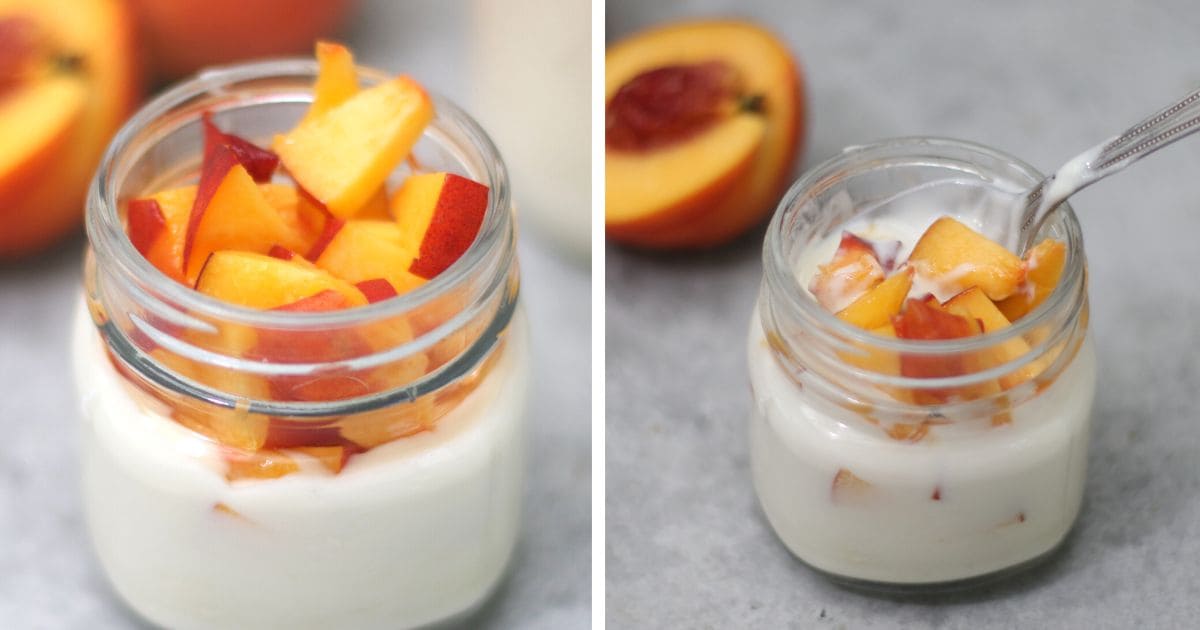
Add your favorite fresh fruit or jam to flavor the vanilla yogurt.
For a thicker, Greek-style yogurt, line a strainer with cheesecloth and place over a bowl. Spoon yogurt into the cheesecloth and allow some of the liquid to strain off to achieve the desired consistency.
Using Homemade Yogurt
Of course you’ll want to eat this delicious vanilla yogurt straight out of the jar, but yogurt is also an ingredient in many dishes. Vanilla yogurt in particular is good for baking. If you tend to use yogurt in savory dishes, leave out the honey and vanilla to make a homemade plain yogurt.
- Use it in these orange muffins or this French apple cake.
- Consider it as a substitute for sour cream in this French onion dip.
- Make the dressing that goes with these chicken shawarma wraps.
- Stir it into this plum upside down cake batter.
- Make these delicious berry-yogurt popsicles.
Storing Yogurt
Homemade yogurt will keep in the refrigerator for 1-2 weeks. Store it in jars or other airtight containers.
★ Did you make this vanilla yogurt recipe? Don’t forget to give it a star rating below!
Easy Vanilla Yogurt Recipe
Ingredients
- ½ gallon milk
- ¼ cup honey
- 1 tablespoon vanilla
- 6 ounces yogurt with active live cultures
Instructions
- Pour milk into a stockpot and heat to 180ºF over medium heat, stirring occasionally. This heat treatment kills any bacteria that may be in the milk; they can compete with the “good” bacteria introduced with the starter.1/2 gallon milk
- Once temperature is achieved, remove from heat and allow to cool to about 125ºF. Whisk in honey and vanilla if using.1/4 cup honey, 1 tablespoon vanilla
- Continue monitoring temperature. When the mixture reaches 108°F to 112°F, whisk in the starter yogurt until it’s completely incorporated. It’s important not to add the yogurt too early, as high temperatures can kill the active cultures.6 ounces yogurt
- Pour mixture immediate into jars and incubate for 6-8 hours. Do not disturb the jars while they are incubating.
How to incubate yogurt:
- Insulated cooler: This is my go-to method and easy to do. I like to put a couple of jars of hot water inside a lunch-sized cooler to pre-warm it before putting the jars of prepared yogurt inside. When the yogurt is ready, add them to the cooler and secure the lid. If your cooler isn’t well insulated, you can wrap it in a towel to help retain the heat.
- Oven: If your oven has a bread proofing setting, that’s perfect for incubating yogurt. If not, turn the oven on to warm before placing jars of yogurt inside to incubate, then turn the oven on for short bursts every 1/2 hour or so to help maintain the warm environment. The pilot light on a gas stove may be sufficient to maintain the temperature.
- Slow cooker: Heat the milk and make the yogurt directly in the slow cooker. When ready to incubate, wrap the slow cooker in a bowl for insulation. The heat of the crock will help hold it at the right temperature.
- Instant Pot: Many of the newer models of electric pressure cookers have a variety of settings. If yours has a yogurt setting, set jars inside and follow manufacturer’s instructions.
- Yogurt machine: This is a specialized appliance just for making yogurt at home. Follow manufacturer’s instructions.
Notes
- Store yogurt in the refrigerator for 1-2 weeks.
- Once you have created your first batch of yogurt, you can use it instead of the store bought yogurt to make your next batch.
Nutrition
Originally published February 2015; this post has been updated.


I made this recipe several times using an ice chest, a yogurt machine and also a French non-electric yogurt maker that I found at a flea market dating back from the 50s. I even used a method that a Lebanese friend clued me in on that works just as well. He wraps his yogurt vessel in a wool blanket and stores it in a dark place (the closet): it comes out wonderfully. I was wondering if infusions (herbal teas or dried flowers like lavender) while cooling the mild would work without disturbing the bacterial balance. Has anyone tried that? If so, please let us know how it came out.
Hello Kris:
A year ago I discovered the new ‘Cold start-No boil Yogurt’ made in the Instant Pot. It’s amazing. I normally end up with 3 quart jars and one pint of yogurt. Their is a drawback, for long storage you do need to use ultra pasteurized milk. I’m lazy so earlier in the day I sanitized my jars an pour the yogurt right into my jars to incubate. I pour warm water into my instant pot and incubate for 12 hours. Right into the fridge and will last a week to 10 days.
I make ours in a Sou Vide device from Costco. Have found 18 hours at 115 degrees suits our tastes. Using ultra-pasteurized milk, and so far, is still fresh at 3 weeks. Simply straining in a fine mesh sieve for a few hours yields the firmer “Greek” yogurt.
Sounds delicious, glad you found what suits you! 🙂
I’ll definitely make this again!
My Mother-In-Law uses the oven with the light on to keep her bread dough warm while rising, would that be too warm for the yogurt set stage?
My mom did the same. I doubt it would be too warm. Maybe not warm enough? All you can do is try!
Can this be done with goat’s milk?
Thanks in advance.
I have not tried it with goat milk. If you do, report back!
I turn my oven on to warm it up at the lowest setting, just a little, then turn it off. Wrap the yogurt in jars or in my dutch oven in a thick towel and leave the light on overnight. Refrigerate the next day all day. Works beautifully. I use greek yogurt as a starter and I don’t add anything at all. It is nice and thick. We eat it with homemade granola and real maple syrup for breakfast every day. I make a gallon of milk at a time and it will last easily 2-3 weeks in the fridge.
I use the warming lights on top of my stove and they work great. I’ve always used plain yogurt as a starter. You don’t specify plain in your recipe. Is it possible to use flavored yogurt as your starter? I really want to try this with a new brand of Australian yogurt that I live, but I can’t find plain.
Has anyone tried this with coconut milk? Andany update on the low heat methods with raw milk? Thank you!
Have u added fruit to the individual jars? I made a batch once (using a crockpot….worked great!) But when I tried to add fruit to it and leave it in the fridge, it seemed to separate out. I was too lazy to cut up the fruit for the yogurt everytime the kids wanted some, so I didn’t do it again (they wouldn’t eat it plain). Was wondering if u had tips on that…..thanks!
I usually just top mine with a bit of homemade jam, so no – no fruit stirred in. Not sure how to remedy that one.
What is the shelf life of this product once made? Thanks
Hm. I have two grown boys. I’m not sure we’ve ever made it to “outdated” before it was gone. A week or so?
I just made this and wow!!!! I have had my milking goat for a little over a month. This yogurt was so good. Creamy and just a hint of sweetness and vanilla. My fiancé was not expecting to like it as much as he did. Now to serve it up for Easter breakfast and see what the kids and the parents think.
Forgive me for asking a probably silly question, but when you say hot water bottle, do you mean the rubber type we used to fill up to warm childrens feet or a jar/bottle filled with warm water? I don’t have the rubber kind.
Just a glass jar filled with hot water. 😉
Ugh…… Why does yogurt have to be such a precise science? I’m not a precise person at all……. I may need to check out the heating pad or crock pot method.
Thanks for the info!
actually it does not to be a precise science. i am from turkey and all i use is my pinky and never failed for more than 30 years. my great grandmothers did not own a thermometer either 🙂 you heat up the milk on the stove and check the heat with your pinky, if it feels hot that is the right temperature unless you have high heat tolerance. if you cannot stand let it cool and check again. use one rounded tablespoon yogurt for each quart of milk plus one more tablespoon. mix the yogurt in a bowl, temper it with some of the milk you heated then pour it in the milk pot. you can leave your mixture there or pour in other vessels, i prefer mason jars, put them together and cover with a blanket. let it stay there 8-10 hours and transfer them to the fridge. it will get thicker as it cools. mix any flavors after the yogurt is done.
I make mine in a crockpot and it works great! Non dairy milk will need a thickening agent from what I’ve read.
I love this! While I usually shy away from “a dash of this” and “a splash of that”, this process is right up my alley! Thanks 🙂
Just an funny thing. I actually have one white glass (looks like a cup) from a yogurt maker (salton?) years ago. Now I got married at 21 and I’m 59. It was from my teens. Making this today especially since the price has gone up up up!
Please, please follow up with making it raw. I specifically buy organic raw milk and it just kills me to heat it to 180, destroying all the good stuff in it.
I was using the oven while visiting my daughter. I changed the light bulb to 60 watt and it works great. But when I got home my oven had two small bulbs that use smaller sockets. So my oven won’t work. I also used the ceramic bowl and lid from the crock pot which holds 1 gallon.
I tried the crock pot on warm but it didn’t work. Don’t know if it didn’t work cause it wasn’t warmed first.
Also tried with almond milk but mine didn’t get firm. Made it the same time as the other yogurt that turned out perfect.
I also strain mine after using a white”tea towel” that I bought art Walmart in the kitchen towel department.
Though it is finished in 7hrs, the longer you leave it, the more probiotics. I leave mine for 24 hrs accord to a friend who is on a strict diet for healing Crohns. What she learned the longer you leave it the more nutrients. So I keep mine 24 hrs.
Sorry. She is on a strict diet for crohns.
I use my oven just warmed up and then turned off with a ‘hot’ water bottle inside. I have also left the light on for about 10 minutes to reheat a bit about 1/2 way thru. I was wanting to try the low temp method instead of heating until 180 degrees. Is it the same process, just only heat to 125 degrees and then let cool? And does it last as long?, mine (at 189 degree heated) lasts 2-3 weeks in the fridge. Thanks for all the great advise.
I’m still experimenting with the raw milk version. I’ll update with a new post when I get it dialed in!
After you have made your yogurt stir in a pinch or two of salt then strain it overnight through a cheesecloth lined colander over a bowl and you will have “labne” or a form of cream cheese
Can you use some of the leftover yogurt to start a new batch instead of buying more?
Yes! Once you’ve got your own going, you can use it!
This sounds fun! I have a couple of questions:) do you think it could be made unsweetened? Also that heating pad got me thinking… I have a warming drawer in my kitchen I never use? Would that work, say on low? Or what about an electric crock pot on low, replacing the cooler? Love your posts!
I have not tried this yet but I have seen other yogurt recipes that suggest using a crock pot. Maybe google it to get ideas.
How long does the yogurt keep in the fridge?
I’d *guess a couple of weeks. But I have two grown boys, so it doesn’t ever make it that far. 😉
I have made yogurt (on the stove) and put it on a heat pad on low – cover with a towel overnight and you will have yogurt the next day. I made mine in a gallon jar this way for years.
If you save a cup out you can use that next time instead of purchasing new yogurt to make it again.
Hi,
I want to make homemade yogurt and use some of it for my son to take in his lunch box to school. But I am really struggling to find suitable containers. Any ideas?
Thanks
I presume that you’re asking because you want to avoid plastic. And glass isn’t too good for a kid’s lunch. These are stainless with bpa-free plastic lids: https://t.co/aqNWW2s. The stainless containers w/stainless lids I’ve used haven’t been leak proof, but these have a screw on lid and are *supposed to be leak proof: https://t.co/w7BwW4C.
Thermos
Walmart sells a wonderful wide mouth Thermos brand thermos – it’s grey metal with a folding spoon in the lid and it holds 2 cups. It is leakproof and if you pre-chill it, it keeps things very cool until lunch. It’s the only really good one I’ve every found.
Sigh – I used to make homemade yogurt all the time when I had a long commute and needed lots of snacks to get me through the day. I think it’s time to get back on the yogurt train! Have you ever tried this with a soft-sided cooler?
I haven’t tried it with a soft sided cooler, but as long as your cooler is good at retaining temperature, it should matter if it’s soft or hard sided. Wrapping the cooler in a big quilt could help retain warmth if you are concerned about that.
So cool. I say a yogurt maker at a gourmet store this week–this would be so much less expensive and the possibilities with making your own flavors…I need a better ice chest though.
We eat so much yogurt in my home I really need to start making my own. Thanks for the step-by-step guide.
I was JUST talking to my hubby about how we used to make our own yogurt back in the day. We had a little doohickey warmer machine with little glass jars and tops. I have no idea where that piece of kitchen gadgetry ever went, but I think it’d be fun to make yogurt again. And fun to see the shout-out to Diana B. 🙂
I toyed with getting a yogurt maker at first, but I just don’t have room for a piece of equipment that does only one thing. This method works just fine!
Had the same yogurt maker. Also don’t know what happened to it. Let’s do it again.
Wow! I admit that I will likely never make my own yogurt (don’t eat much of it!) but this post was an absolutely fascinating read. I learn A LOT – and really enjoyed it. Thanks, Kris!
This looks yummy. I’m going to give it a try!
Interesting! I remember years ago there was a way to make yogurt from a “kit” that you could purchase…but I don’t remember how exactly it worked. I’ll bet the taste of homemade yogurt is wonderfully fresh.
You have inspired me! I will start making my own yogurt again. I used to make it with buffalo yogurt as the starter, because it came out firmer that way, but then the local health store stopped carrying the buffalo yogurt. Also, I have discovered that organic whole milk works best in our area.
Use greek yogurt for firmer texture, it works very well. We make our own all the time.
My husband loves Greek yogurt; I’ll have to try it that way sometime.
We certainly don’t have buffalo yogurt here!