Stop! Don’t send that glass jar to the recycle bin quite yet. Decorating glass jars and bottles is a great way to upcycle materials. Instead, doll them up, pop in a tea light, and add a bit of shine to your home. Use these DIY candle holders to brighten the household. These decorative jars are great for holiday decor and packaging food gifts, too. Or make eight short jars with one taller one to use the set as a menorah. This dotting technique is super forgiving and very easy for kids to do.
Fill a decorated jar with some of this delicious homemade creme de cacao for a gift.
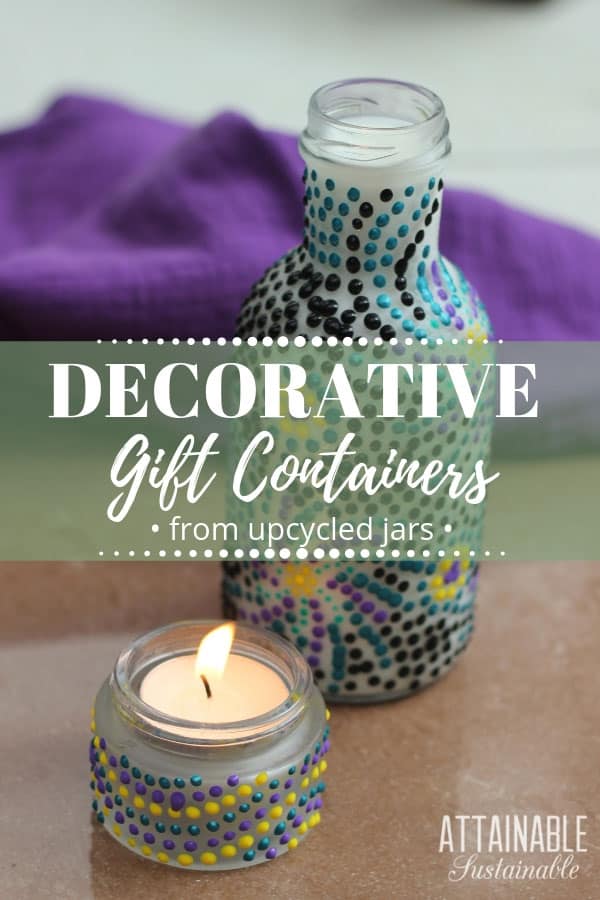
Decorating glass jars and bottles
If your household is anything like mine, you try to get the most out of the materials that pass through. Decorating glass jars and bottles — or for that matter, even plastic ones — is a good way to get one more use out of them.
This dotting technique is very forgiving. You can start with patterns like flowers or starbursts, and fill in between them with more dots. Or do flowing lines to make DIY candle holders like you see here. Kids can use this technique to make a very nice looking end product. You will need to allow enough time for dots to dry in between sections, though, to avoid accidentally smearing the pain.
Painting jars and bottles
You can use the little jars of 3-D paint for this project. Those are probably easier for kids to use. Or you can use a small paint brush dipped in glass paint. Dip the paintbrush in enough paint that there’s a bit of excess on the tip of the brush. Carefully dab the end of the brush onto the jar or bottle, transferring a dot of paint. In either case, it’s a good idea to have a scrap of paper to practice on first. Once you get the dotting technique down, start stippling your decorative jars and bottles!
It will be easier to see the area on which you’re working if you roll up a piece of white paper and insert it in the jar.
Take a Peek Inside My Book!
Get a free excerpt from my book, Attainable Sustainable: The Lost Art of Self-Reliant Living! You’ll also get my free weekly newsletter, complete with recipes, gardening tips, and a little peek at what’s going on around here — both the zany and the mundane.
DIY candle holders
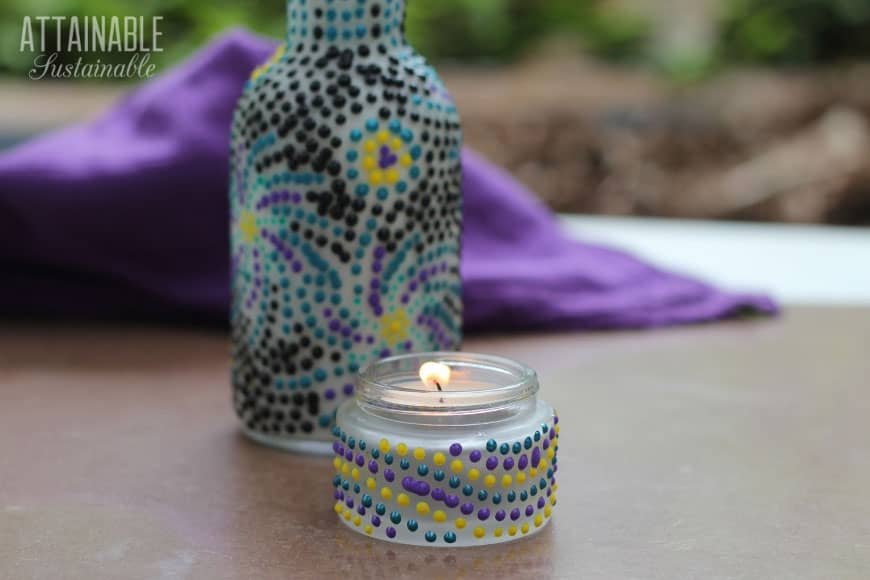
To make DIY candle holders, start with glass jars. (This isn’t a good way to use plastic bottles as the plastic can burn and it will smell nasty if it gets too warm.) Choose jars that have an opening large enough for a votive candle or tea light to fit. A jar taller than the candle will work wonderfully, or find a jar that is just tall enough that the wick will align with the top of the jar. The jar you see here with a lit candle is an upcycled cosmetic jar that one of my guests left behind. It has a frosted glass surface.
Pretty gift packaging
If you make homemade gifts, why not take it a step further and DIY the gift packaging? Fill decorative jars and bottles with homemade kahlua or creme de cacao. Fill a small jar with homemade taco seasoning. Or fill a larger decorated jar with pancake mix.
Make a menorah
This is a fun project for several family members to make together for Hanukkah. Select eight short glass jars and one taller glass jar. Choose just three or four colors of paint. That way, these DIY candle holders will look great together no matter how many people contribute their original designs.
DIY Candle Holders
Equipment
- recycled jars or bottles glass or plastic
Ingredients
- paint see notes
- white paper
Instructions
- Soak jars in warm soapy water to remove labels; dry.
- Slip a rolled up piece of white paper inside the jar. This will make it easier to see what you’re working on.
- Add a simple shape – such as a flower, circle, or star – with one color using dots of paint. Repeat the shape in several places on the jar. Another easy way to start is with a line around or across the jar.
- Outline the shapes in a different color with more dots. Continue adding dots, either outlining the original shape or creating new patterns until the entire jar is covered. You may need to take a break to allow the paint to dry as you move around the jar.
- Once complete, put a votive candle or tea light in each jar or fill with food gift.
Notes
- Tip: By sticking with just three or four colors, your DIY candle holders will look great together no matter how many family members contribute their original designs. This is especially good if you're making a menorah that will be displayed together.
- You can use the little jars of 3-D paint for this project. Those are probably easier for kids to use. Or you can use a small paint brush dipped in glass paint. Dip the paintbrush in enough paint that there's a bit of excess on the tip of the brush. Carefully dab the end of the brush onto the jar or bottle, transferring a dot of paint.
- It's a good idea to use a scrap of paper to practice on first.
- Allow enough time for dots to dry in between sections to avoid accidentally smearing the pain.
Originally published December 2011; this post has been updated.


Hi there. Just wondering how do they stick to the jar. What type of adhesive is used? Thanks for your help and I love this idea. Can’t wait to try it!!
This is made using 3-D paint or with a small paintbrush dipped in glass paint, so no other adhesive is necessary!
Awesome idea.. me n my daughter love arts and craft and we will for sure try it out!
Love the reuse of the glass jars. Beautiful work.
They are beautiful, great idea also for our vacation rentals! How can I clean them???
love your ideas
There use to be a tool that we used in ceramics that made perfect dots. That would make this very easy.
Please add me to you email list 😉
Check the sidebar – there’s a form over there for you to sign up!
Love this idea! Looks like all you need is a steady hand, imagination, and the materials.