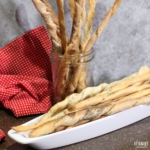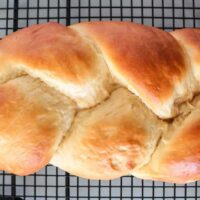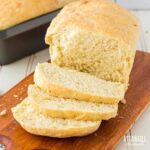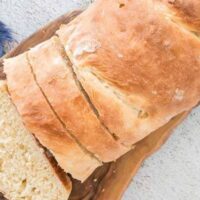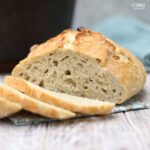
There’s just something about baking with yeast that can feel intimidating, even to an experienced cook. But if you avoid it, you’re missing out on a lot of fun recipes. Fresh-baked bread, cinnamon buns, dinner rolls, and homemade doughnuts are just a few of the delicious baked goods you can make with yeast. This short guide will walk you through the different types of yeast and how to use it like a pro.
Read more about the three different types of bread leavening methods here.
What is Yeast Exactly?
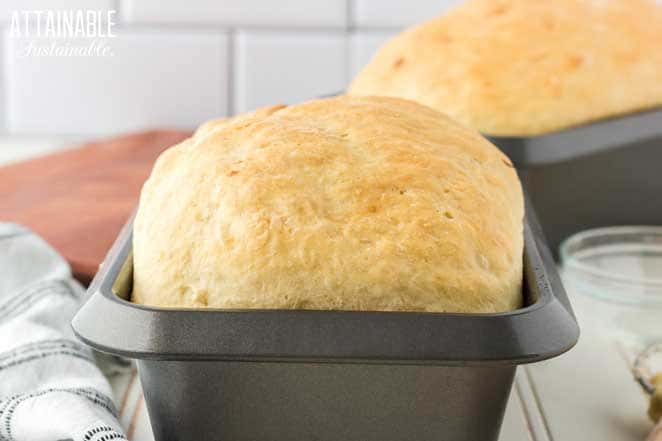
So what is yeast and why is it a must for making bread? Yeast is a living organism (saccharomyces cerevisiae) that feeds off sugar and starch. As it feeds, yeast releases carbon dioxide, which causes dough to rise and is ultimately responsible for light and fluffy baked treats.
Yeast also needs moisture and warmth to thrive, which is why you’ll see these two factors play a prominent role in yeast baking recipes.
Types of Yeast for Bread Baking
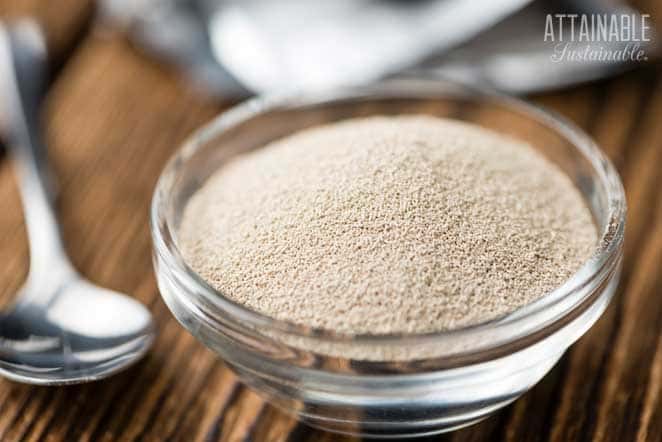
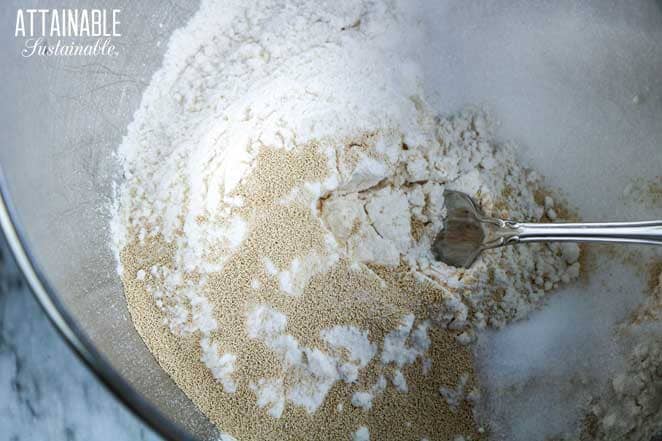
What’s the difference between active dry yeast and instant yeast? These are the two main types of yeast available for purchase in the U.S. They are essentially the same ingredient but in different forms.
Baking with Active Dry Yeast
Most baking recipes call for active dry yeast. This type of yeast needs to “bloom” before adding it to other ingredients. The blooming process (also called proofing) is simply mixing your yeast with warm water and sugar for about 10 minutes. The mixture will become bubbly and foamy, which means it’s ready to add to your recipe.
The active dry yeast found in most American grocery stores is a granulated product that comes in jars or packets.
Baking with Instant Yeast
Instant yeast doesn’t need this proofing process. You can add it straight to your dry baking ingredients. The particles are smaller and dissolve more easily. Instant yeast also works faster and reduces rising times, resulting in a quicker baking process.
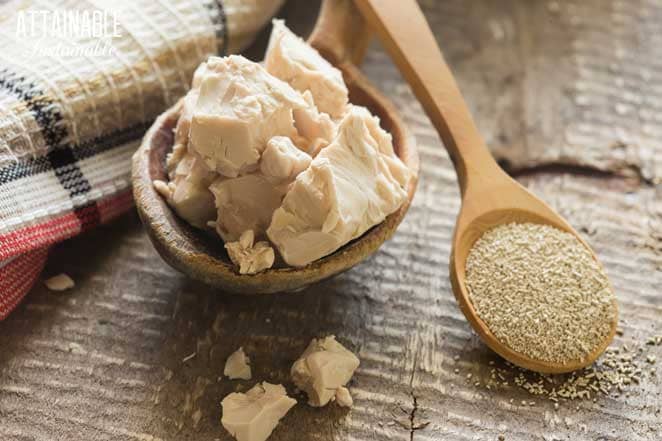
Using Fresh Yeast
In other parts of the world, yeast often comes in solid cake form, wrapped in little cubes much like butter. In fact, you’ll likely find it in the dairy aisle because it needs to be refrigerated. The shelf life of fresh yeast is much shorter than that of dried yeast; you’ll need to use it within two weeks.
To use yeast in its cake form, crumble it into warm water to proof, just as you would for active dry yeast.
Which type of yeast should you use?
Bakers don’t often agree about which yeast is best. Many traditional cooks prefer active dry yeast, but in many cases instant yeast will pull off similar results in less time. When in doubt, follow your recipe’s recommendations because it will provide the correct rising and baking times.
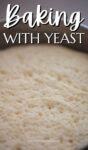
How to Test if Yeast is Active
The proofing process will let you know right away if your yeast is still good and alive. If the mixture bubbles up, your yeast is alive and well. If it doesn’t bubble up, your yeast is dead and you’ll need to start over with new yeast.
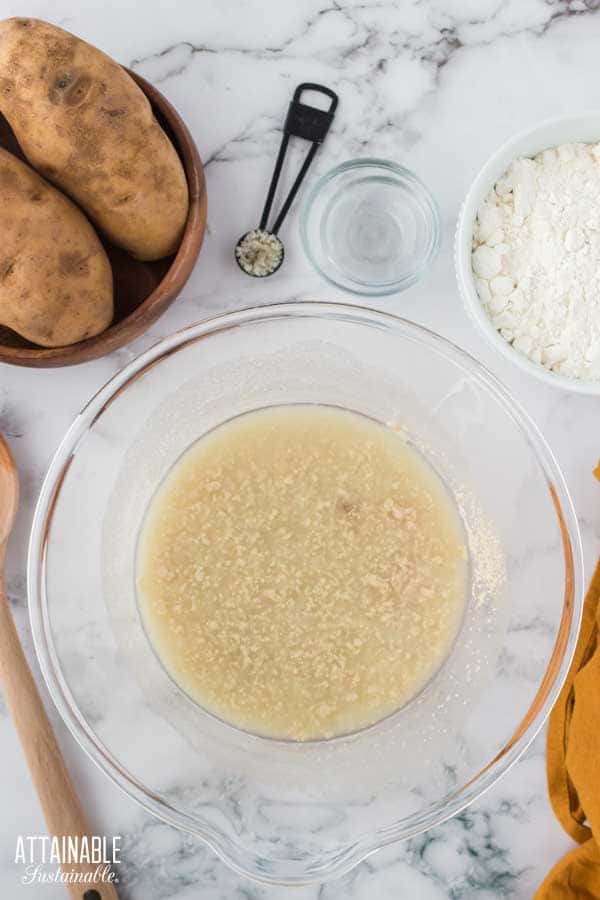
How to Proof Yeast the Right Way
Proofing or blooming fresh or active dry yeast is a very simple process but it’s important to follow it carefully if you want great results:
- Mix one packet of active dry yeast (2 ¼ teaspoons of yeast) with ¼ cup warm water and one teaspoon sugar.
- The water temperature should between 100-110 degrees Fahrenheit. (This is very important! Water that is too cool won’t activate the yeast. Water that is too hot will kill the yeast.)
- Let the mixture sit for 10 minutes. If your yeast is alive, the mixture will be very bubbly.
- At this point, the bubbly yeast mixture is ready to add to your recipe.
Tips for Making Bread with Yeast
If you want to start baking yeast breads regularly, you’ll want to follow these tips for success:
- Store yeast properly. No matter the type of yeast you use, keep it stored in a cool, dry place for up to 12 months. For longer storage use the freezer (no need to thaw before proofing).
- Always check the expiration date. Yeast is only good for so long, so make sure to check the expiration date before purchasing and don’t use it after it’s expired.
- Knead well before rising. Kneading allows the yeast to start working with the gluten in the flour to create a light and fluffy dough.
- Let it rise in the oven. Let your dough rise in a cold oven (make sure it’s off). Put a small bowl of just boiled water in the bottom of the oven to create the warm, moist environment that yeast loves.