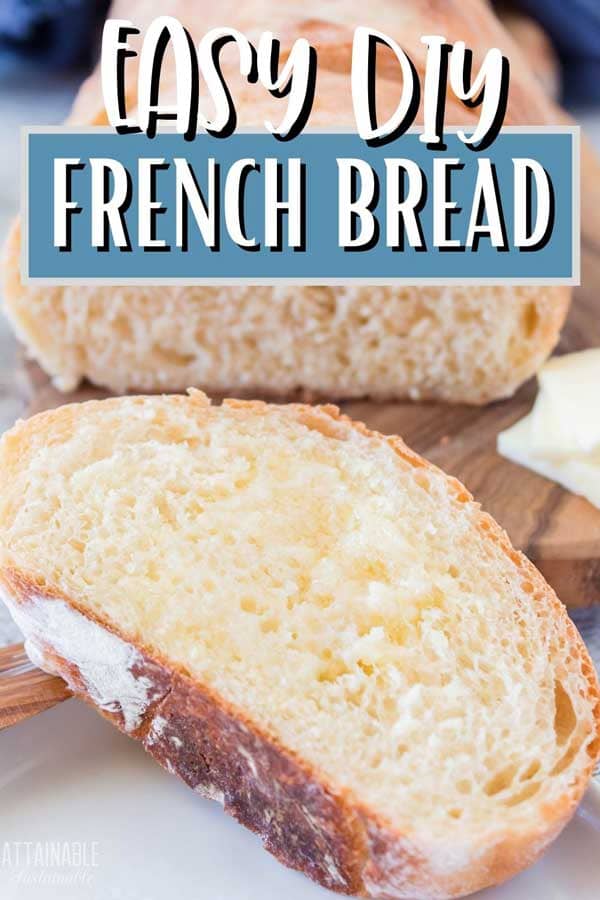
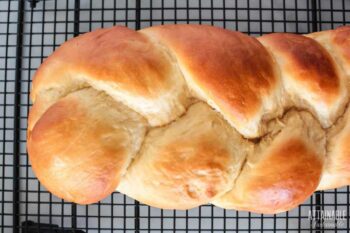
This easy soft French bread recipe is great to pair with soup, slice and toast, or for making your favorite sandwich. This French bread loaf is a homemade bread winner and oh, so good slathered with butter.
No time to knead? Try this delicious and easy no-knead bread!
Contributed by Shannon Stonger.
Making bread by hand, at home, with the simplest of ingredients doesn’t have to be complicated. And it doesn’t have to be tasteless or boring, either.
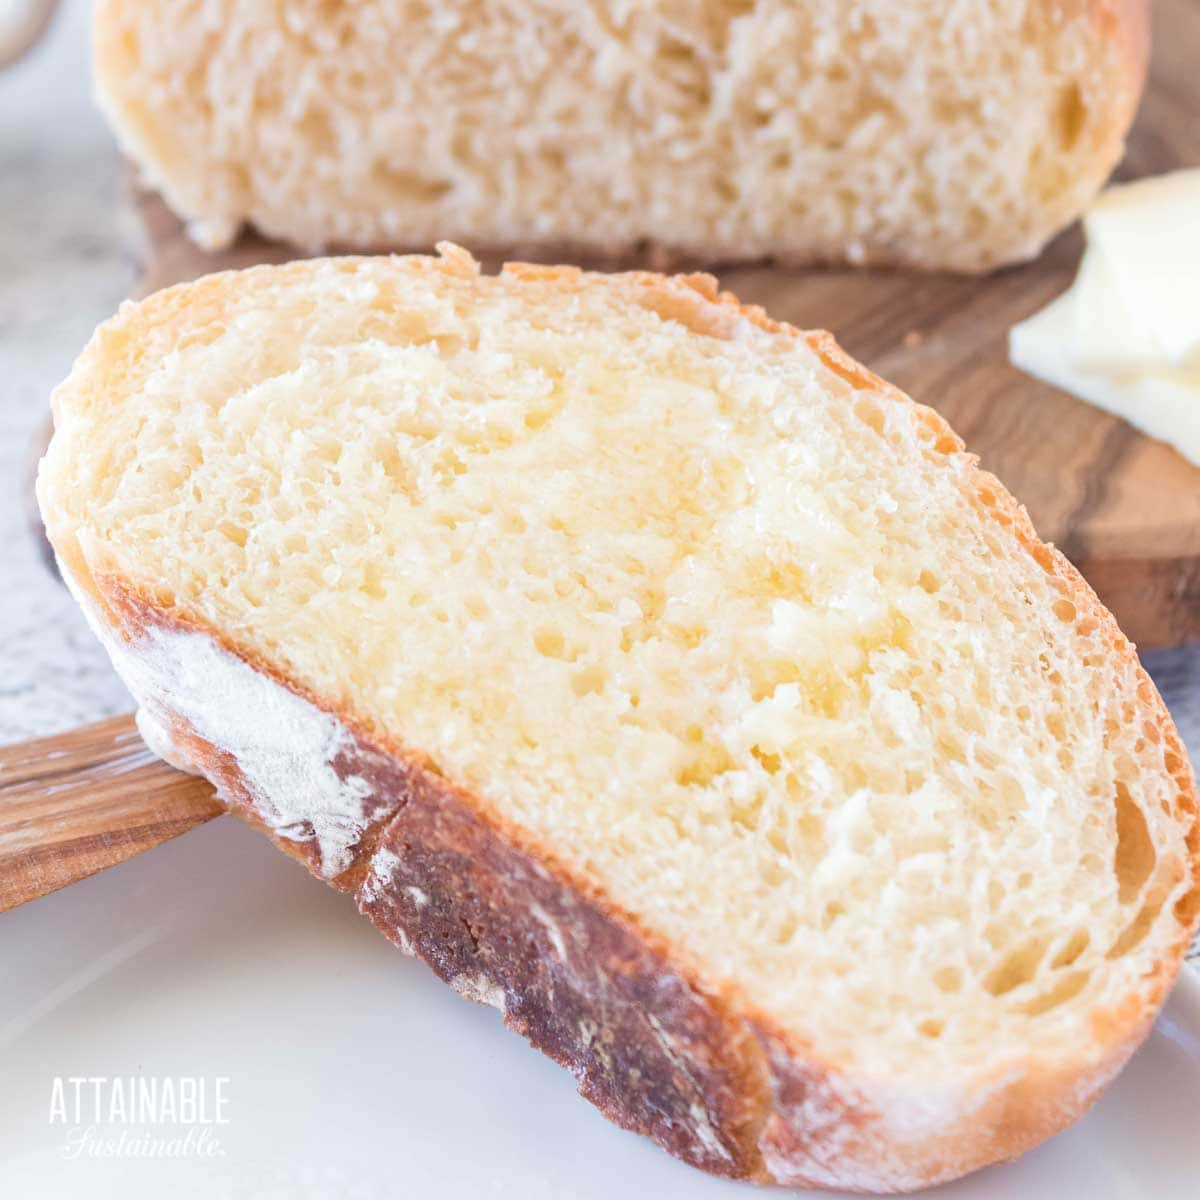
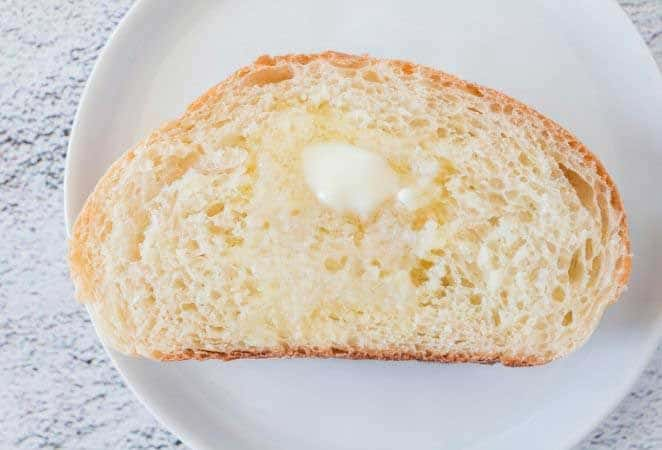
This tender homemade French bread ticks all of the boxes: It sits beautifully on the table next to homemade soup — like this creamy pumpkin soup. It cuts easily and butters nicely. It keeps for several days without losing its soft texture. And while it tastes better than the store-bought version, the ingredients in this easy French bread recipe are much, much easier to pronounce.
5 Easy Steps to Transform Your Pantry!
Ready to switch from store bought to homemade? Let me help you make some changes! Grab my FREE five-part guide to getting started.
Ingredients
Bread flour — The protein content in bread flour is higher than all-purpose flour. That higher protein means lots of gluten, which gives bread its stretch and elasticity.
Active Dry Yeast — This is the ingredient that gives the bread loft.
Sugar — Use your favorite brand of granulated cane sugar. I prefer organic.
Sea Salt — Bread baked without salt is terribly bland, so be sure to include this staple ingredient!
The Handcrafted Pantry

Ready to DIY your pantry with more wholesome ingredients? Check out my ebook, The Handcrafted Pantry! Filled with delicious recipes for some of your favorite condiments, snacks, and toppings, it’s the guide you need to start skipping packaged products and embrace homemade.
Making this Soft French Bread Recipe
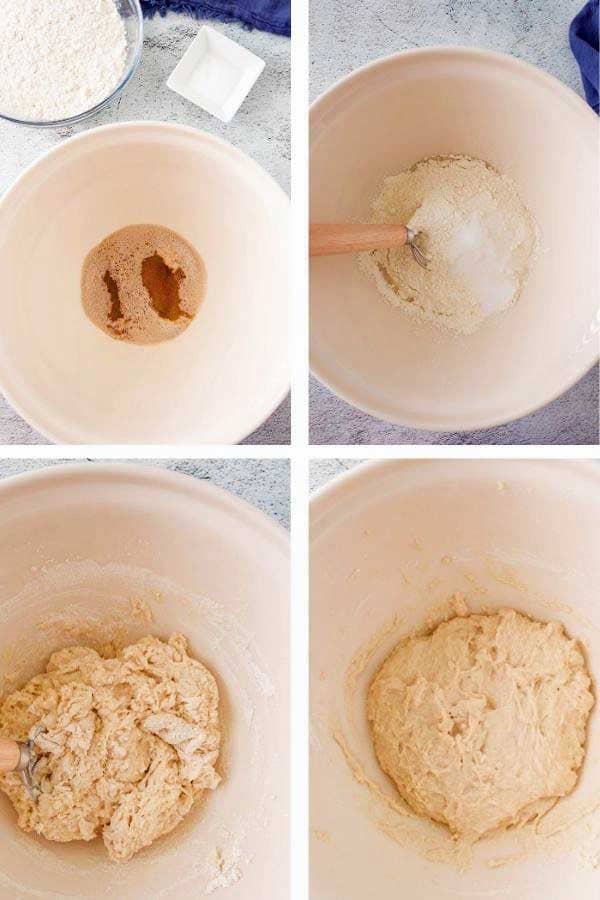
Proof the yeast by combining the yeast and sugar with warm water. Allow it to sit for 5-10 minutes until it gets bubbly.
Add remaining ingredients and stir into a shaggy dough. Allow to rest for half an hour.
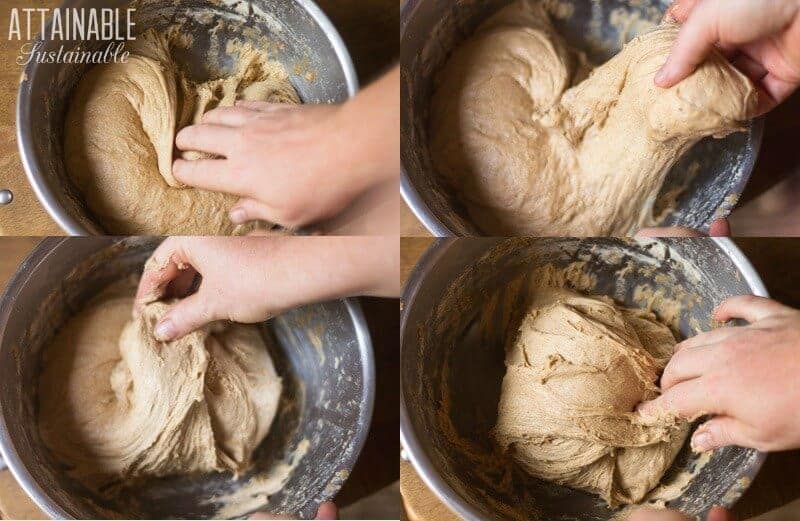
Making homemade bread is not difficult, but it does require a little bit of hands-on effort — literally. Stretching and folding the dough imparts air bubbles that will make the finished product light and airy.
If you do not wish to knead this recipe by hand, you can let a stand mixer do the work. In a mixer equipped with a dough hook, all ingredients are combined, process on low until dough comes together to form a ball and pull away from the side of the bowl. It should feel tacky, but not stick to your fingers.
Choose a warm location where your bread can rise. On a warm summer day, the countertop will suffice, but during the winter months, tucking it inside an oven that’s been pre-heated for a few minutes works, as does setting it near the wood stove.
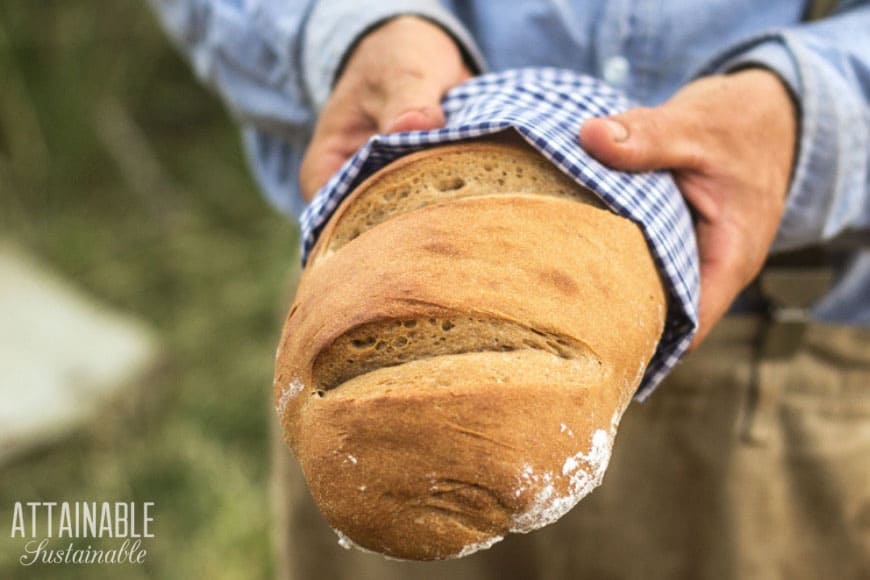
Bake the French bread until golden brown. Cool on a rack and allow to cool before slicing.
This easy French bread recipe is destined to become a favorite at your place! It’s great to serve with soup and stew, perfect for garlic bread, and it can also be the base of this delicious Blueberry French Toast Casserole.
★ Did you make this easy French bread recipe? Don’t forget to give it a star rating below!
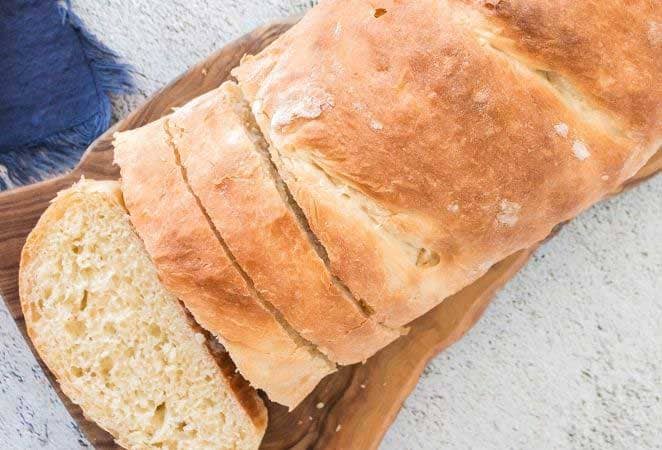
Easy French Bread Recipe
Ingredients
- 2.5 teaspoons active dry yeast
- 2 tablespoons granulated organic cane sugar
- 1 ¼ cups warm water divided, (around 100 degrees F)
- 2 ½ cups bread flour
- 2 teaspoons sea salt
Instructions
- Combine 1/4 cup of the warm water with the dried yeast and sugar in a medium-sized mixing bowl. Allow to sit and "proof" for 5-10 minutes or until you see bubbles and signs of life in the yeast.2.5 teaspoons active dry yeast, 1 1/4 cups warm water, 2 tablespoons granulated organic cane sugar
- Add the water, flour, and salt and mix until a rough dough forms. Wet your hands slightly and knead the dough for just 2-3 minutes or until a cohesive but still rustic feeling dough forms. Cover and allow the dough to rest for 30 minutes.2 1/2 cups bread flour, 2 teaspoons sea salt
- Return to the dough and perform a stretch-and-fold by folding each side of the dough onto the mass of dough. Looking down at the dough, imagine it as the face of a clock. Start at the 12 and stretch and pull that corner onto the mass of dough. Repeat with the 3, 6, and 9 edges respectively.
- Cover and allow to rise an additional 45 minutes and repeat stretch-and-folds. Cover and allow to rise 30-45 minutes, or until doubled in bulk.
Forming the loaf
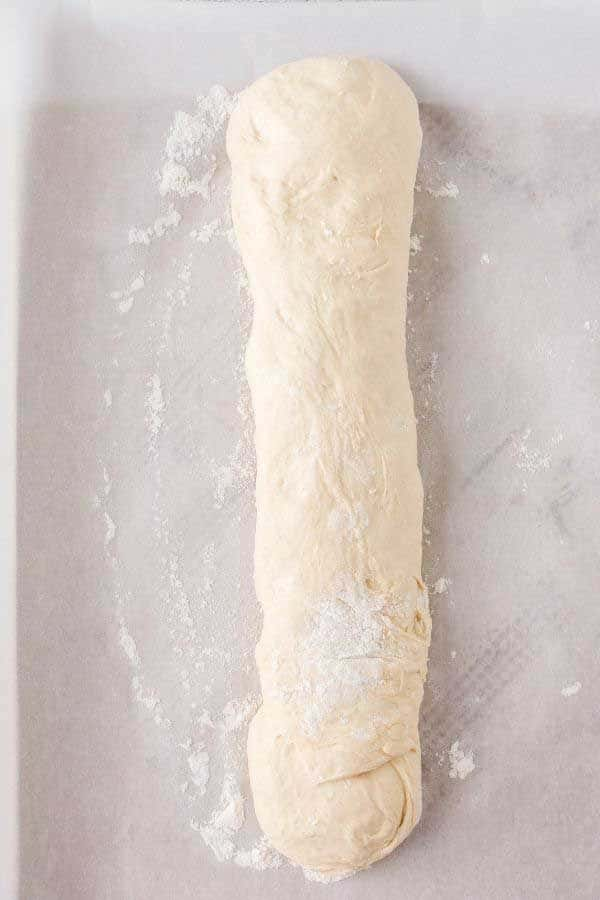
- Lightly flour a sheet of parchment or a clean work surface. Place the dough on the floured surface and stretch the dough into a rectangular loaf shape as you would a sandwich loaf. Stretch the long ends of the loaf and tuck them under the rectangular loaf. Allow to rest for 3-5 minutes. Return to the loaf and stretch it out to a loaf 12-18" long by rolling it back and forth and elongating the dough. Either transfer the parchment to a baking sheet or transfer the dough to a greased baking sheet that has been lightly dusted with flour.
Second rise
- Once the loaf is formed correctly, cover with a damp towel or plastic wrap and allow to rise for 60-90 minutes or until nearly doubled in bulk. Preheat the oven to 400 degrees when the loaf has risen by 50%.
- Remove the towel or plastic wrap and, using a very sharp knife or razor, slash the dough diagonally in three to four places. Place bread in hot oven and bake 30-40 minutes or until browned nicely on the outside and baked through. You can test the loaf by turning it over and thumping the bottom. If it sounds hollow, it is done.
- Move to a cooling rack; allow to cool for at least 20 minutes before slicing.
Notes
- This recipe makes a single loaf of French bread. To make multiple loaves, measure yeast for each loaf into a small bowl and begin the proofing process by adding warm water. Then measure flour for one loaf of bread into the mixer bowl along with the proofed yeast and remaining ingredients. Knead, then transfer the dough to an oiled bowl. Put the next batch of ingredients right into the mixer bowl (there’s no need to wash that between loaves). Allow the dough to rise and bake multiple loaves at once.
- If you do not wish to knead this recipe by hand, you can let the stand mixer do the work. In a mixer equipped with a dough hook, all ingredients are combined, process on low until dough comes together to form a ball and pull away from the side of the bowl. It should feel tacky, but not stick to your fingers.
- This recipe will work with all-purpose flour, though the end result may have *slightly less chew.
Nutrition
More Delicious Homemade Bread Recipes
Originally published in May 2017; this post has been updated.





My son gave me some sourdough starter, which I’ve never used. How much would I use in this recipe, and do I sub out the yeast\sugar/water? Thanks!
Keep the recipe the same and just add a little bit of the starter to it. Good luck!
HI, just made this recipe today, as I live at sea level, I had to add 1/2 c. more flour, and baked it a little less time. Haven’t tried it yet, but it looks delicious. Thanks.
Thanks for the sea-level feedback!
Delicious recipe. I’m going to make this again.
Hi ! I’ve been making yeast bread since the 70’s. I’m not much of a cook but I can bake. You went into wonderful detail on how to make the french bread. Thanks for being so clear. I’m just a bit hesitant because of all the resting, stretching, and rising. Is it really important or can I make it in my Bosch, let it rise, shape and rise again, then bake ? Thanks for taking the time to help. I know you’re a busy lady ! Have a wonderful day~~~
Leatrice,
That’s a great question! I have yet to make it without the stretch and fold sequence so I can’t say for sure what might happen with just a Bosch but I’ll go ahead and give you my thoughts, in case it is helpful.
The stretch and folds are a part of the process of building the gluten structure of the bread. It allows a wetter dough like this one to be worked without introducing a whole lot of flour on the bench as is usually the case during an intensive kneading session.
Using a mixer may accomplish the same thing. If it were me, I would mix up the dough, knead it in the mixer for 5-10 minutes, and then let it do its first rise sans stretch and folds. Then proceed with shaping the loaf, the final rise, and the baking as is written in the directions.
Again, there is no guarantee it will work; we are off-grid so I don’t even have access to a mixer. But I suspect kneading in the mixer (with no additional flour!) would mimic the work of the stretch and folds. Let us know how it turns out!
Shannon