If you’re growing basil in your garden, you have a perpetual source of free seeds. You just need to learn how to harvest basil seeds and save them for next year!
Be sure to dry some of your basil leaves for the spice cabinet before the season is over.
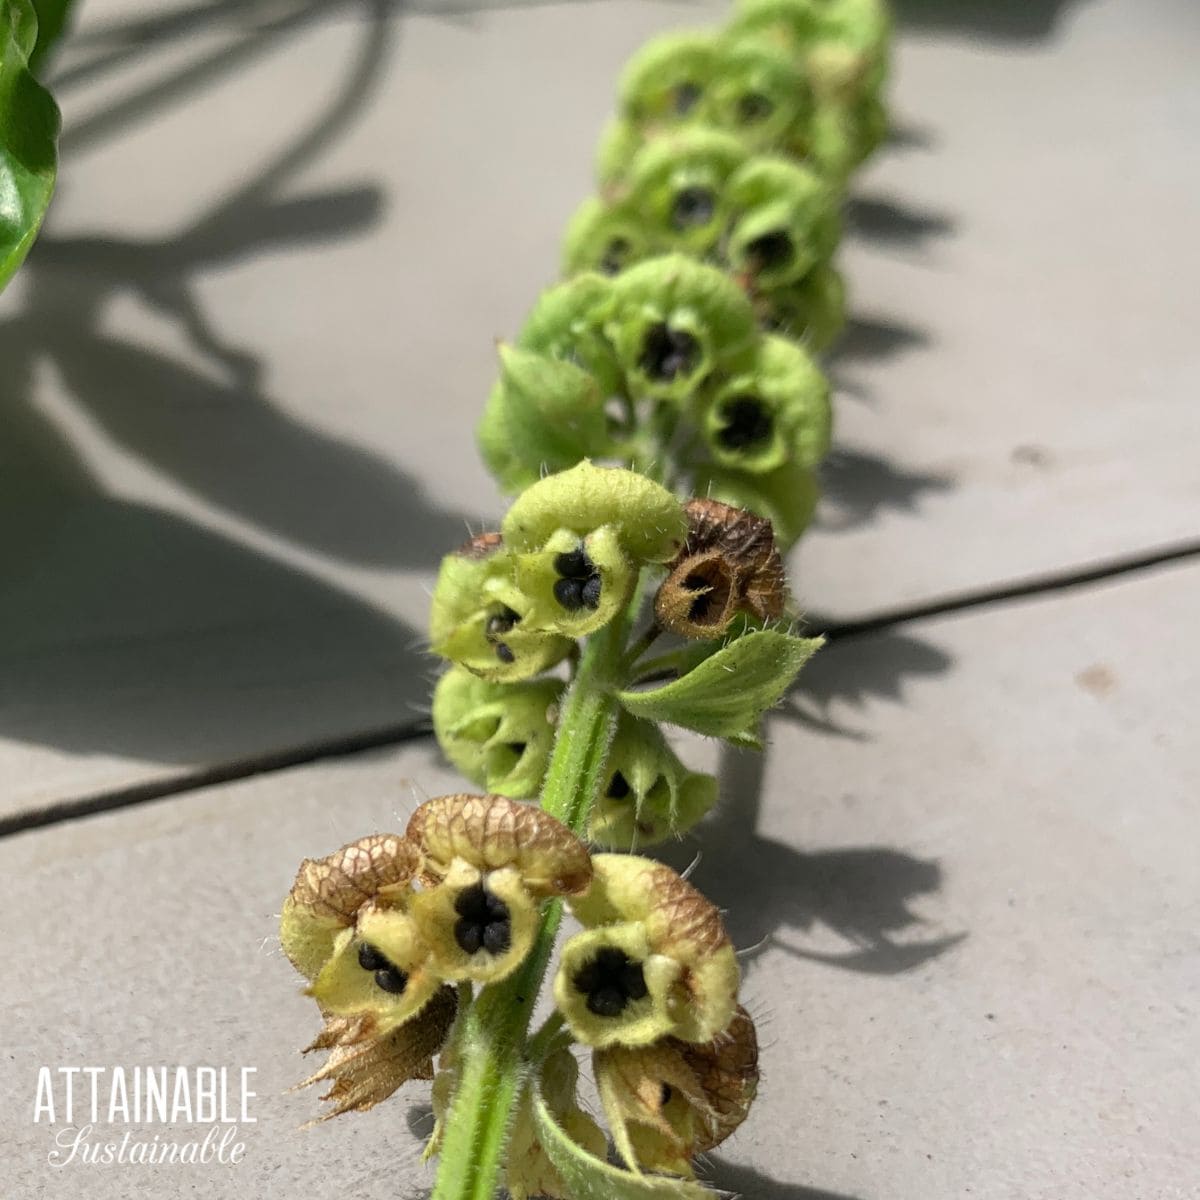
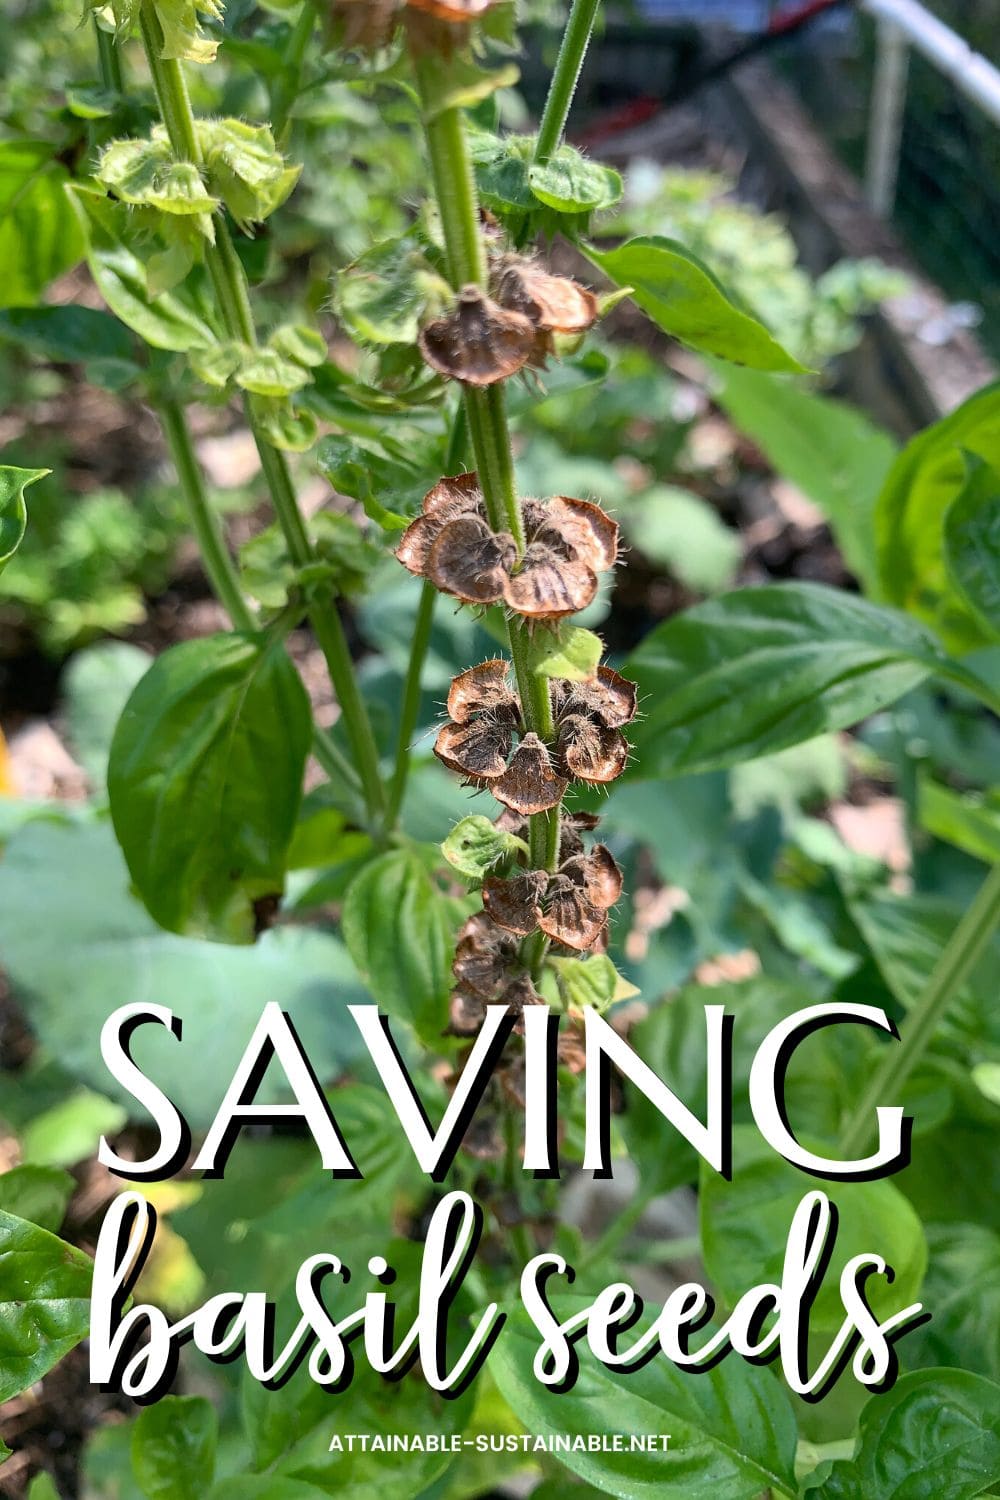
Each seed pod holds four little basil seeds.
Basil is one of my favorite summertime crops to grow. Whether it’s Italian sweet basil, purple basil, Thai basil, lemon basil, Genovese basil, or another variety of basil, saving seeds from year to year will net free basil seedlings to get your herb garden growing, as long as the plant you are growing is an heirloom.
New to gardening? Limited on space? The 5-Gallon Garden gives you the skills you need to grow food in the space you have. Get started with your garden today!
Quick Basil 101
I’ve written at length about how to grow and harvest basil, but a quick overview might be helpful if you’re new here.
- There are many varieties of basil, all part of the ocimum basilicum family.
- Basil is an annual herb grown for its leaves that are commonly used in Italian recipes.
- The plants prefer a dry location in full sun and do best in warm temperatures.
- Moist soil is good; overwatering is not.
- Fresh basil leaves should be harvested regularly to keep the plant producing all summer long.
- Basil can be propagated by cutting during the growing season.
Harvesting Basil Seeds
One of the great things about gardening is that some plants are very easy to perpetuate from year to year. Basil falls into this category! When left to their own devices, basil plants often drop seed and volunteer seedlings can pop up in the springtime.
For those of us who want to have a little bit more control in the garden, we can save basil seeds for planting in next Spring’s garden.
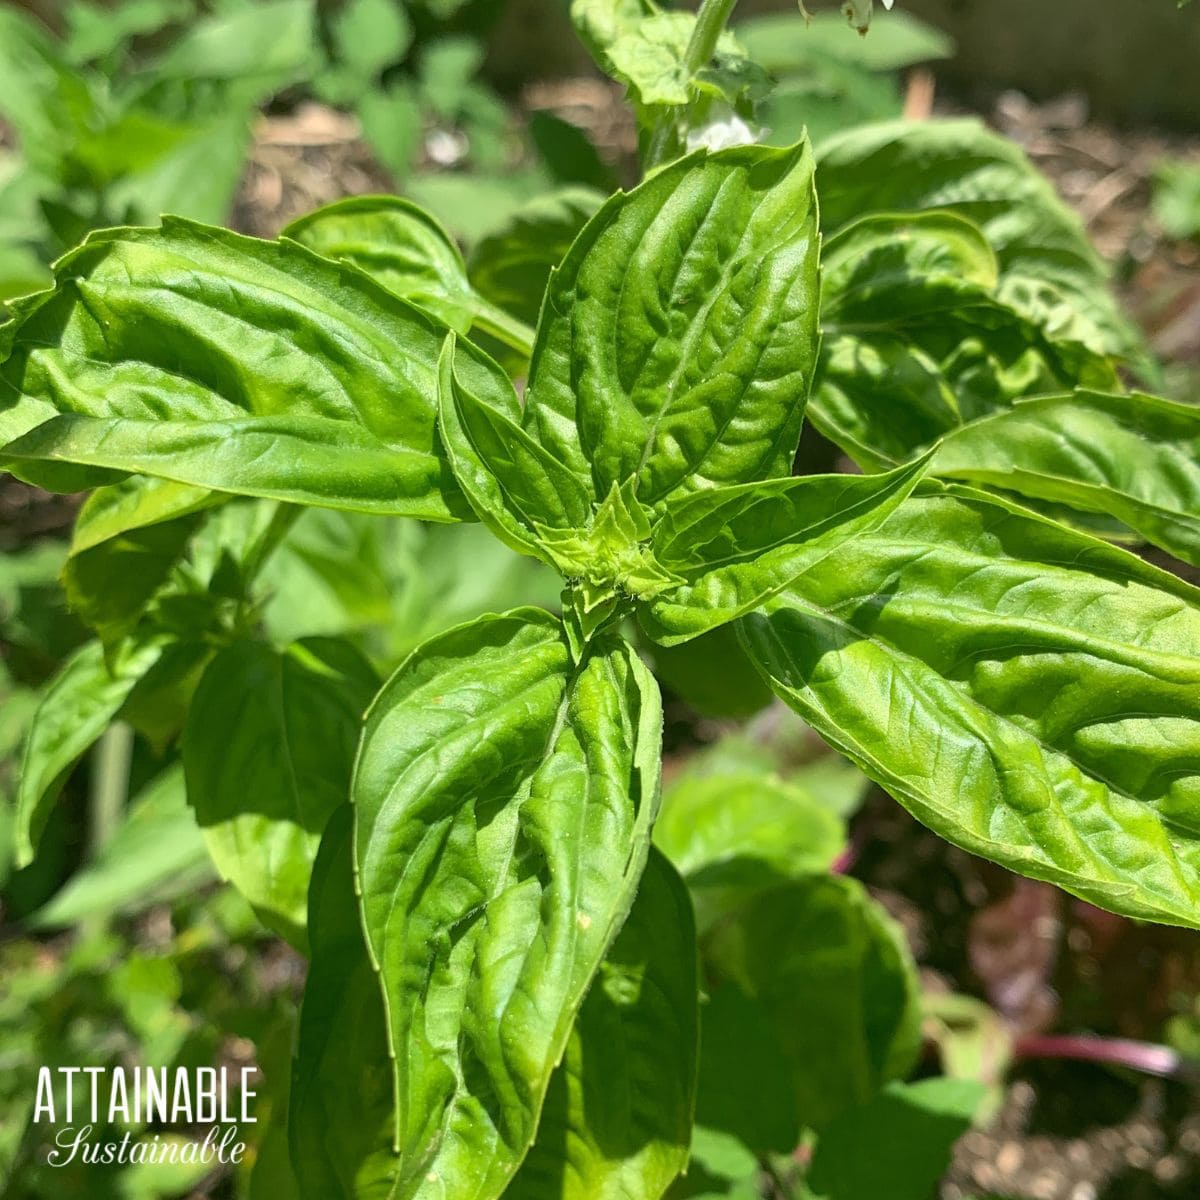
This is what the plant will look like when you pinch off the tips to harvest leaves.
Basil Flowers
When we’re actively harvesting basil, the idea is to prevent the plants from flowering which can signal the plant that it’s reaching the end of its life cycle. We want to keep harvesting those delicious leaves!
Grow Some Greens!
Ready to grow fresh greens, no matter WHERE you live? Sign up for my
FREE quick-start guide and start growing some of your own food!
As the season nears its end, though, you want to let the plants “go to seed” so you can harvest and keep seeds for next year.
Before the first frost, stop harvesting basil leaves from at least one of your plants. You’ll see flower buds begin to emerge from the junction of two leaves, in almost a square shape.
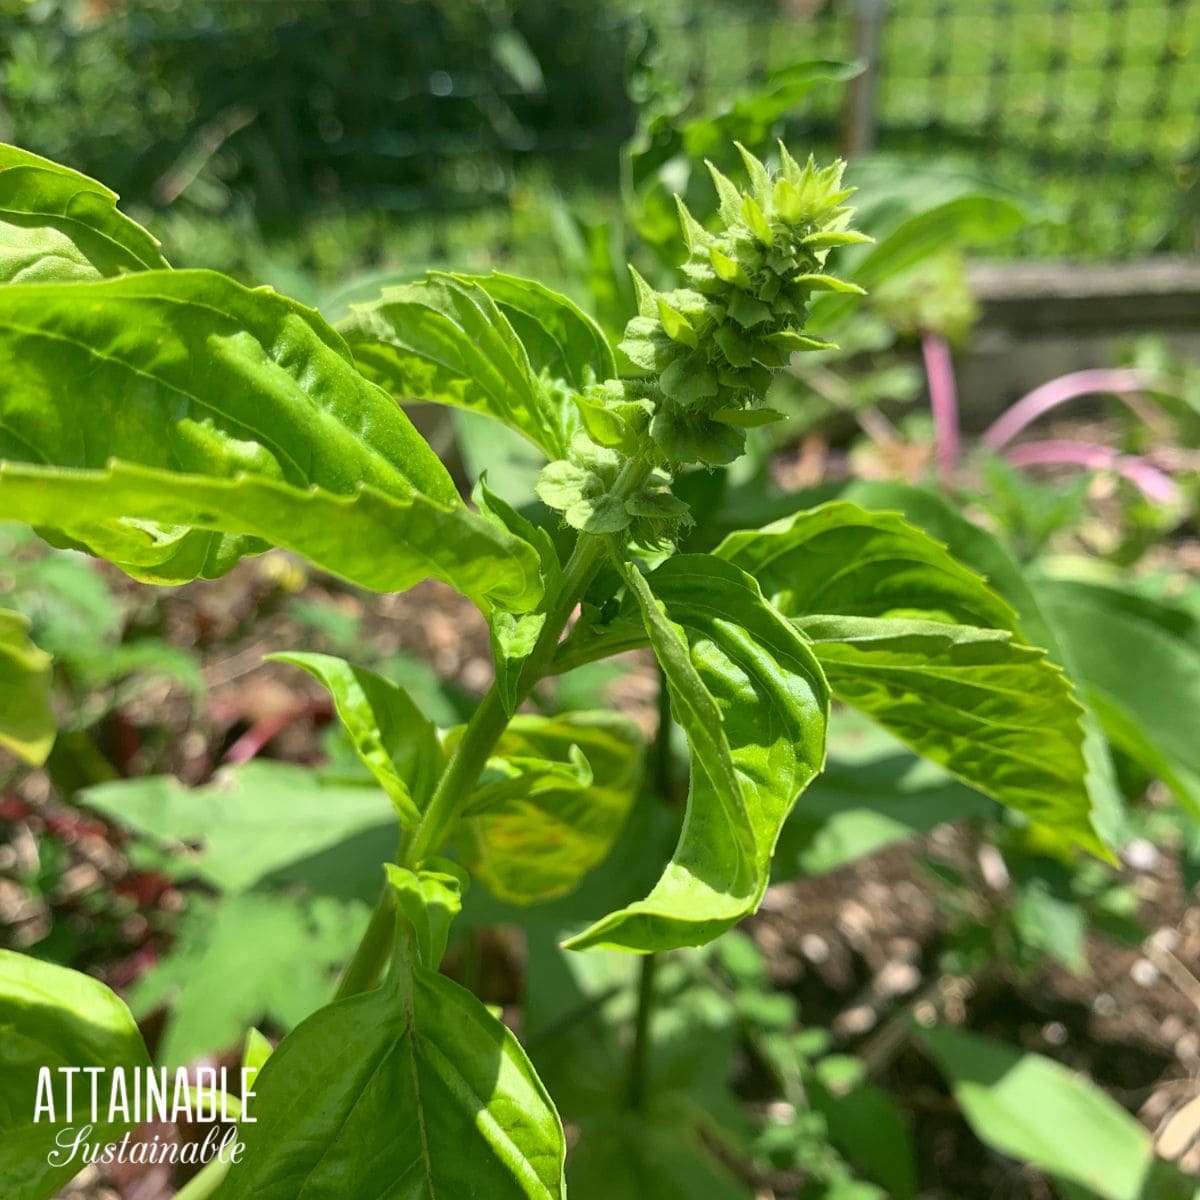
Left to mature, the flower stem gets longer.
As the flowers are allowed to mature, the stems will stretch above the plant by 10-12″ and form a green flower stalk. Little white flowers appear along this stalk in whorls of six.
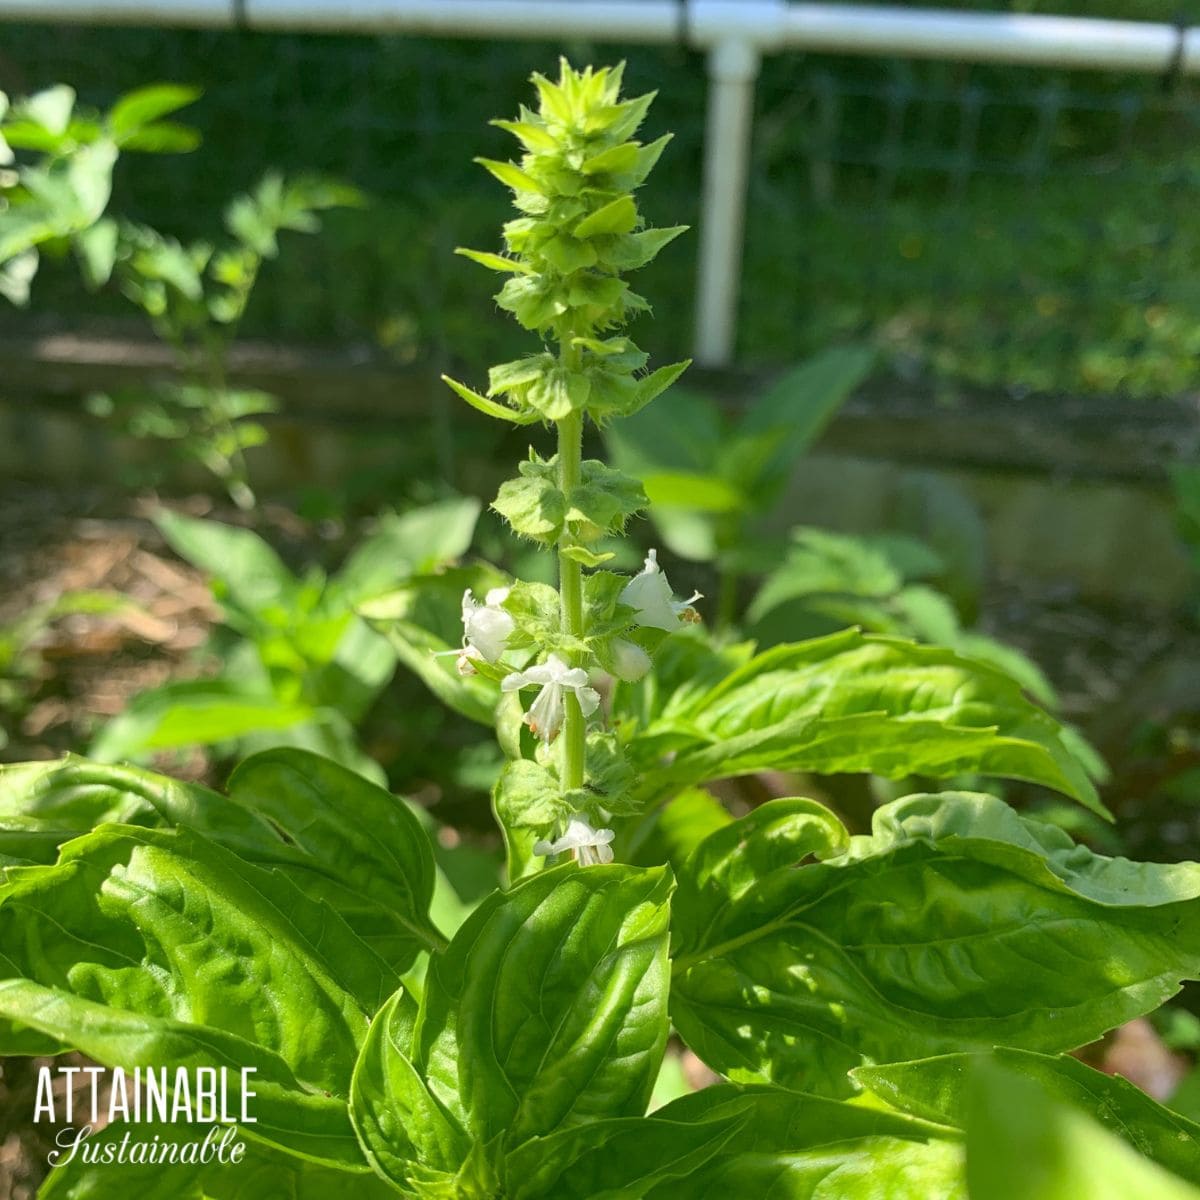
White blossoms emerge beginning at the bottom of the stalk.
The flowering stems of basil plants are very attractive and bees love them. As the flowers mature, the white petals will fall from the stem, leaving behind green seed pods. Once the seed pods have matured and formed seeds, they’ll begin to dry and turn brown on the plant.
If the weather remains dry, it’s fine to let the drying happen on the plant. If it’s wet, though, go ahead and cut the stems to get them out of the rain.
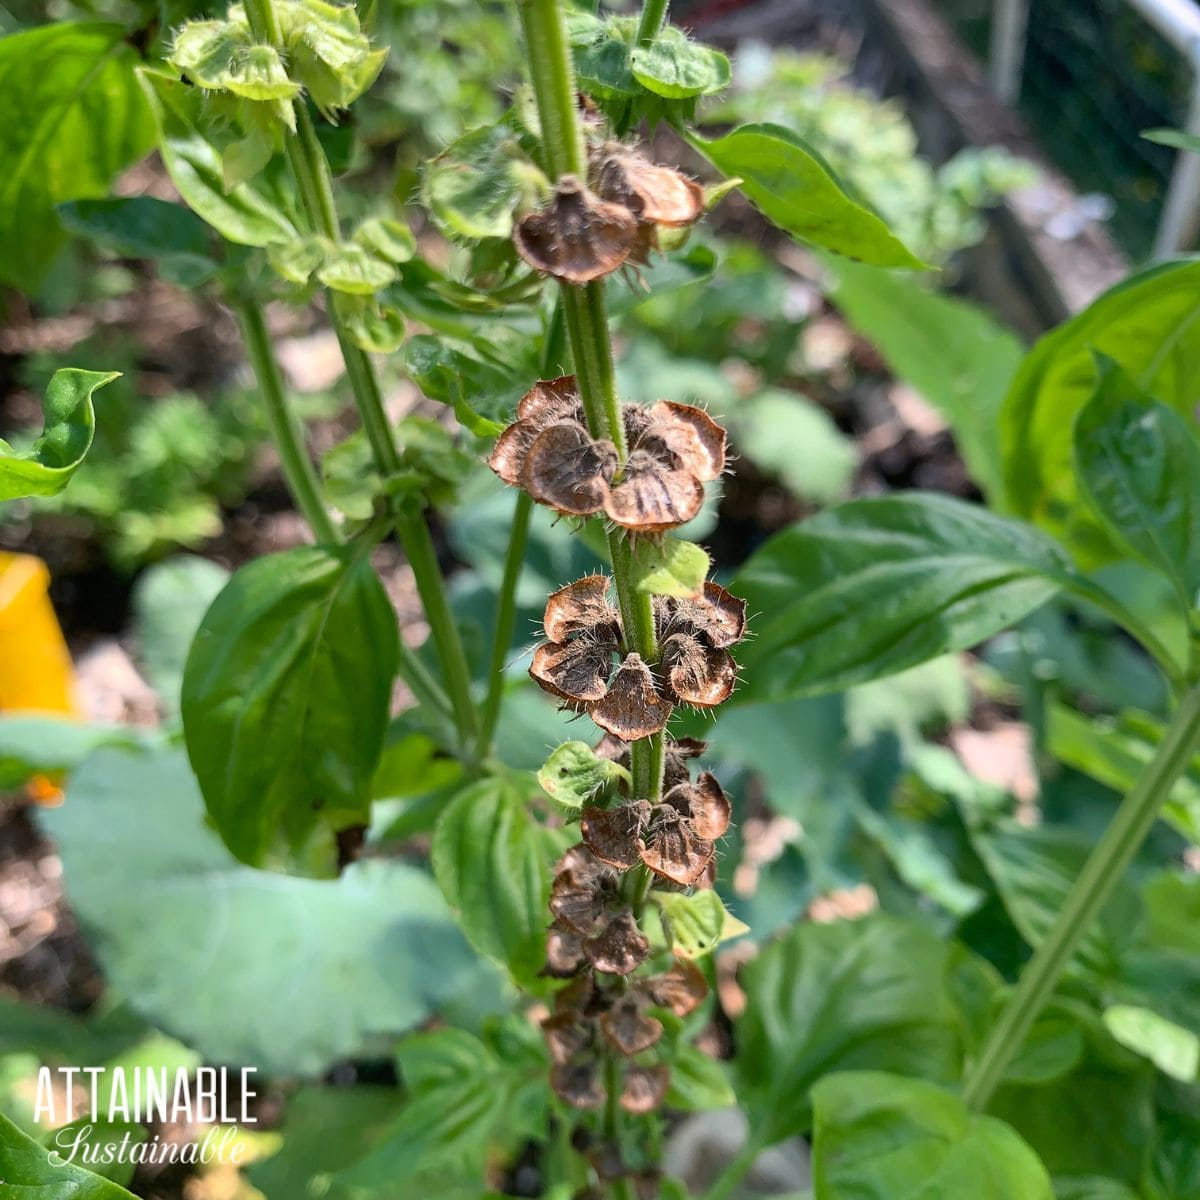
In warm weather, seed pods will dry on the stalk.
Letting Seeds Drop
Left to their own devices, these seed pods will eventually drop tiny black basil seeds on the ground and come next spring, you may find tiny basil plants sprouting. Often called “volunteers” in the garden, I consider them a bonus. Seedlings with no work from me!
Admittedly, this is a little casual as far as gardening goes. I tend to let some do their thing in the garden, and harvest more stems to plant in a more organized manner come spring.
Saving Basil Seeds
Once the seed heads are full and mature, use shears, scissors, or a sharp knife to cut the stalks from the plant. You should be able to look into the dried flowers and see tiny black seeds tucked in there. If you don’t, the stalk may need to dry further.
If you’ve cut the seed stalks to beat the weather, the seeds will still be a pale green inside the pod. They’ll dry and turn black in time.
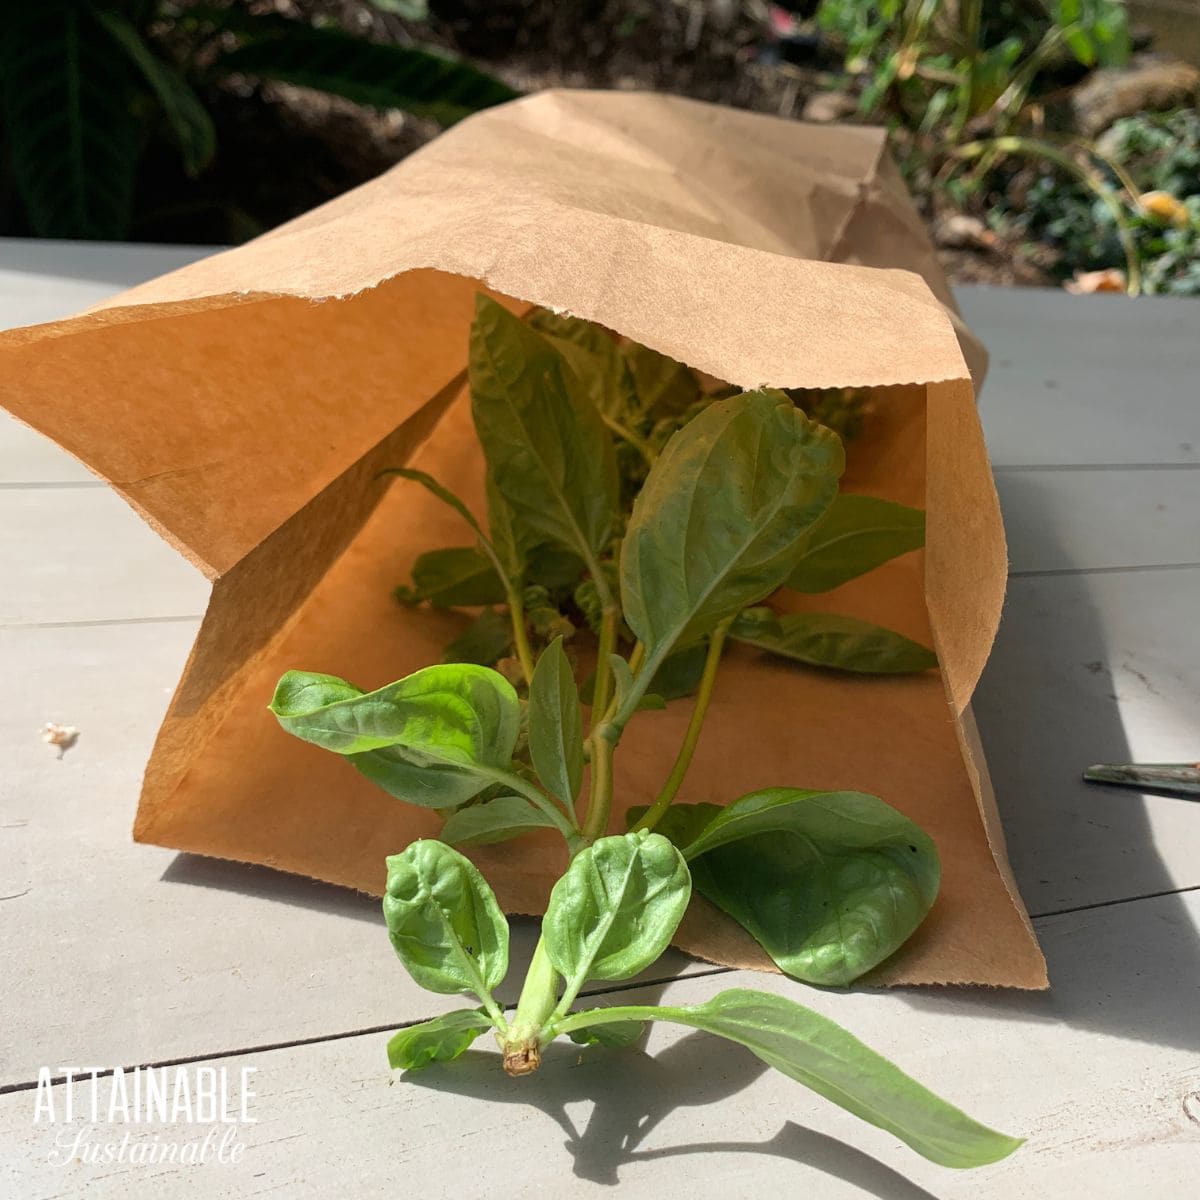
Using a paper bag to capture the seeds makes it easy.
The easiest way — and I think the best method — to harvest basil seeds stalks that still need to dry is to gather the flower stalks by the stem and rubber band them together. Place them, seed heads down, in a paper bag and secure the bag around the stems. Hang the bag from the stems and allow them to sit for a couple of weeks in a dry place. As the flower heads dry further, the mature seed will drop into the bag. When you’re ready to process the seeds, shake the bag a bit to knock any stubborn tiny seeds from the stalk.
If the basil seeds dried on the plant, you can skip that step and use your hands to strip the seed pod from the stem.
Now line a rimmed baking sheet or casserole dish with a sheet of white paper. This will help you see the tiny black seeds as you sort the seeds from the chaff.
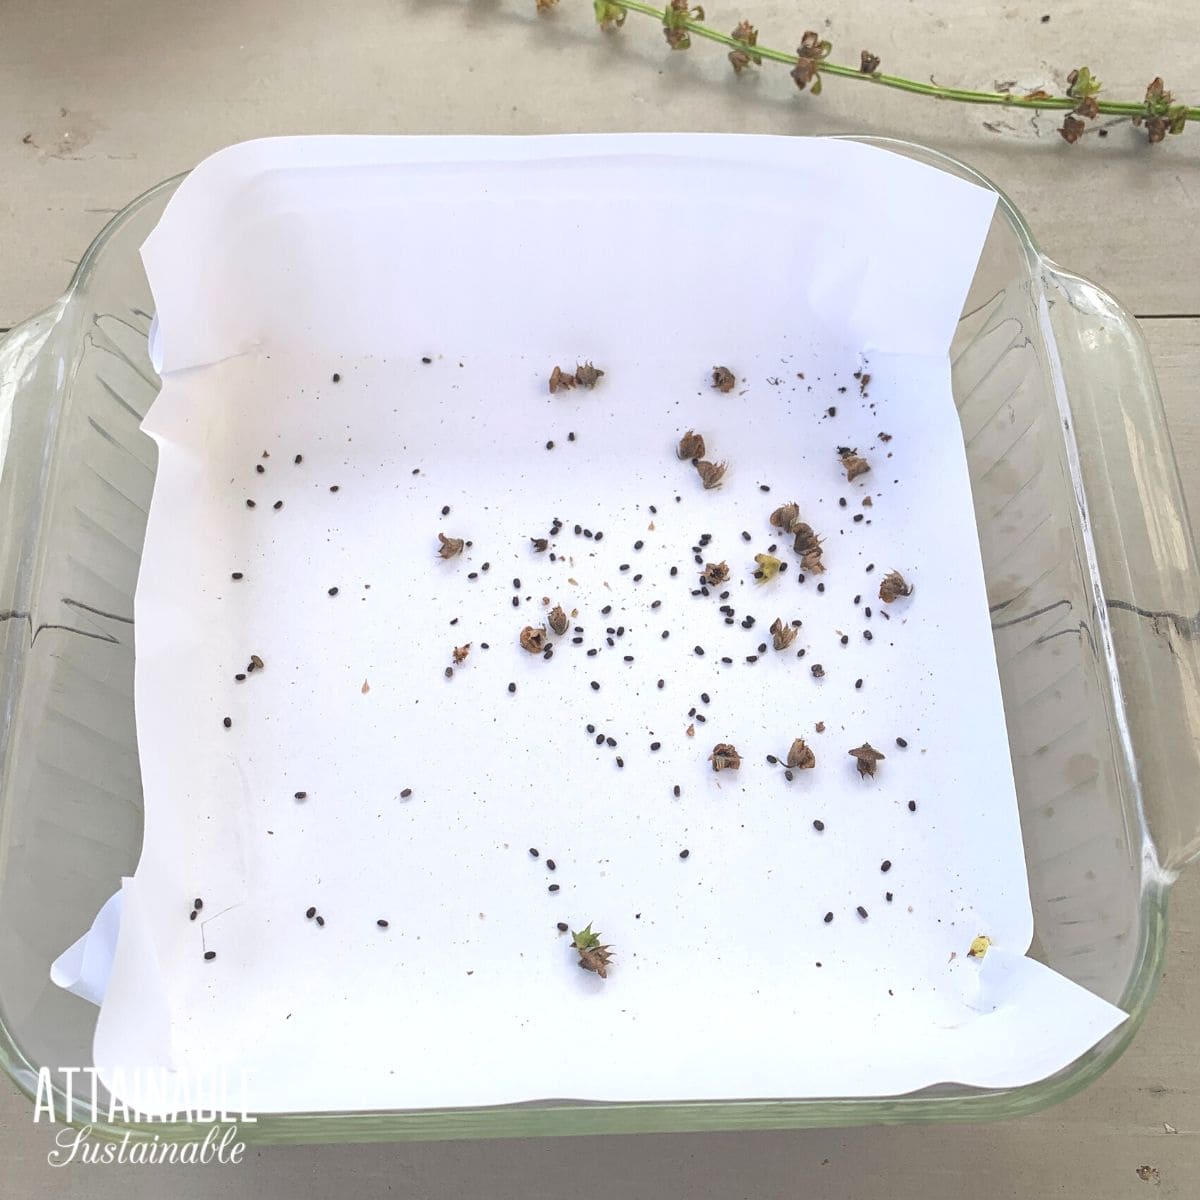
Lining a pan with white paper makes it easier to see the seeds.
Carefully open the bag and lift the stems out and give them a last-chance shake over the white paper. (These can go directly into the compost.)
Pour what remains in the bag onto the white paper. Blow very gently across the pile and watch as the dry chaff lifts away, leaving behind the basil seeds you can plant next year.
I recommend you do this outside, so you don’t end up with dried basil leaves all over the floor!
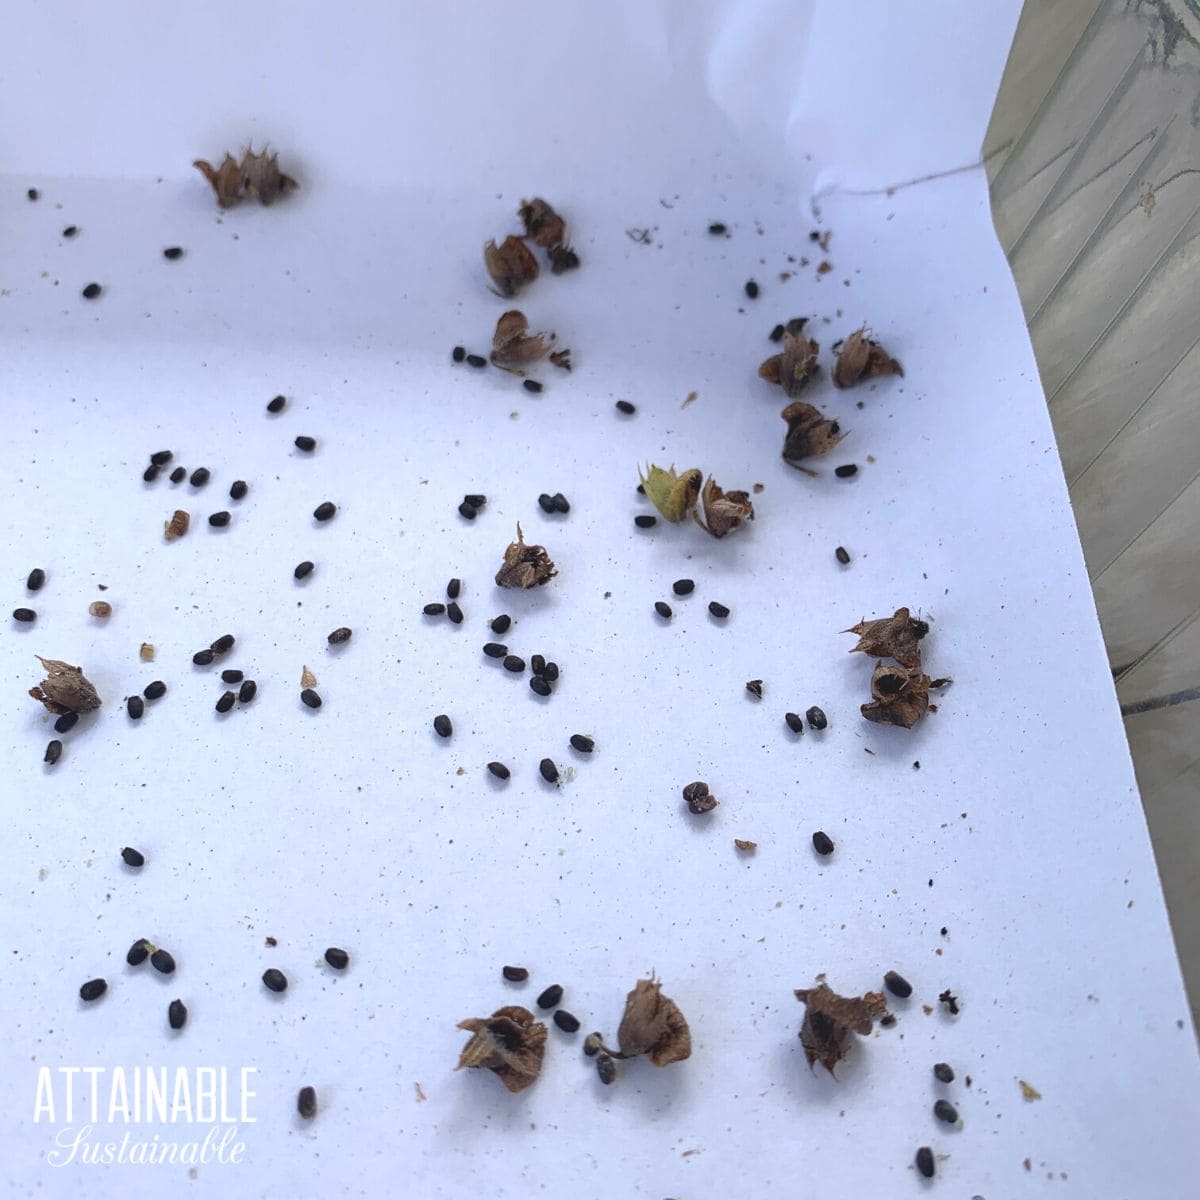
Save those black seeds in an airtight container to plant next season.
How to Store Basil Seeds
Once you’ve harvested the basil seeds and are sure they’re dry, store them in an airtight container in a dry place away from direct sunlight. You can keep them in a glass jar or an upcycled plastic zip top bag.

How to Harvest Basil Seeds
Equipment
- Shears or scissors
- Rimmed baking sheet or dish
- White paper
Ingredients
- Flowering basil plants
Instructions
- Cut flower stems several inches below the bottom seed pod.
- Gather the flower stalks by the stem and rubber band them together.
- Place them, seed heads down, in a paper bag and secure the bag around the stems. Hang the bag from the stems and allow them to sit for a couple of weeks in a dry place.
- When you're ready to process the seeds, shake the bag a bit to knock any stubborn tiny seeds from the stalk. (If the basil seeds dried on the plant, you can skip that step and go straight to the next one!)
- Line a rimmed baking sheet or casserole dish with a sheet of white paper. This will help you see the tiny black seeds as you sort the seeds from the chaff.
- Carefully open the bag and lift the stems out and give them a last-chance shake over the white paper. (Compost the stalks.)
- Pour what remains in the paper bag onto the white paper. Blow very gently across the pile and watch as the dry chaff lifts away, leaving behind the basil seeds you can plant next year.
- Store fully dried seeds in an airtight container in a cool spot.
Notes
- I recommend you do this outside, so you don't end up with dried basil leaves all over the floor!
