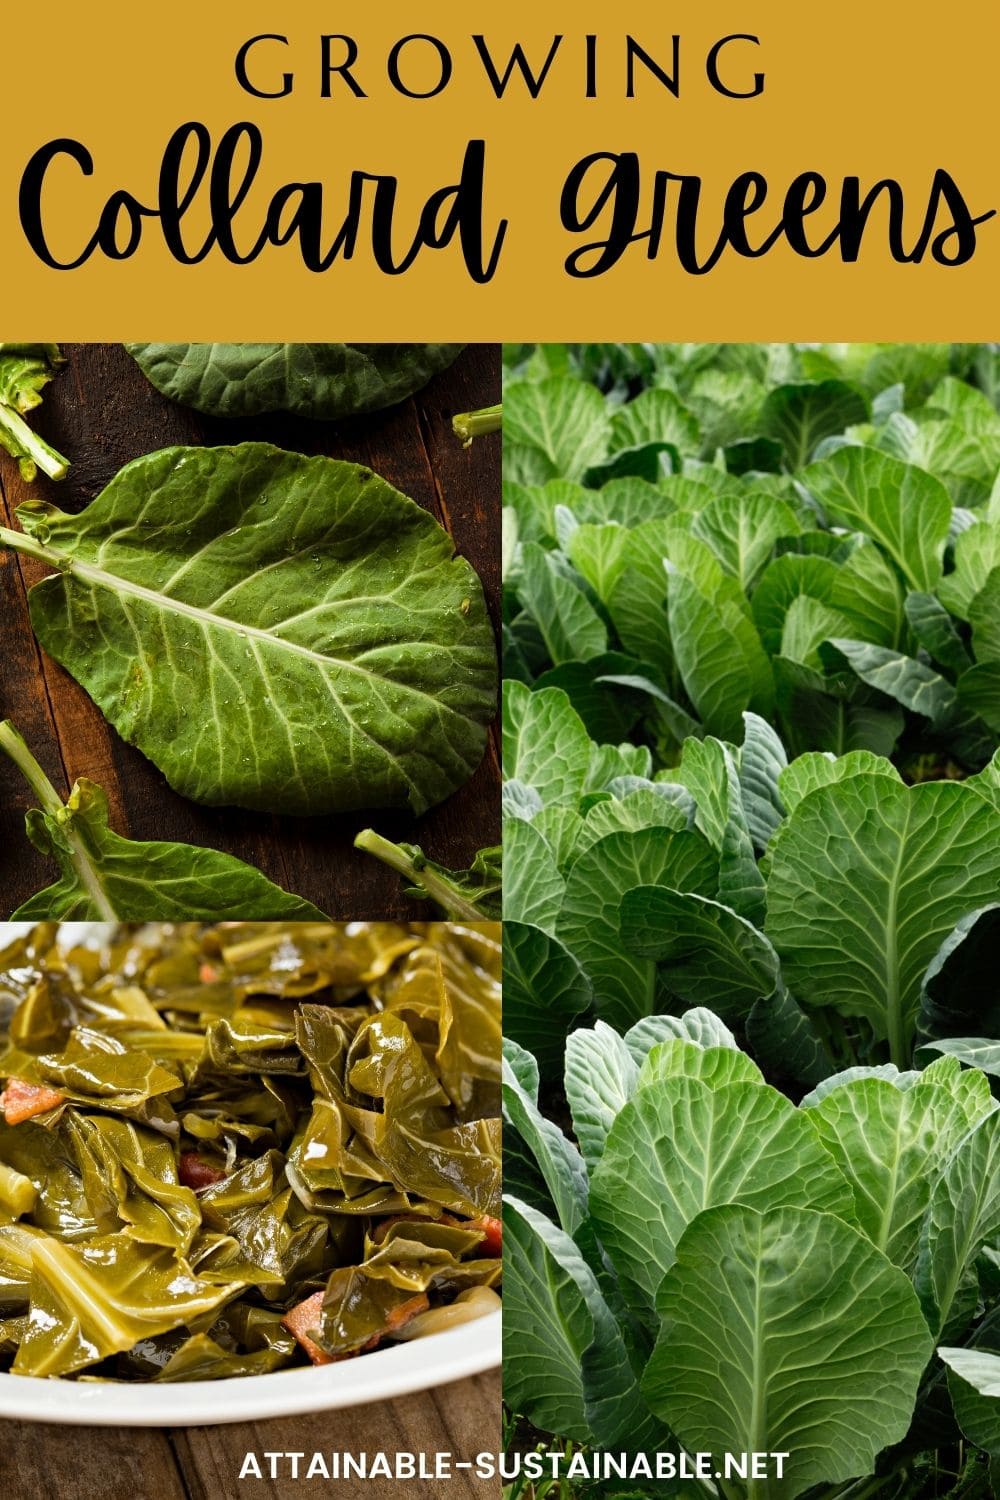
Growing collard greens is a delicious way to get some extra-healthy dark leafy greens in your vegetable garden. Similar to its cousin kale, collard greens are easy to grow. Both the leaves and stems are edible, and they can be eaten in all of the same ways as cabbage, spinach, and kale. Collard greens are an asset to your garden and meals!
For more dark leafy greens in your cool-weather garden, try growing kale!
Contributed by Jodi Torpey, author and Master Gardener.
New to gardening? Limited on space? The 5-Gallon Garden gives you the skills you need to grow food in the space you have. Get started with your garden today!
 The 5-Gallon Garden
Home gardeners need collard greens
You may have heard about collards as an important ingredient in southern cooking, enjoyed a dish from a restaurant menu, or seen the bunches of tall leafy greens at the market. But have you ever tried to grow them in your vegetable garden?
Collards are a cool-season leafy green that’s as easy to grow as kale and loaded with vitamins A and C, plus calcium and iron. Brassica oleracea is a relative of the cabbage family that’s adaptable to a range of climates from the South to cooler areas in the northern part of the U.S. Instead of forming heads of leaves, like cabbage, collards grow in a loose bunch at the top of tall stems, like its cousin kale.
Grow Some Greens!
Ready to grow fresh greens, no matter WHERE you live? Sign up for my
FREE quick-start guide and start growing some of your own food!
Collards taste like a nice combination of kale and cabbage. But collards are closer to kale when it comes to planting and caring for them in the garden.
Collards are a vegetable that can grow well in both hot and cold weather. Some gardeners say a light frost actually improves the sweet flavor.
In spring, plant collards when soil temperatures are between 55-75 degrees F. Wait for the soil to be workable and plant seeds ¼ inch deep and 1-3 inches apart. After the seeds sprout, thin plants between 6-12 inches apart to give the leafy green plenty of room to grow. Space rows 18-24 inches apart.
As an alternative to planting seeds, start your own transplants 8-10 weeks or more before the average last day of spring frost. As an alternative, purchase transplants at a garden retailer.
In late summer, you may need to provide protection from the sun and heat to give seedlings a chance to start growing when soil temperatures are high.
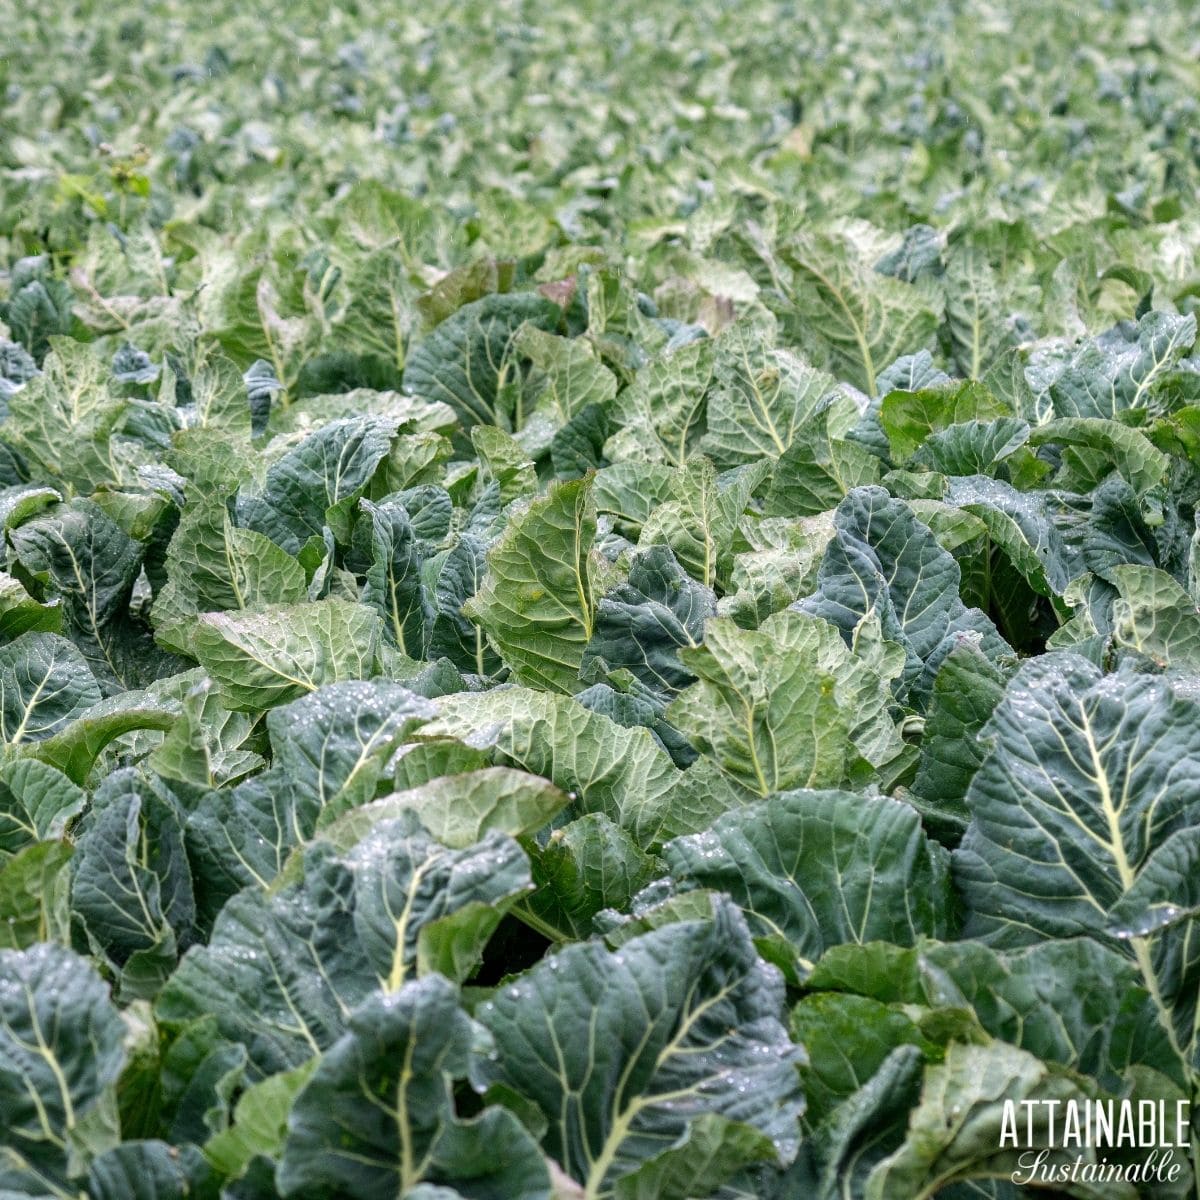
A garden full of collards offers up plenty of cooking opportunity.
Top varieties for home gardens
Morris Heading collard greens are an old favorite for their taste, reputation for being slow to bolt, and its blue-green leaves. The loose heads have leaves that are slightly curled and wrinkly. Plants grow 18-24 inches tall. 70 days to maturity.
Flash hybrid is the variety that comes to mind when gardeners want uniform green leaves that are broad and grow to 16-23 inches. Flash has a mild and sweet flavor and is known for being highly bolt resistant. 75 days to maturity.
Vates is an heirloom variety that’s another collard classic that many gardeners like to grow. Tall and upright plants grow 24 inches tall with deep green leaves that have a sweeter flavor than some collard varieties. 60-80 days.
How to grow collard greens
Gardeners can get two seasons of collards if they plant a crop in mid-spring for a summer crop and again in late summer for a fall to winter crop.
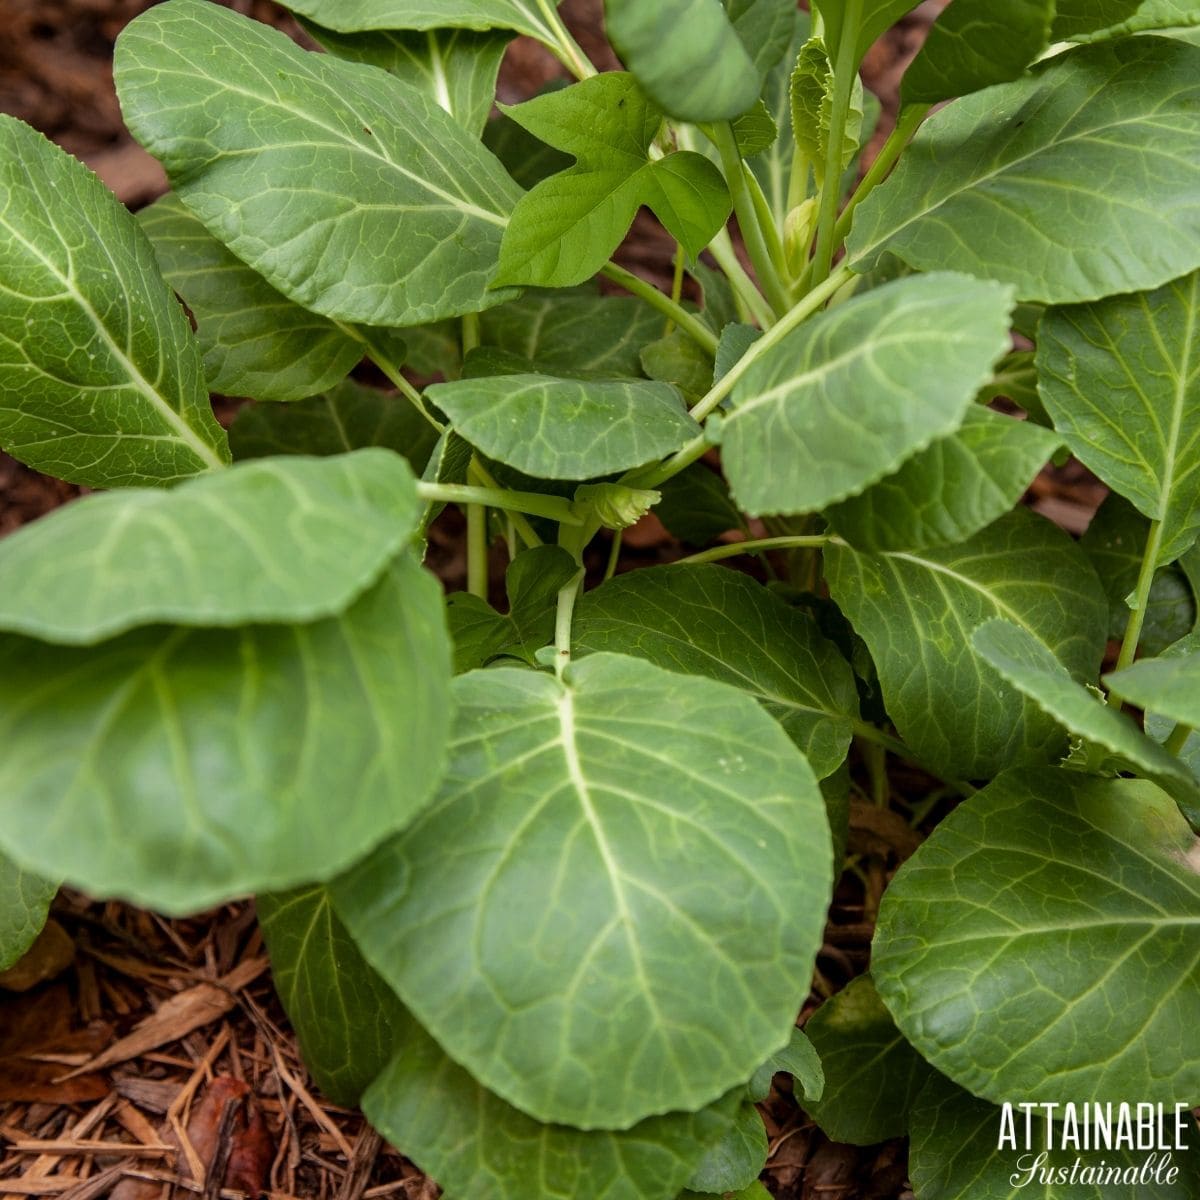
Small collard seedlings should be thinned to give plants room to grow.
Requirements for growing
Soil requirements
Collard plants are easy to grow in fertile soil. Amend the garden soil with organic matter, like compost. Spread a few inches of compost over the top of the soil and dig it deeply before planting.
Light requirements
Collards grow best in gardens that receive at least 8 hours of sun during the prime growing season. They can also take some partial shade if that’s the only spot available. If planting a fall crop, protect from the summer heat and windy weather.
Fertilizer and water requirements
If the soil was amended prior to planting, wait until mid-season to fertilize collards with a balanced vegetable fertilizer.
Water is an important ingredient for a collard plant. Keep the soil moist, especially during the hottest part of the growing season. Avoid letting the soil dry completely by using a soaker hose or drip irrigation. Help keep soil temperatures down by mulching the garden with a thick layer of organic mulch, like weed-free straw or dried, untreated grass clippings.
Prevent problems growing collard greens
You can reduce some collard-growing problems by avoiding planting them where other cole crops (broccoli, cabbage, Brussels sprouts, etc.) have been planted in the last 3 years.
Because collard greens plants are a member of the cabbage family, keep an eye out for some of the same insect pests, like aphids and cabbage root flies that result in cabbage worms.
Keep the garden bed weed-free to prevent attracting pests to plants in the first place.
Cutworm collars placed around each plant in spring will help prevent cutworm damage.
Floating row covers, with the edges well-sealed, will help keep insect pests away from collards to protect from early infestations while the plants are small and growing.
Regularly check plants for aphids and use the hose and a strong stream of water to wash pests away. It might take several applications to get rid of aphids completely.
Growing collard plants in containers
You can plant a crop of collards in a large patio container that has holes in the bottom for drainage. Fill the container with a potting mix designed for container growing, and one that has a slow-release fertilizer (or mix one in).
Plant seeds or transplants in the soil, allowing plenty of room for plants to grow to their mature size. For the best results, make sure containers are deep enough to support the tall plants.
Keep the soil moist with consistent watering and mulch around plants as they start to grow.
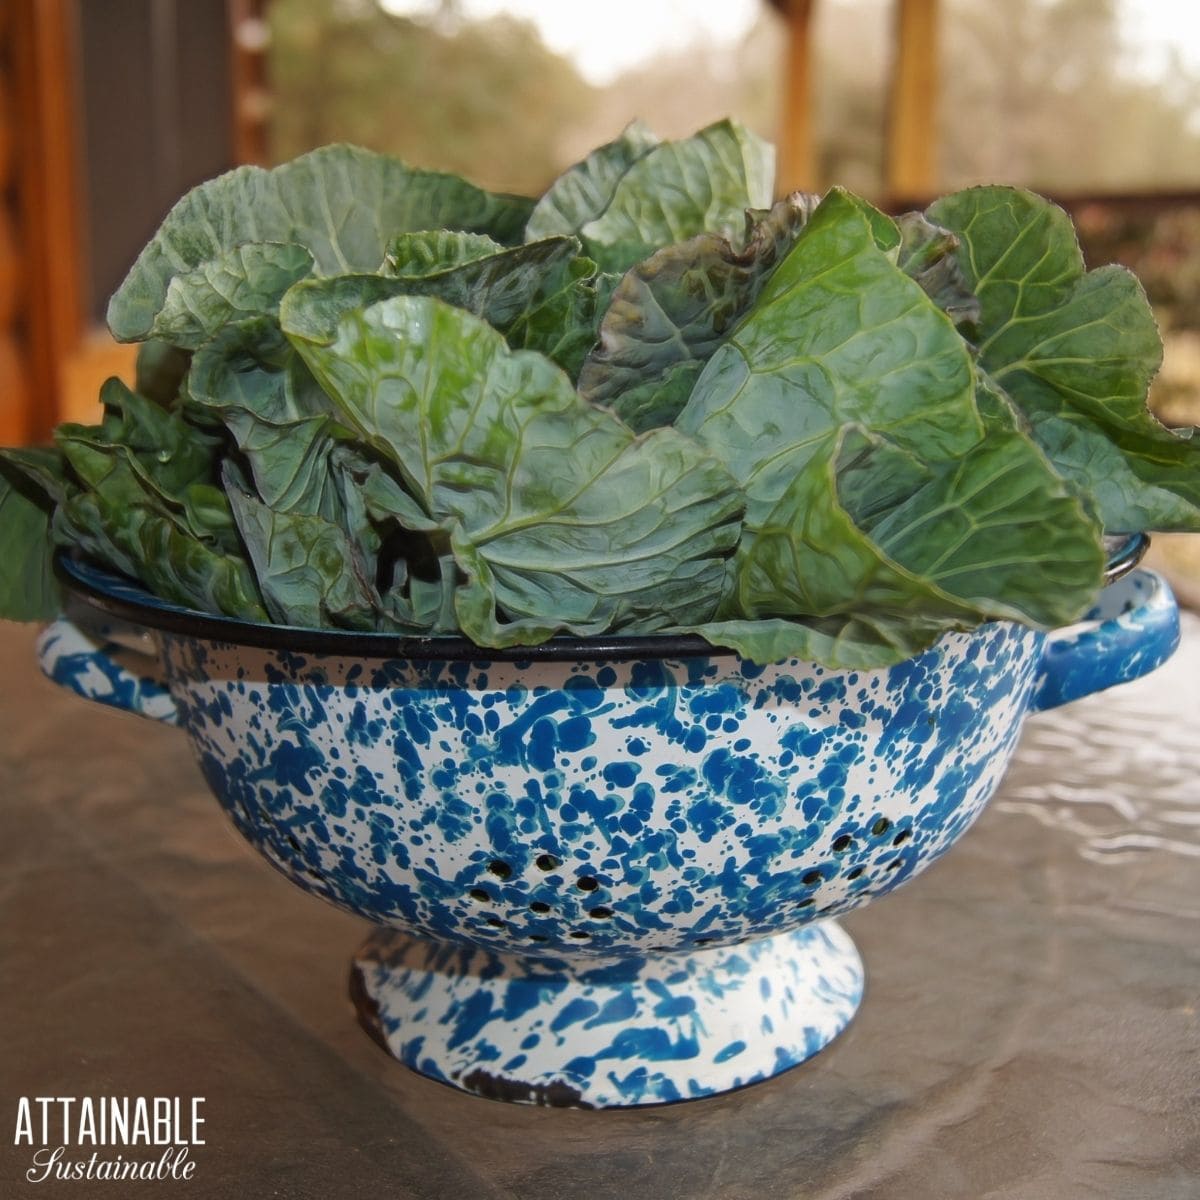
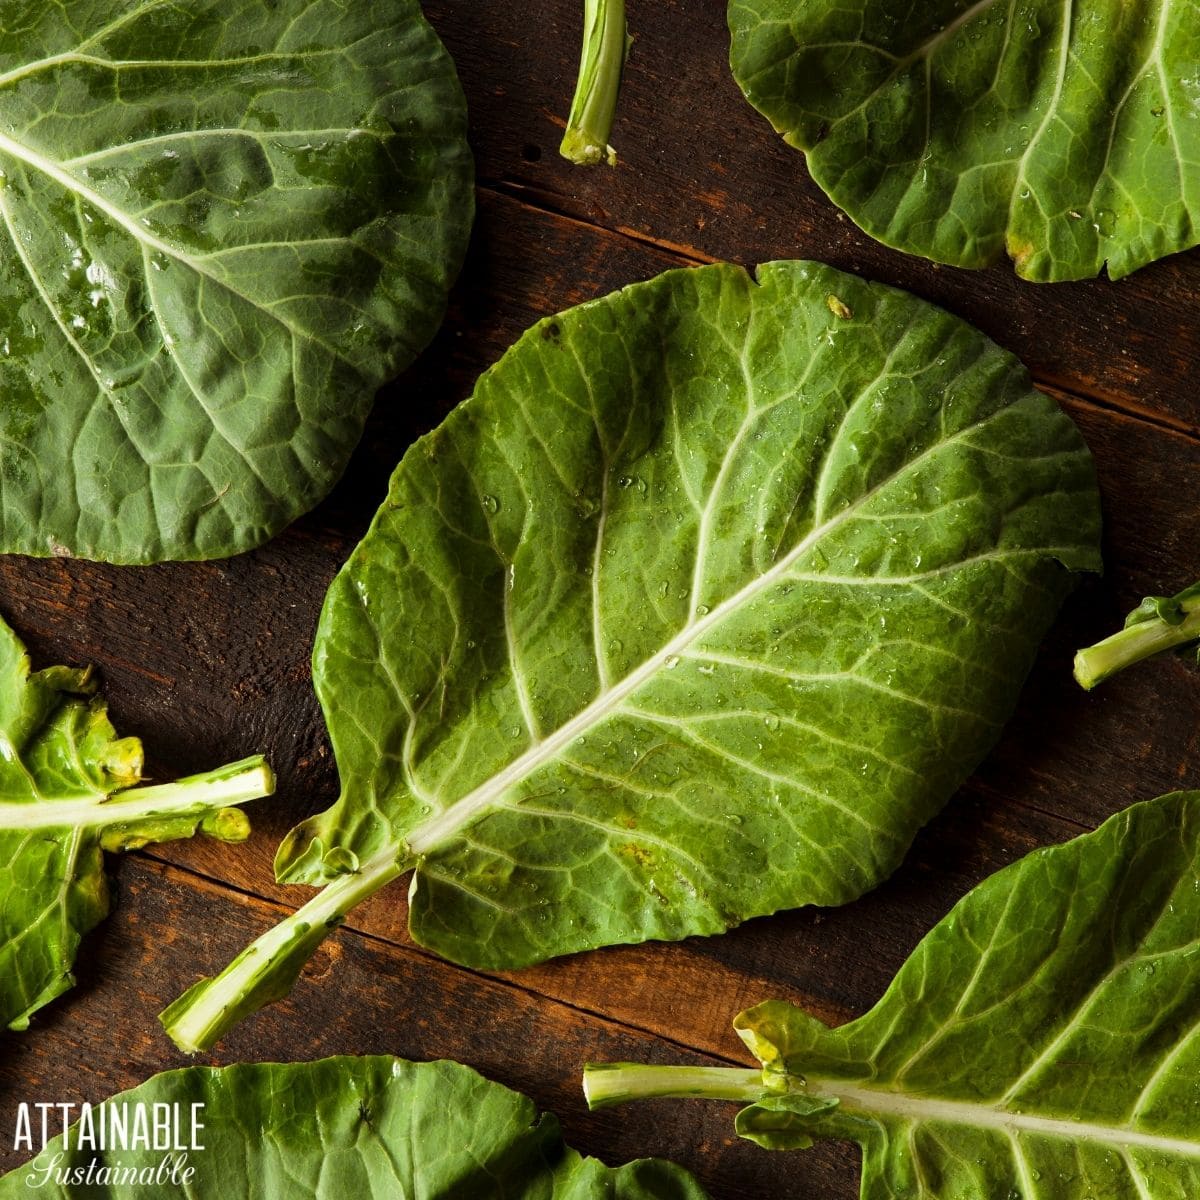
Thoroughly wash collard greens to remove dust and bugs.
How to harvest
One of the benefits of growing collard greens is that both the leaves and stems are edible and delicious. You can start clipping the leaves as soon as the plants have grown to an edible size. Clip and discard any older, yellowing leaves, and then snip the larger leaves from the outside, allowing the inner leaves to continue to grow. You can also cut the entire plant to enjoy a larger bunch.
Store the greens in the refrigerator in an air-tight container or bag and use them within a few days.
Collard greens shrink quite a bit in cooking; cut more than you think you need!
How to use collards in the kitchen
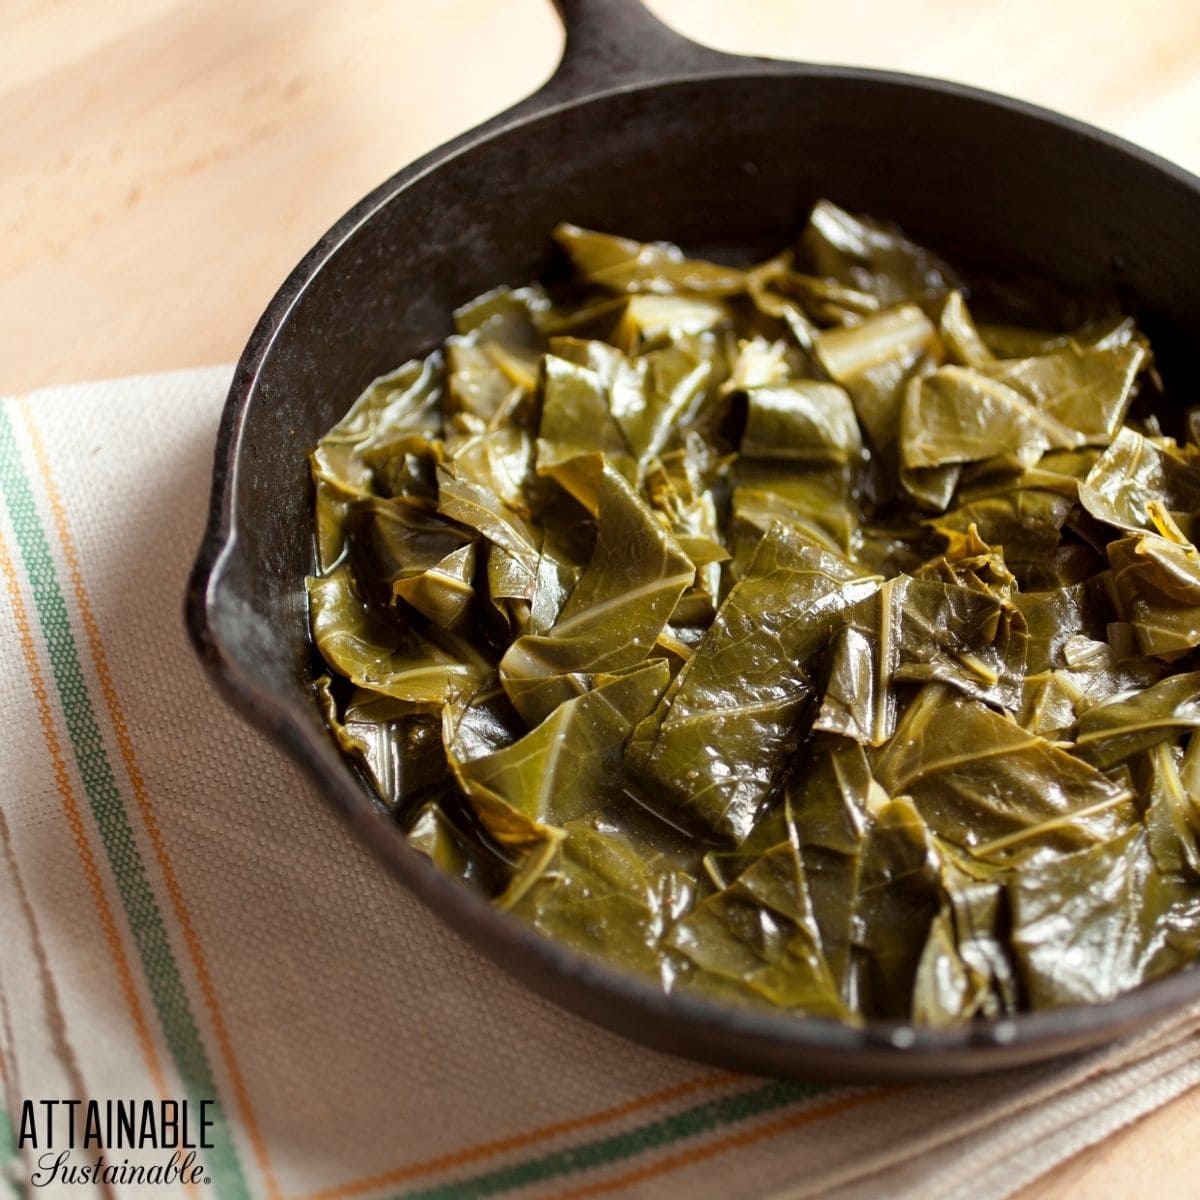
Collards are like kale when it comes to preparing them. When cooking with collards, use the crisp green leaves and discard any that have yellowed or are damaged from insects or plant diseases.
Even though the typical method for cooking greens is to boil them with bacon or ham, you can prepare them just like you would cabbage, spinach or kale. Some recipe ideas include steaming leaves with olive oil and lemon, chopping and adding to soups or fresh salads, blending collards into smoothies, pickling collard stems, and deep fry or baking them into chips (like kale).
In addition to using your home-grown collard greens fresh, you can preserve them to enjoy all winter by freezing or canning.
How to propagate collard greens
To get your collards to go to seed, you’ll need to leave plants in the ground over winter. In cold climates, mulch heavily and then wait for greens to begin to grow the following spring. Pull back the mulch to allow plants to flower and produce seeds.
When seeds are very hard and the bean-like pods are dry and brittle, harvest the pods by cutting plant branches or digging up the plant. Be sure to place a tarp or cloth under the plants to capture any seeds that may fall.
Clean the seeds from the pods and store them in an airtight container in a cool, dark, and dry place.