Growing kale in your home garden is easy! Its harvest season can last for an extended time, so you’ll reap the benefits of this dark, leafy green for months with just a single planting. Here’s how to grow kale from seed for an abundant harvest.
Originally published in April 2018; this post has been updated.
Growing Kale in the Home Garden
Touted as a superfood in recent years, kale has become popular in supermarkets, farmer’s markets, and now the home garden. Kale is generally considered a cool-weather crop. It can be grown in early spring, fall, or even through mild winters in some regions.
JUMP TO:
New to gardening? Limited on space? The 5-Gallon Garden gives you the skills you need to grow food in the space you have. Get started with your garden today!
Types of Kale
Kale is a member of the brassica family alongside other vegetables such as broccoli, cabbage, and collard greens. There are numerous types of kale and many named varieties. Some have relatively flat leaves, others are very crinkled.
Grow Some Greens!
Ready to grow fresh greens, no matter WHERE you live? Sign up for my
FREE quick-start guide and start growing some of your own food!
The plants are handsome during their prime, making them a good addition to a front yard garden.
Curly kale:
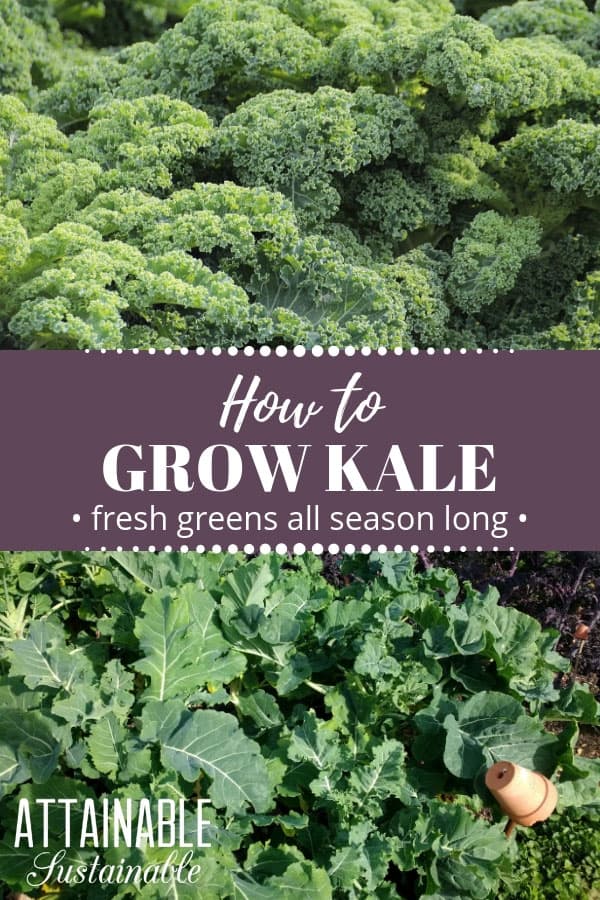
Curly kale has all the frills. Tightly crinkled edges give curly kale leaves the impression of being thick, but it’s really just a riot of curls. Blue curled Scotch kale is one named variety to look for.
Lacinato kale:
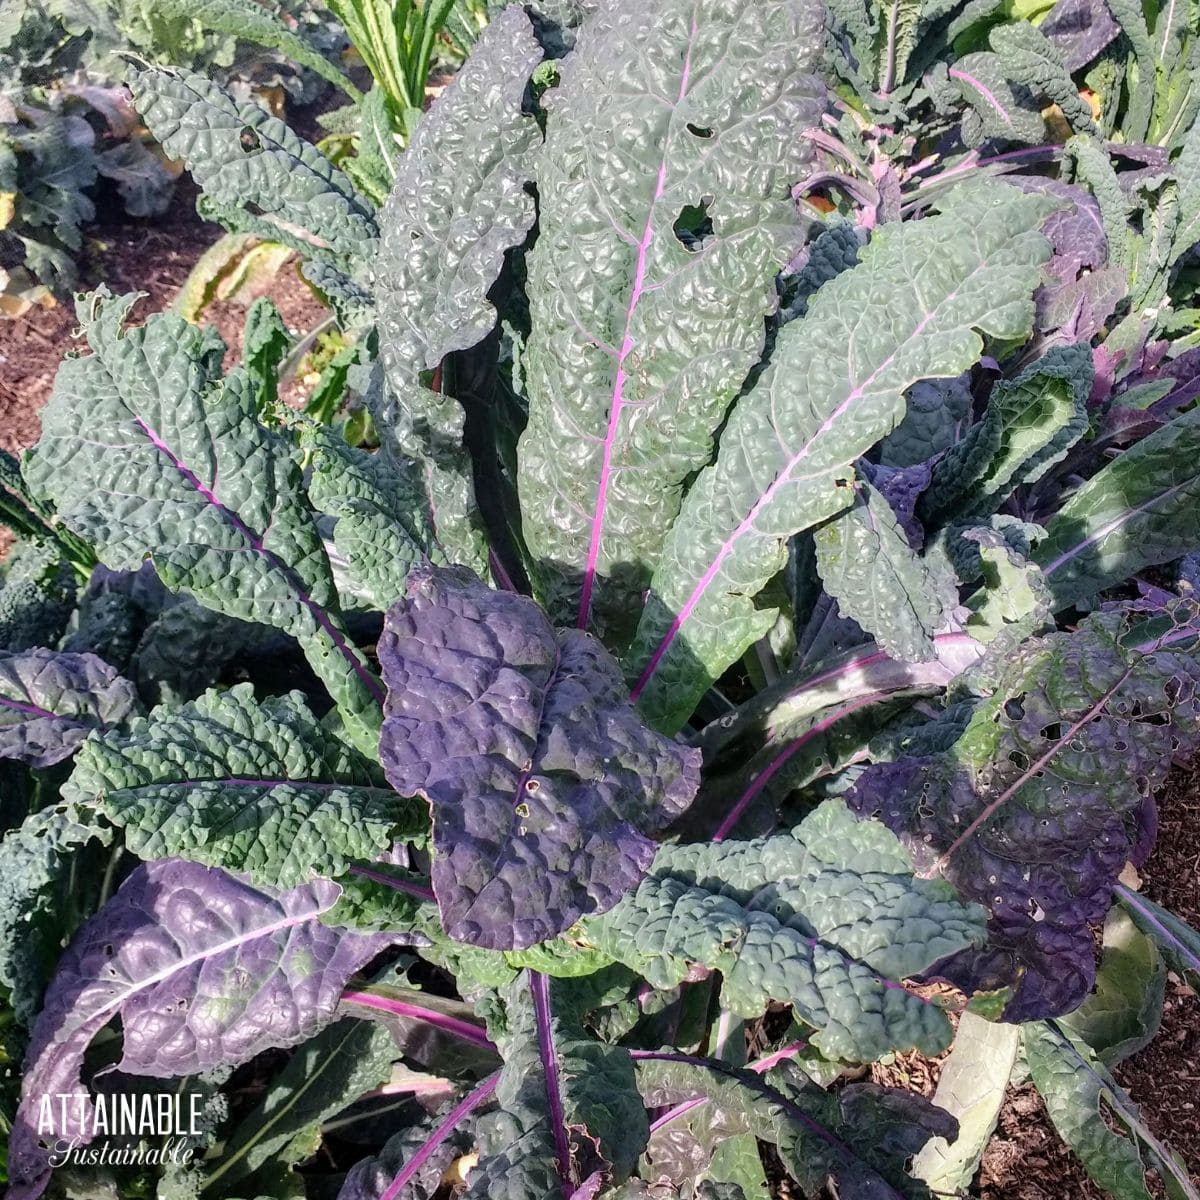
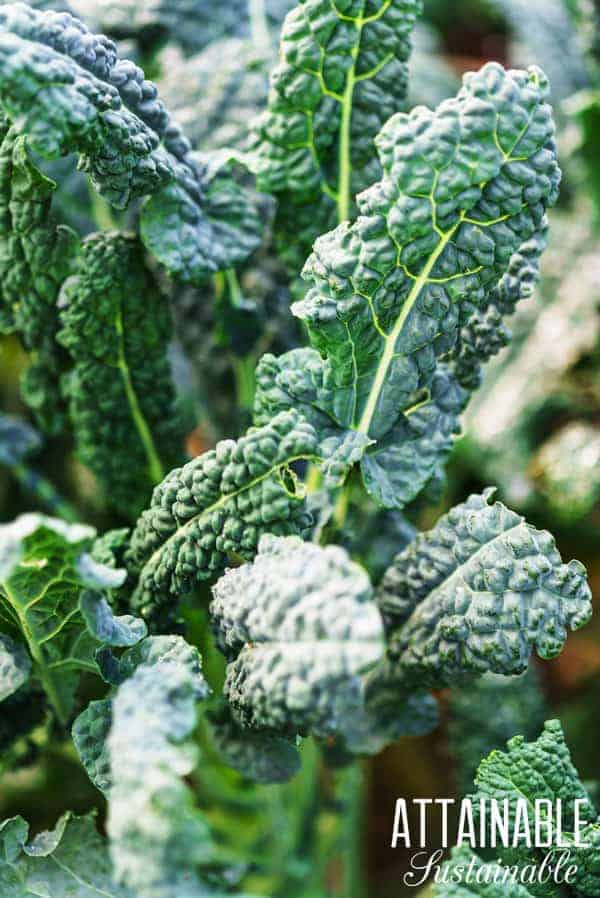
Also known as dinosaur kale, Tuscan kale, black kale, and palm tree kale (among others), lacinato kale has an earthy flavor. The bluish-green leaves of lacinato kale are long and somewhat lumpy. This variety is considered less bitter than other kale varieties.
Red Russian kale:
Flatter than curly kale, Red Russian kale leaves have somewhat curly edges, deeply lobed. Its striking pink ribs (calling it red is pushing it) make it a pretty plant in the garden or in raw salads.
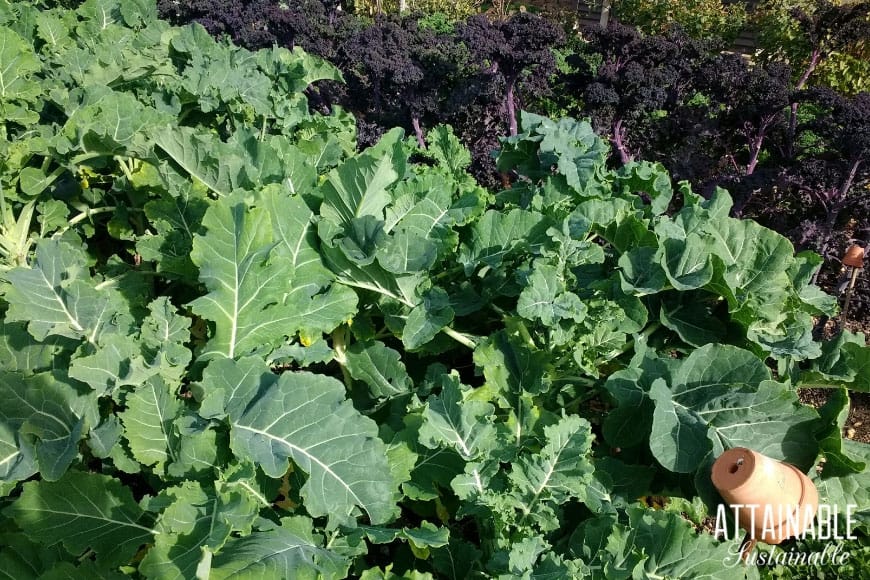
Most kale varieties, including Vates, Red Russian, and Lacinato kale, can grow up to two feet tall with a 2-3 foot spread, depending on how large you allow them to grow. Dwarf varieties can be used — and even grown in containers — if space is an issue.
Growing Kale From Seed
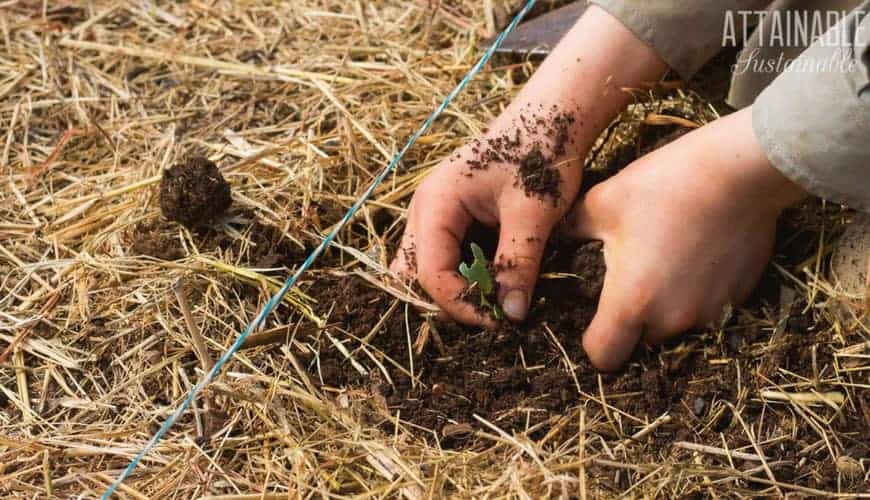
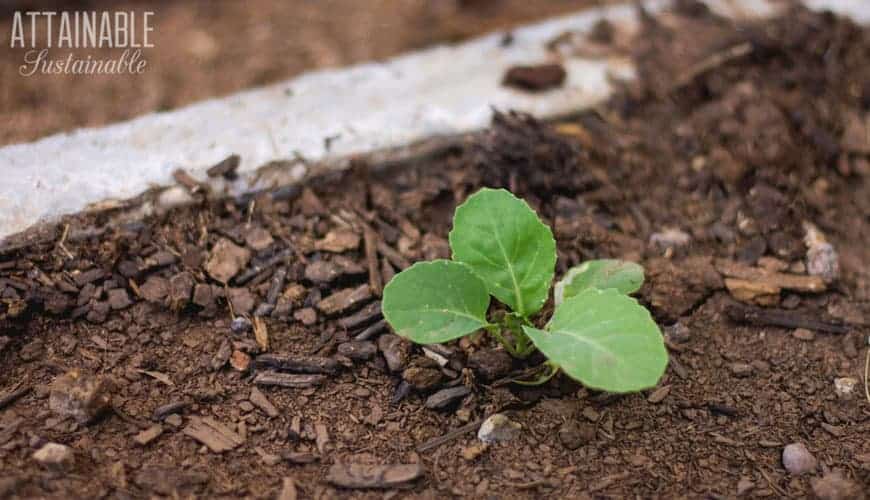
Kale can be seeded in one of a few ways. It can be seeded indoors for very early planting and transplanted deep to the first true leaves. It can be seeded directly in rows, planting seed 1/4 – 1/2-inch deep.
Finally, for larger beds or plots, you can broadcast sow the seed by raking back 1/4 inch of soil, broadcasting by hand over the growing area, and raking back the soil just to cover.
In all three cases, seeds or transplants should be planted 4-6 weeks before the last average frost in the spring or 6-8 weeks before the first average frost in the fall. Keep in mind, for fall planting, that kale is sweeter after a light frost.
Requirements for Growing Kale
Soil Requirements
Kale should be grown in rich, well-drained soil. Because it is a vegetable grown for its leaves, plenty of organic matter and nitrogen will help produce vibrant plants when growing kale in the garden.
Kale can tolerate less than ideal soil, but, as with most vegetables, expect a less than ideal harvest.
Light Requirements
Grow kale all summer long in cooler climates and when given a bit of afternoon shade.
Pest Protection
Like all brassicas, bugs can often be a problem. There are a few approaches one can take to naturally deter these pests.
One approach is to net brassicas not long after they are either sprouted or transplanted. This is generally done on smaller beds and helps to deter the laying of eggs that begins the downward spiral.
Another approach is to plant a few companions such as dill and garlic that are reported to deter the pests common to brassicas.
Finally, picking bugs and their eggs directly from the growing kale plants is helpful and small children are wonderful helpers in this regard.
When to Harvest Kale
Kale tastes best when grown in cooler weather, becoming sweeter after a light frost as mentioned above.
Kale can be sown thickly to produce thinnings that are great as microgreens in salads. From there, the plants can be thinned at 4-6 weeks for younger kale leaves. Full-grown kale generally takes 50-85 days.
How to Harvest Kale So It Keeps Growing
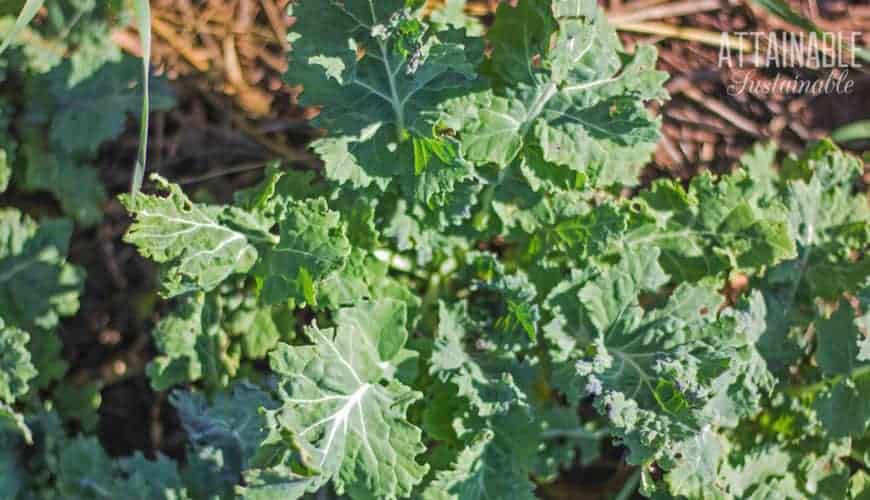
Once your growing kale is mature enough, you can cut the outer leaves from each plant to continue harvesting until it bolts. This assures that you can pick kale while it continues to grow, giving you an extended harvest.
Preparing Kale
Remove the thick center rib from each kale leaf. You can use a knife, but some types of kale are easy to strip by hand. Simply hold onto the base of the kale leaf with one hand and pull your second hand along the rib to separate the leaf from the rib.
Curly kale, especially, can be difficult to clean. The easiest way to make certain that there are no bugs hiding amongst all of that curliness is to soak them in a deep bowl full of water with a spoonful of vinegar for 15-20 minutes. Swish the leaves in the water, then give them a rinse.
Preserving Kale
Greens can be blanched and frozen or canned, but my personal preference is to dehydrate them. You can do this in a dehydrator or hang them upside down like you would herbs until dry. Crumble the dried kale leaves into glass containers and use them in soups, stews, smoothies, and more all winter long.
Recipes Featuring Kale
Kale can be used in a host of ways, from a quick stir-fry as a side dish to soups to smoothies and more.
Here are just a few ideas for all that extra kale:
- Kale Salad With Cranberries
- Roasted Vegetables With Kale
- Spiced French Lentil, Kabocha, and Kale Stew
- Sweet & Sour Braised Kale with Pomegranate
- White Chicken Chili with Kale
- Savory Kale and Chive Muffins
Love greens? Be sure to plant some lettuce, too!
Originally contributed by Shannon Stonger; this post has been completely updated.

