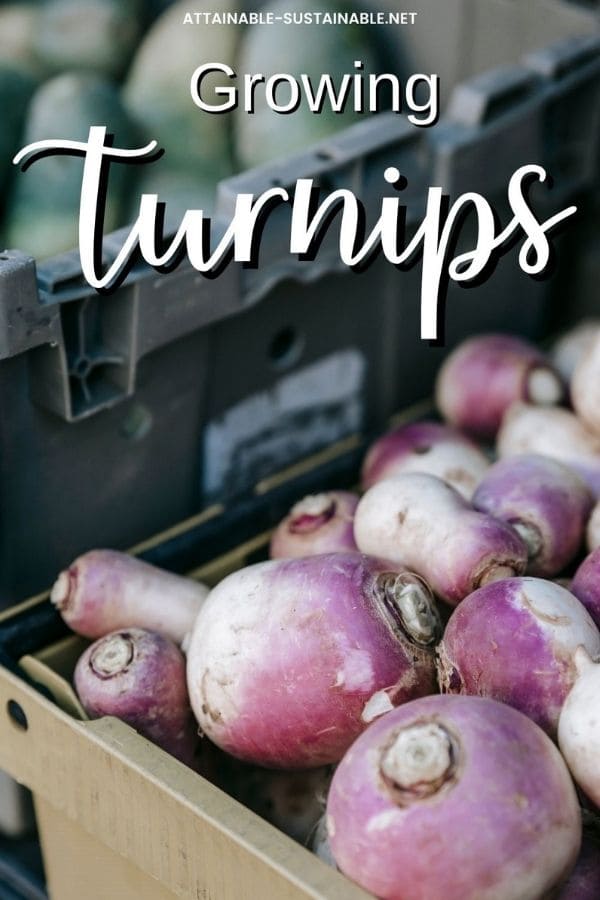
Have you considered growing turnips in your home garden? Turnips are an easy-growing root vegetable that is packed with vitamins and delicious roasted, mashed, raw, or steamed.
Carrots are another delicious root crop to grow in your garden. Be sure to try my grandpa’s trick for good germination!
Contributed by Jodi Torpey, author and Master Gardener.
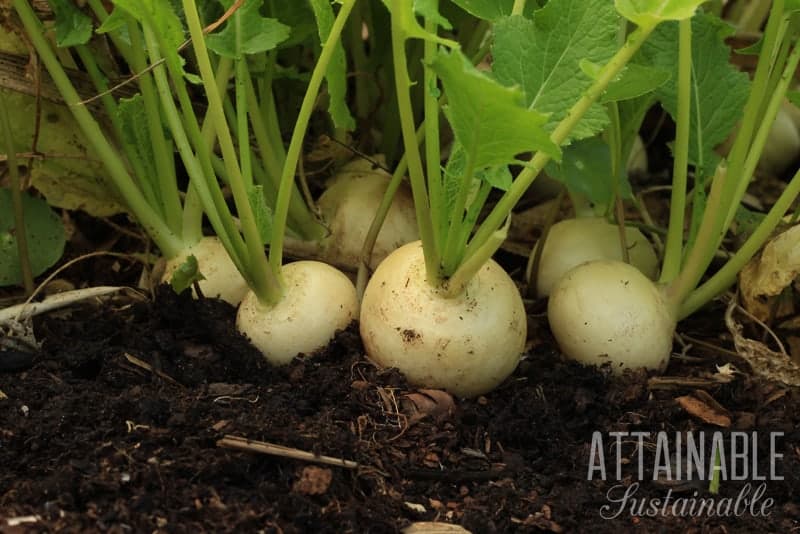
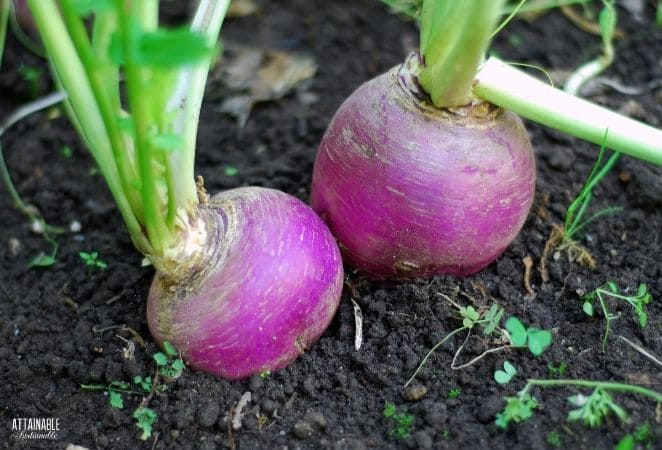
Turnips have been an essential root vegetable since ancient times for at least two reasons: they’re easy to grow and they store well. These turnip benefits made them an important food crop throughout Europe before they caught on with the rest of the world. The most familiar turnip (Brassica rapa) is round and white with a hint of purple on top, but turnips can be long or flat and have red, white, or yellow skin.
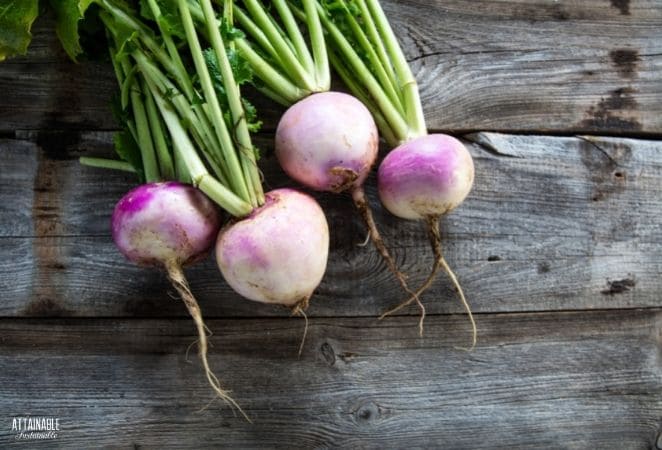
Another benefit to growing turnips is they’re a double-duty vegetable because the greens are edible, too. Plus, turnips are loaded with vitamins and minerals.
To grow turnips in your garden, select varieties that mature in about 40-60 days for the tastiest roots and greens. The faster the turnip crop grows, the better the flavor. Turnips can grow in cool temperatures, so they need an early start in spring. They can also be planted as a fall crop along with cauliflower and broccoli if you plan ahead.
Grow Some Greens!
Ready to grow fresh greens, no matter WHERE you live? Sign up for my
FREE quick-start guide and start growing some of your own food!
Time the planting so the roots mature when the weather is cool. If turnips stay in the ground too long or the weather gets too hot, the roots will become tough, pithy, and bitter.
Popular turnip types for home gardens
Garden experts often recommend planting more than one kind of turnip in your garden as insurance for success. You can make the most of your turnip growing by choosing varieties that have different flavors and mature at different times.
Here are five of the most popular turnips for the home garden. Match the size, taste, and time to maturity to your garden for the best results:
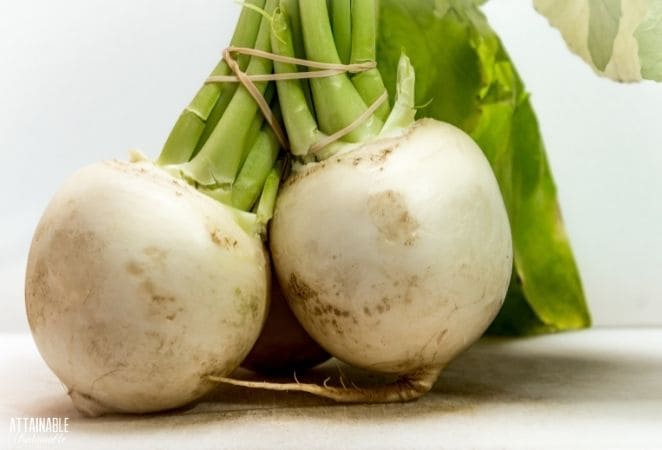
Purple Top White Globe turnip is the classic two-color turnip for home gardens. This variety grows nice round 5-inch white roots with the blush of purple at the top and nice dark greens; 55 days to maturity.
Hakurei is a small 2-inch white turnip that’s known for its sweet flavor and delicate texture. The greens are also tasty when eaten raw or steamed; 46 days to maturity.
Silky Sweet is a hybrid bright white turnip that earns its name for a crisp texture and sweet flavor that’s similar to an apple. The greens are even sweet; 65 days to maturity.
Tokyo Cross is another hybrid turnip that’s an All-America Selections vegetable winner. Most gardeners harvest these turnips at 2-inches but they can grow to 6 inches without becoming tough; 35 days to maturity.
Golden Ball is a turnip variety that grows 3-inch light yellow round roots with a sweet flavor that makes for especially good eating; 45 days to maturity.
 The 5-Gallon Garden
New to gardening? Limited on space? The 5-Gallon Garden gives you the skills you need to grow food in the space you have. Get started with your garden today!
How to plant and grow turnips
Plant turnip seeds once the soil temperature is between 50-60 degrees or about 1 month before the last expected frost in your area. Plant seeds about ¼ deep so they’ll be able to easily push through the soil. Space seeds about 1-2 inches apart.
When plants are about 4 inches tall, thin the turnips to a spacing of between 2-6 inches so the roots can develop without being crowded. These plant thinnings are delicious in fresh salads. In fact, some gardeners grow turnips just for the greens. In this case, seeds can be planted close together to make room for a dense planting.
As an alternative to planting from turnip seeds, purchase transplants that are available at garden centers when it’s time for planting in your area.
Requirements for growing turnips
Soil requirements
Turnips need a loose and rich, well-amended soil to grow beautiful roots and leaves. Use a high-quality compost to spread several inches over the planting area and work it into the soil at least 6 inches deep before planting turnip seeds or plants.
When plants get several inches tall, a layer of organic mulch is helpful to moderate soil temperatures and to hold in soil moisture.
Light requirements
Plant turnips in full sun, even when planting in containers. If you’re worried about the plants getting too much sun, plan to use a row cover cloth or shade cloth to protect seeds and seedlings.
Fertilizer and water requirements
Turnips are an especially hungry crop, so plan ahead. After you’ve thinned the plants, sidedress the turnip crop with a fertilizer that has a high nitrogen content.
Apply the fertilizer on both sides of the turnip rows, about 6-8 inches from the plants. Carefully rake the fertilizer into the soil and water right after applying it.
Monitor soil moisture to make sure the soil stays moist, not soggy. Don’t let the soil dry out completely because a lack of water will affect the eating quality of the roots or cause plants to go to seed prematurely.
Prevent turnip pests and other problems
You can avoid some turnip-growing problems by planting disease resistant varieties. Another way to prevent problems is to keep the garden and areas around the garden free from weeds that can attract insect pests.
Shot holes in the leaves of plants are usually the work of flea beetles. Prevent flea beetle damage to the leaves by covering the turnip crop with a floating row cover. Use the covers right after planting and make sure the covers are tied down tightly so insects can’t get underneath.
As an alternative, plant turnips in elevated containers where flea beetles have a harder time reaching plants.
Protect turnips from root maggots by rotating vegetable crops in the garden because root maggots overwinter in the soil.
Aphids can cause turnip leaves to curl, so be sure to check under leaves and blast them away with a strong spray from the hose.
How to grow turnips in containers
Whether growing turnips for their tasty roots or their greens, you can plant and grow turnips in containers. For the best results, give your turnips room to grow by selecting a large and deep container.
Select a turnip variety that’s container compatible, such as a smaller variety that matures quickly like Tokyo Cross hybrid.
Fill the container with a good quality potting mix that’s designed for container growing and amend with compost. Make sure the potting mix is well-draining and free of any clumps so seeds can sprout easily or for transplants to take root.
Keep soil moist and use row cover cloth to help protect plants from pests. Space according to the instructions for that variety and plan to thin turnip plants to the recommended spacing, at least 2 inches apart.
Harvest turnips and their greens as you would for garden-grown turnips.
How to harvest turnips
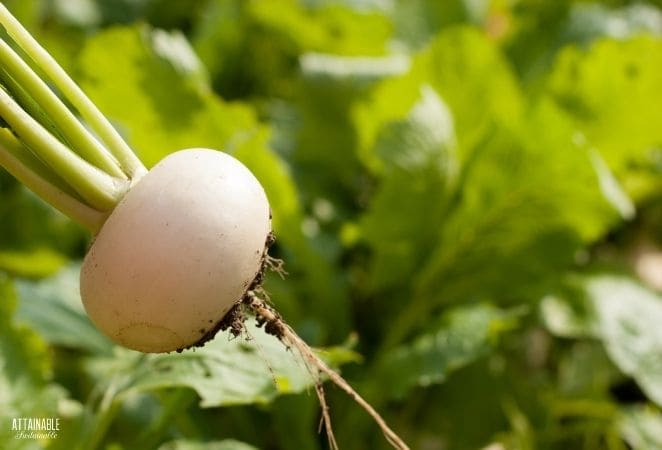
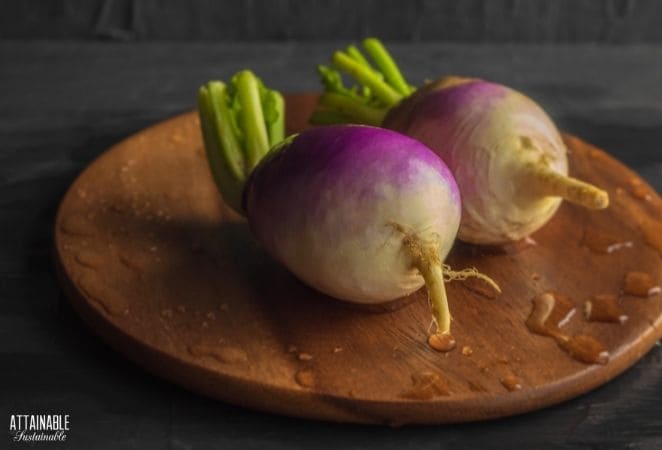
For the best flavor, harvest turnips while they’re still small—about 2-3 inches in diameter. Carefully dig up turnips while the weather is still cool, especially in spring before temperatures get too hot when plants have a tendency to start forming flowers and seeds.
For harvesting the turnip greens, cut them while they’re still young and tender, about 4-6 weeks after planting.
How to use turnips and turnip greens
Turnips are a versatile root vegetable that can be eaten raw in salads or cooked by boiling, steaming, sautéing, stir-frying, and even mashing. Some varieties are also delicious as pickled turnips or fermented.
Turnip greens can also be used in a variety of ways. Remove any thick ribs and steam like spinach or boil, sauté and stir-fry.
How to save turnip seeds
If you want to save the seeds from your turnips to grow again, you have to plan ahead. Because turnips are biennial plants, they take two years to produce seeds you can use for planting.
- Plant heirloom or open-pollinated turnip varieties to make sure the turnips will be true to type. Hybrids will revert to one of the parent plants for a completely different turnip.
- Avoid planting your turnips near plants like Chinese cabbage that can create a turnip cross.
- Give turnips plenty of room to grow. Either plant 2 feet apart or thin to that width and let them grow to maturity. You can harvest the leaves, but leave the roots in the ground to overwinter.
NOTE: In some hardiness zones, turnips can overwinter in the ground when covered with a thick layer of mulch; however, in very cold regions where the soil freezes deeply, dig up turnips in fall and store them in a cool basement or cellar. Then replant turnips in the spring.
The turnip roots will start to grow in spring, grow a flower stem and produce seed pods. Wait for the seed pods to turn light brown. Before the pods have a chance to open on their own, clip them from plants, open pods and collect the seeds. Label and store in a cool dry place until you’re ready to plant turnips again.


