
Growing goji berries is a delicious way to promote good health, and add antioxidants into your diet. Goji berries are full of vitamins A and C and are known for their immune-boosting properties. Also called wolfberries, this shrub is a wonderful addition to a healthful home garden!
Another wonderful berry shrub to grow in your garden is blueberries!
Contributed by Jodi Torpey, author and Master Gardener.
Growing goji berries for your health
Have you ever noticed packages of dried goji berries for sale at the grocery or farmer’s market? These wrinkly red berries don’t look like super snacks, but they have amazing health benefits as one of the world’s most nutritious fruits. You can even grow them in your garden in hardiness zones 2-7, depending on the variety.
Goji berries are thought to have originated in the Himalayas thousands of years ago and most of the berries are still grown in Asia. The shrubs go by other names including wolfberry, boxthorn, and matrimony vine.
The fruits are prized by many because they’re high in antioxidants like vitamin A, plus other important vitamins and minerals. Whether eaten fresh off the shrub or dried and covered with chocolate, goji berries have a mild, slightly sweet, and savory taste.
Goji berries in the garden
Goji berry shrubs are deciduous, a bit thorny, and can take up a lot of space. Plan the planting site carefully because these shrubs can grow to 8 feet tall and live a long time in the landscape. Shrubs can be pruned to keep them a manageable size, trained to grow on a trellis or they can be left to reach their natural height to fill in a space in the landscape.
Grow Some Greens!
Ready to grow fresh greens, no matter WHERE you live? Sign up for my
FREE quick-start guide and start growing some of your own food!
Once established, the shrubs are fairly drought tolerant. Expect to start harvesting the ripe berries within the second or third season after planting. Goji berry shrubs are self-pollinating, so one will produce sufficient fruits for harvesting.
New to gardening? Limited on space? The 5-Gallon Garden gives you the skills you need to grow food in the space you have. Get started with your garden today!
 The 5-Gallon Garden
Growing goji berry varieties
Goji berry shrubs can be planted from seeds started indoors or directly sown in the garden. However, a faster start to growing is to plant transplants, mostly available by ordering from catalogs or online garden retailers. These may come as potted plants or bare root, depending on the grower.
It seems like goji shrub breeding is fairly new in the U.S., with a limited number of named varieties. The shrubs with the best quality fruit are Lycium barbarum.
Sweet Lifeberry and Big Lifeberry are two varieties available from the Proven Winners company. Both shrubs are hardy from zones 5-8. The shrubs can grow to 12-feet tall and 7 feet wide, more like small berry trees!
The main difference between these two goji berry shrubs is Sweet Lifeberry offers a sweeter fruit, while Lifeberry has larger berries.
Crimson Star and Phoenix Tears are two varieties that are grown commercially but could be planted in home landscapes if plants and seeds are available.
How to plant and grow goji berries
How to plant and grow
Goji berry shrubs are planted like most ornamental shrubs. Amend sandy or clayey soils with compost or other organic matter to ensure water drains easily. Dig in deeply to encourage a strong root system in the first season.
Prepare a planting hole that’s as deep as the root ball of the goji berry shrub, and slightly wider. Make sure the top of the root ball is even with the top level of the edge of the planting hole.
Place the shrub in the planting hole and fill it in with the soil. Water in the shrub. Add drip irrigation or a soaker hose and cover with an organic mulch. Keep the mulch away from the base of the shrub.
If planting more than one goji berry shrub, allow at least 6-8 feet between plants and rows.
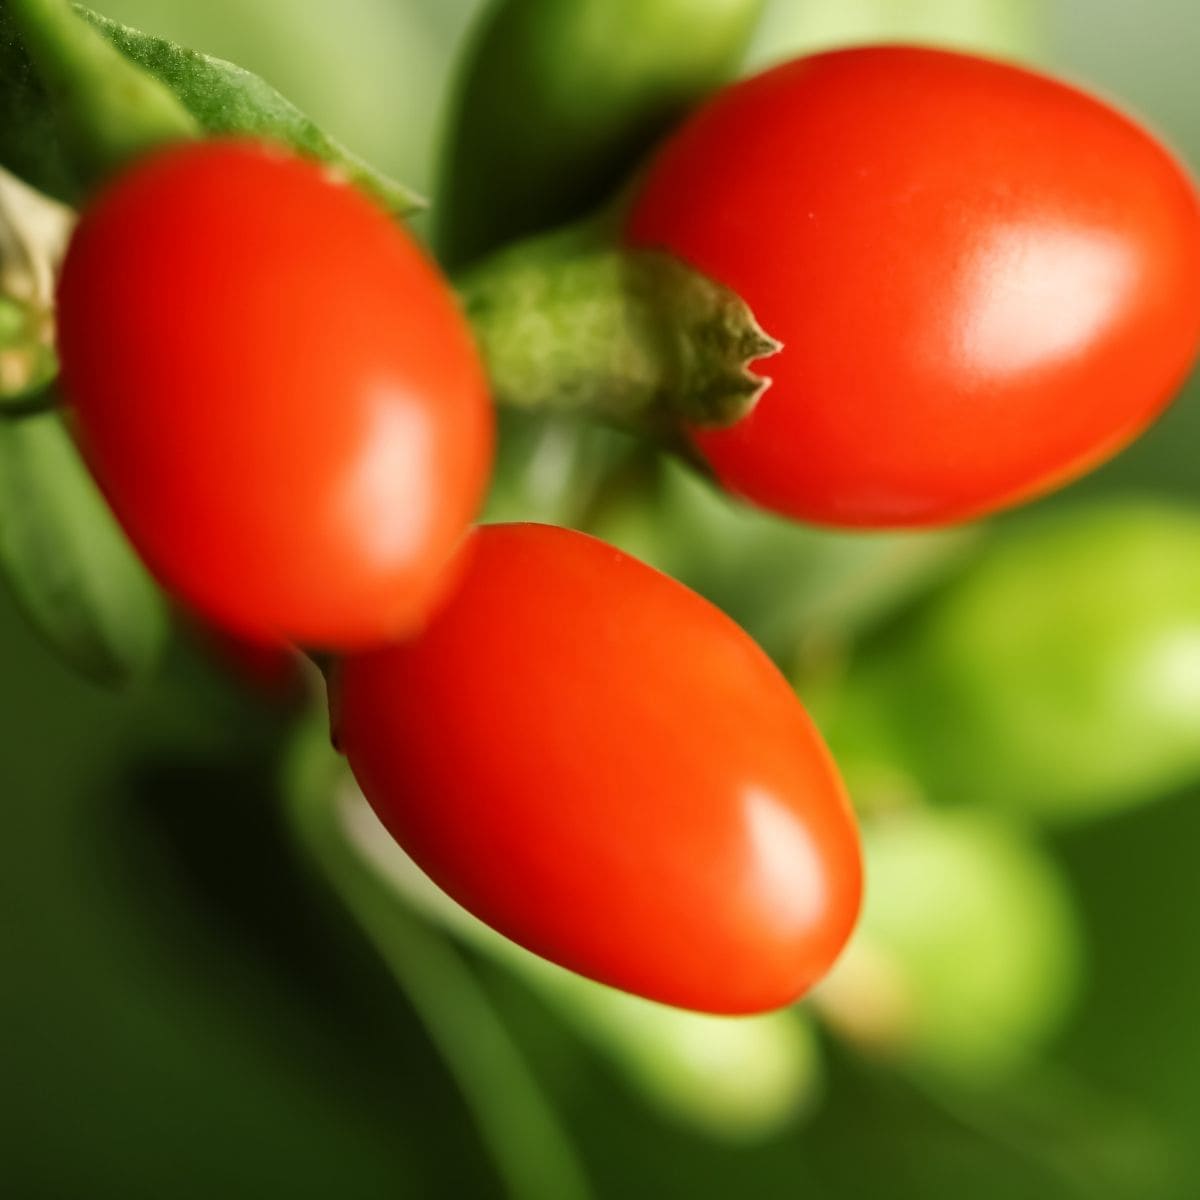
Ready to harvest ripe goji berries
Requirements for growing goji berries
Soil Requirements
Goji plants are adaptable to a range of soils, but plants do best if the soil is fertile and well-draining. A light soil that drains easily will help prevent soggy roots.
A layer of mulch over the shrub’s roots will help protect plants from fluctuating temperatures.
Light requirements
Locate a sunny spot that offers some protection from severe temperature fluctuations. Plant goji berry shrubs in full sun (at least 6 hours a day) and be prepared to protect the fruit from sun-scald during the height of summer.
These shrubs are tough and can produce fruit in part shade conditions, too.
Fertilizer and Water Requirements
If the soil is well-prepared before planting, there’s no need for more amendments, new soil, or fertilizer at planting time.
In early spring during the shrub’s second year and when new growth appears, apply a fertilizer meant for flowering woody shrubs to improve soil fertility.
Maintain good soil moisture, checking every few days to make sure the soil doesn’t dry out. Avoid overwatering; the soil should be moist but not soggy.

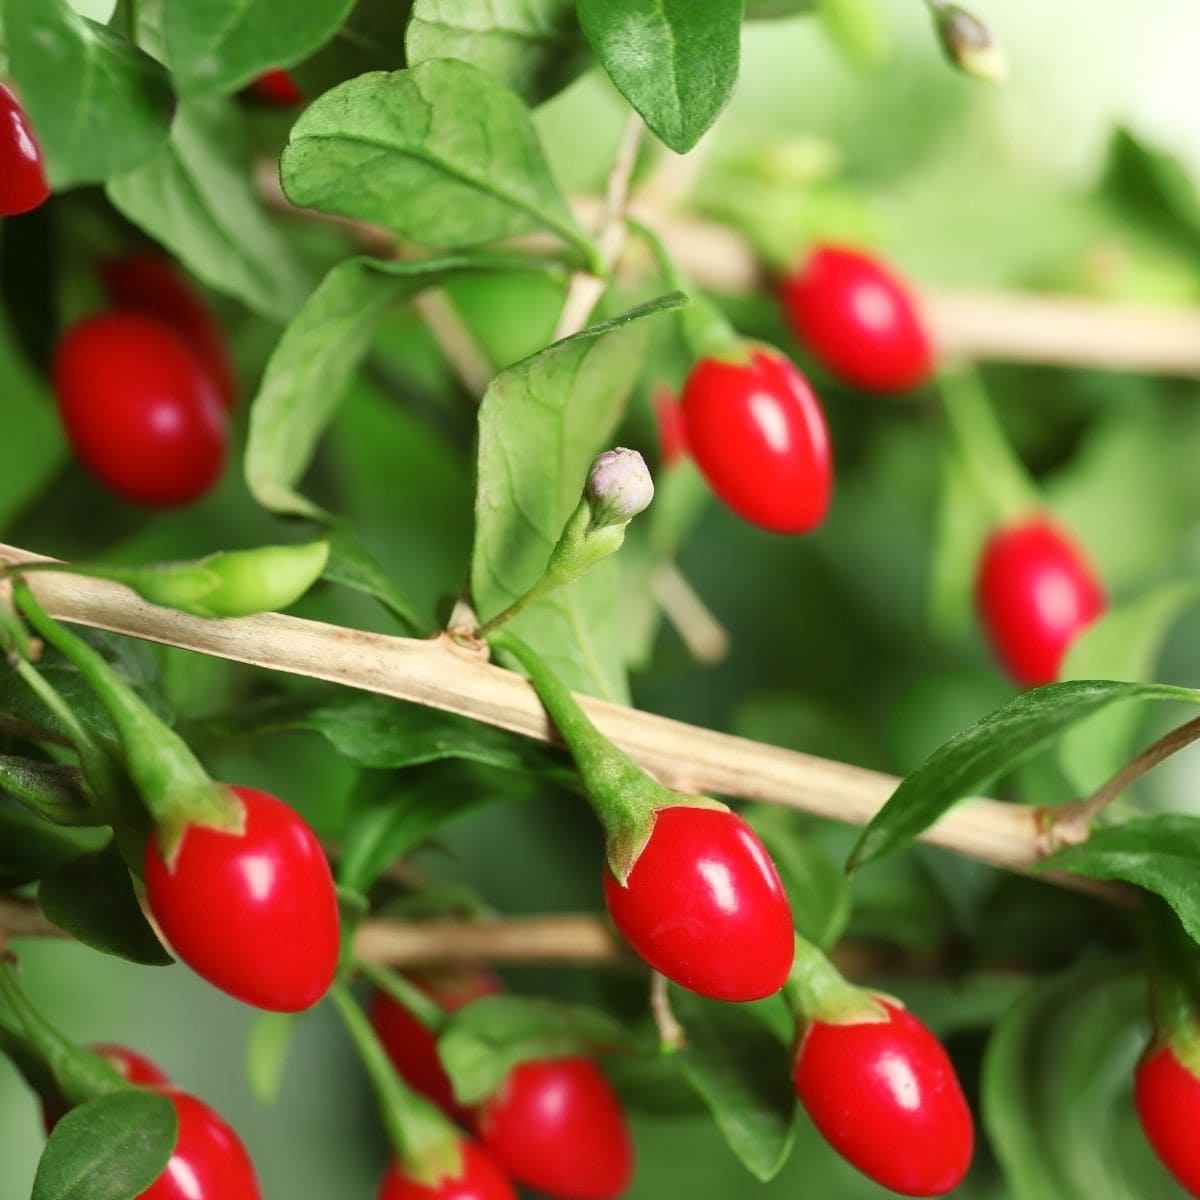
Growing goji berry stages
Prevent goji berry problems
Goji berry shrubs have some natural resistance to plant diseases and don’t require a lot of work for pest control, but these plants are susceptible to some of the same problems as tomatoes. Watch for blossom end rot on berries and be more consistent with watering to reduce this issue.
To maintain shrubs with an upright habit, and to contain its wild nature, prune to keep plants manageable for the planting site. Prune when the shrubs are dormant and prune-like you would for other woody shrubs. Prune out spindly branches, remove dead or damaged branches and clip back branches to improve the shrub’s shape.
Growing goji berries in containers
Goji shrubs can grow in containers if the container is large enough. Experts recommend a weatherproof container that’s at least 18-inches in diameter. Make sure the container has a hole in the bottom for drainage. Fill the container with good-quality potting soil meant for containers.
Place in a full-sun to part-sun location.
Keep up with watering as with any shrub planted in a container. In cold-weather regions, provide some protection from freezing temperatures.
Ripe harvested homegrown goji berries
How to harvest goji berries
You won’t get a harvest the first year. It may take two or more years for shrubs to start bearing fruit. You should start getting a full harvest when your trees reach about four years old.
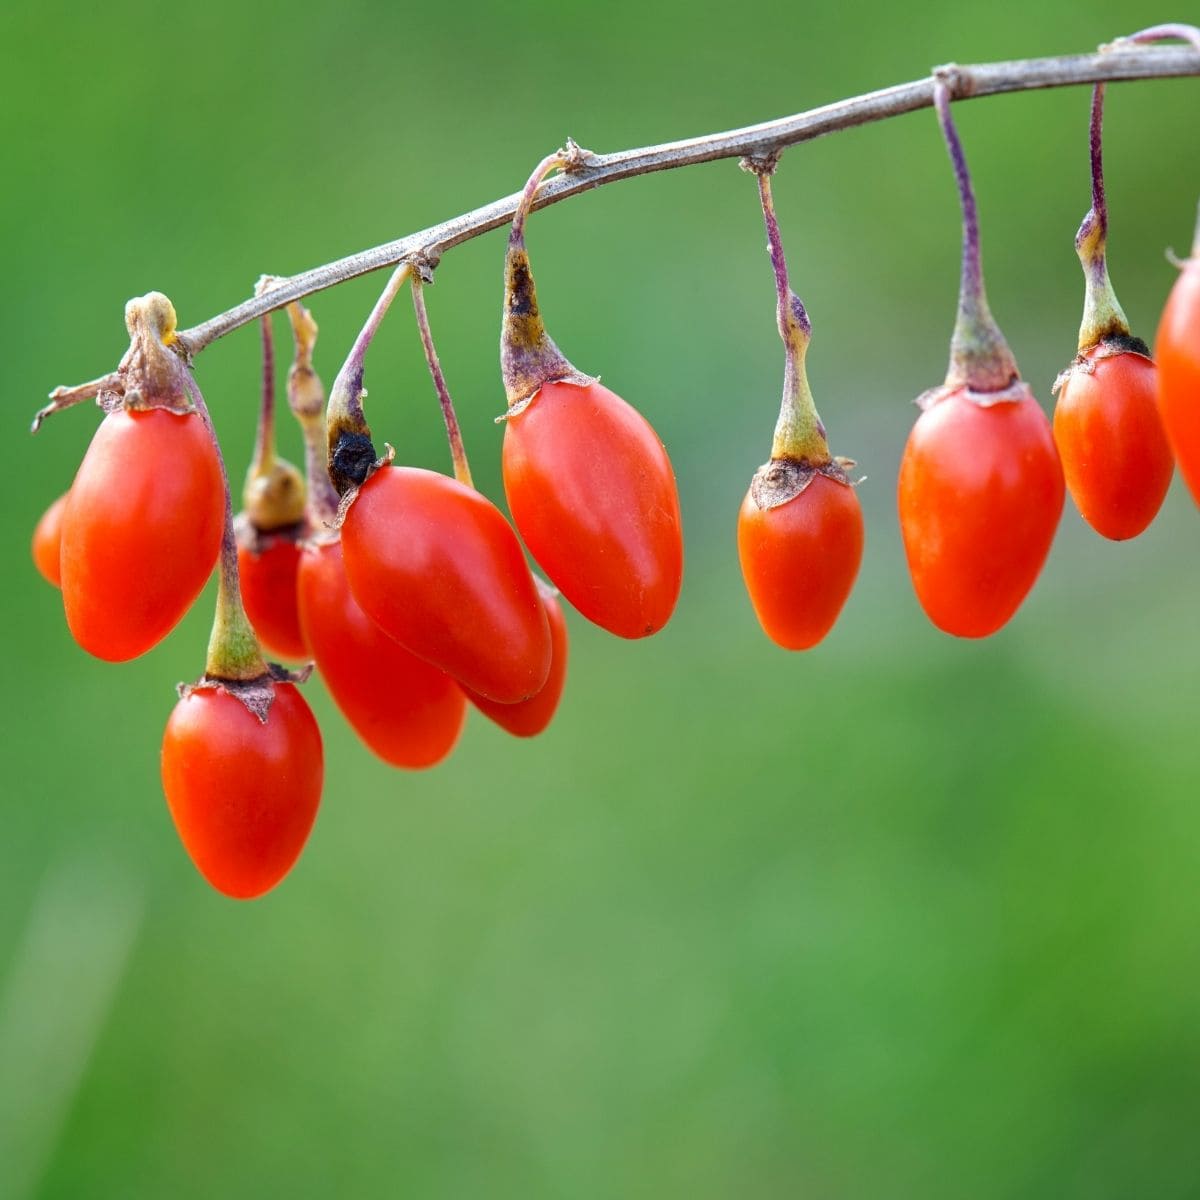
Birds, deer, raccoons, and squirrels may be attracted to the bright red, drooping fruit. After the lavender flowers bloom in summer, cover berries with netting that has tight crosswires to protect the ripening fruit and to keep birds from getting caught.
Pick the glossy, reddish-orange fruits as they ripen fully, starting in late summer until early fall, and before they stay too long on the shrub. They should release easily without pulling or the need to snip them off the branches.
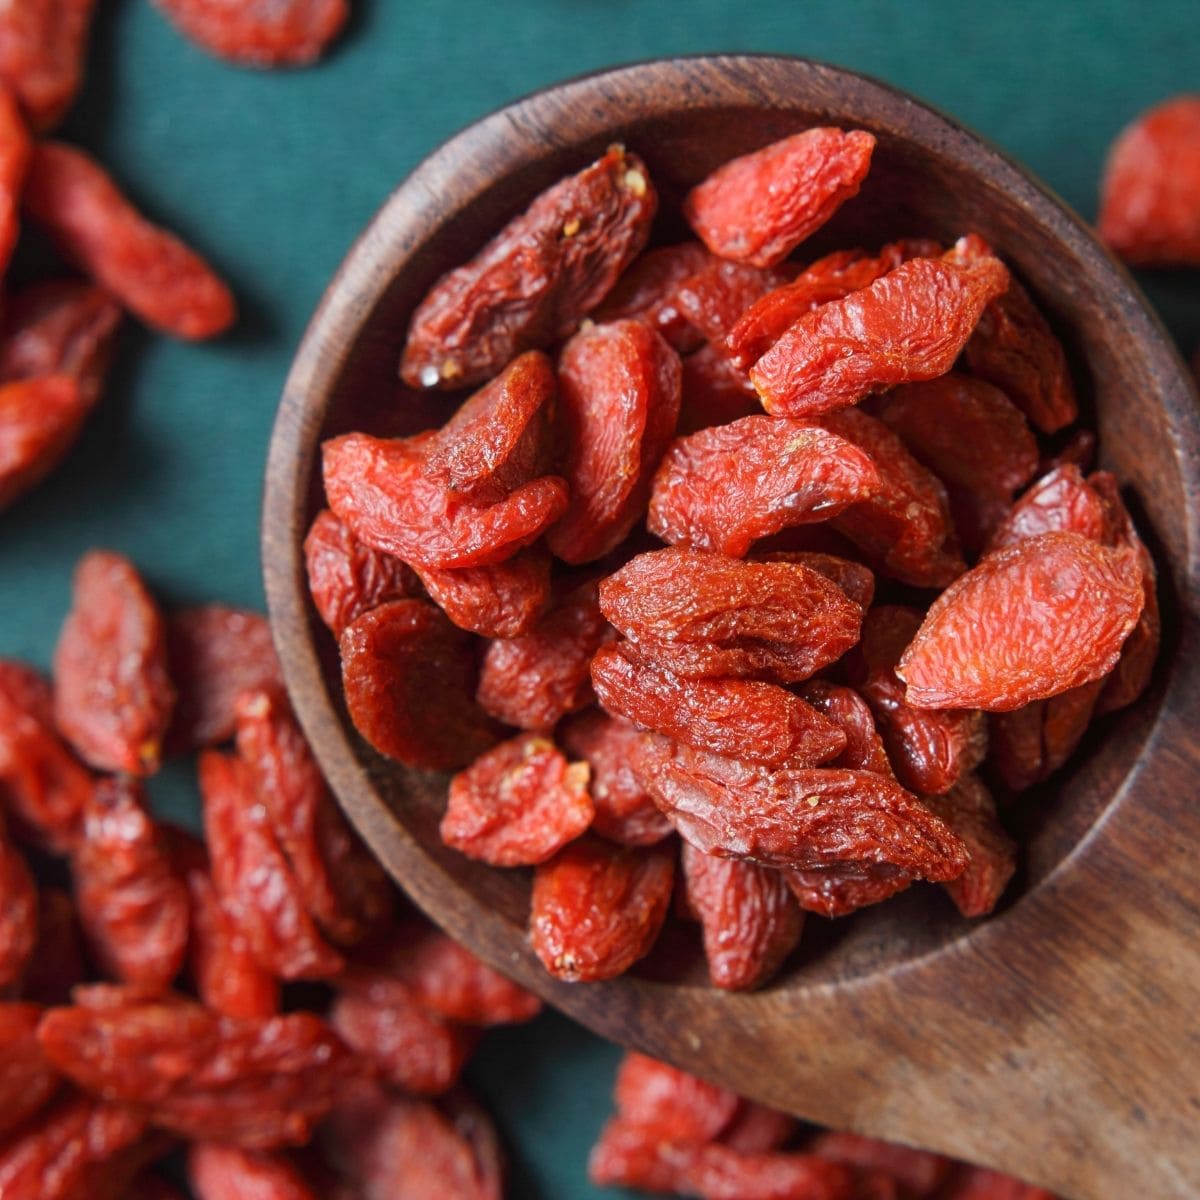
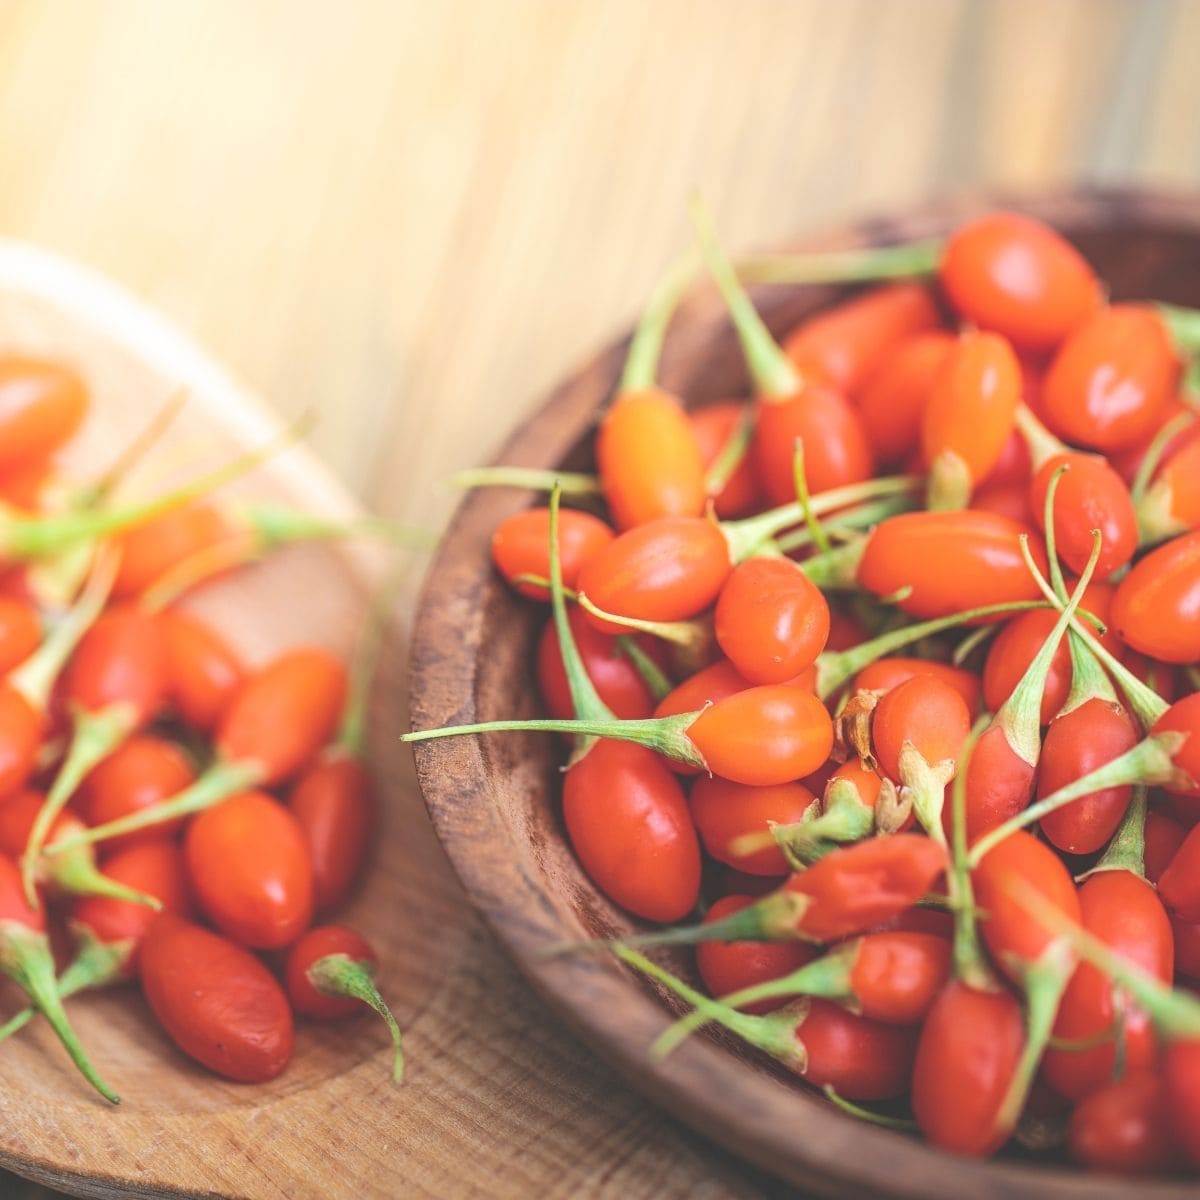
Dried goji berries
Using goji berries in the kitchen
Some goji berry growers say the fruit is an acquired taste because they’re less sweet than anticipated and some can be slightly bitter. The best advice is to use the taste test to ensure the raw fruits are sweet enough for your taste or plan on drying them in a dehydrator or oven.
When dried, they can be stored and used like raisins in baking, snacks on their own, mixed into a trail mix, or granola bars. Some people like to blend them into yogurt or use them on top of fresh garden salads.
How to propagate goji berry plants
You can propagate goji berries by taking soft-wood cuttings in the spring or summer. Select 4-6-inch cuttings that have several sets of leaves. Plant the cuttings in a sterile planting mix, moisten with water and cover with plastic wrap.
Keep the mix moist until new roots start to sprout. Then remove the plastic and allow plants to grow until they’re the right size for transplanting into the garden.


