Canning jam and jelly at home is one of the easiest ways to get started with home canning. While the ingredients will vary depending on the recipe, the process itself remains the same.
If you’re really new to canning, you should start by reading this post about canning equipment.
Originally published September 2020; this post has been updated.
First and foremost, know that you should not deviate from a safe canning recipe. Adding or subtracting ingredients when making a jelly or jam recipe can alter the pH of the finished product. Follow the recipe as written.
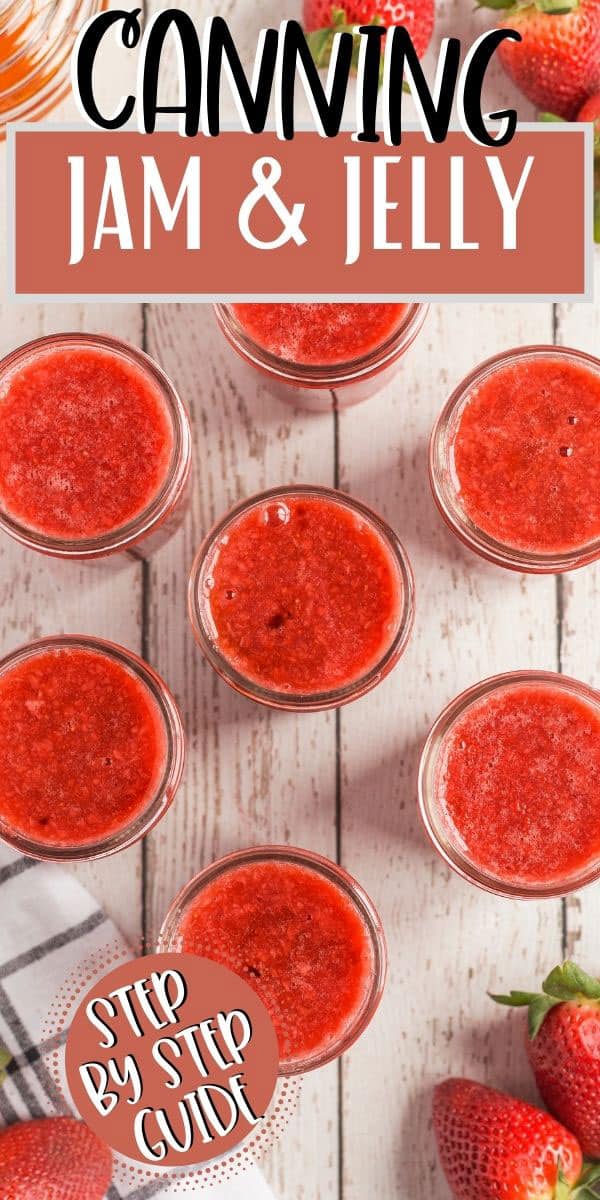
Canning Jam & Jelly, Step-by-Step Guide
No matter what recipe you choose, the process for canning jam and jelly is generally the same. The good news? It’s not difficult!
Get a Quick Start Guide to Safe Canning!
Want to learn how to preserve the harvest? Dive in for a look at various canning techniques and methods! Grab my FREE 6-part guide to getting started.
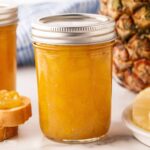
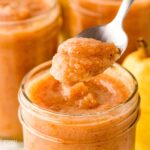
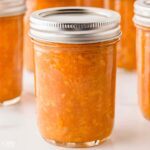
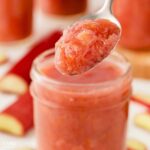
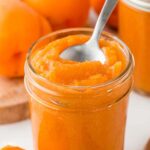
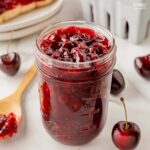
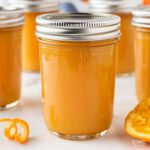
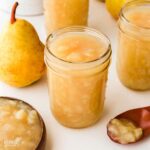
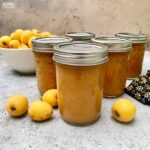
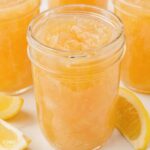
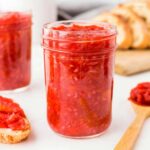
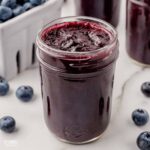
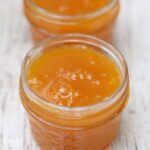
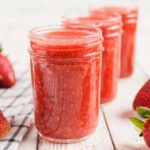
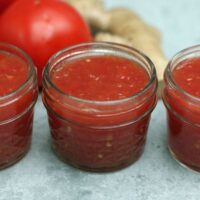
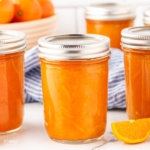
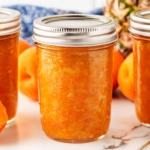
From strawberries and blueberries to plums and peaches, you can turn your favorite summertime fruits into a clear fruit jelly or or a thick jam.
Water bath canning is the method of choice for jam and jelly recipes, so it’s an easy food preservation project for those new to home canning.
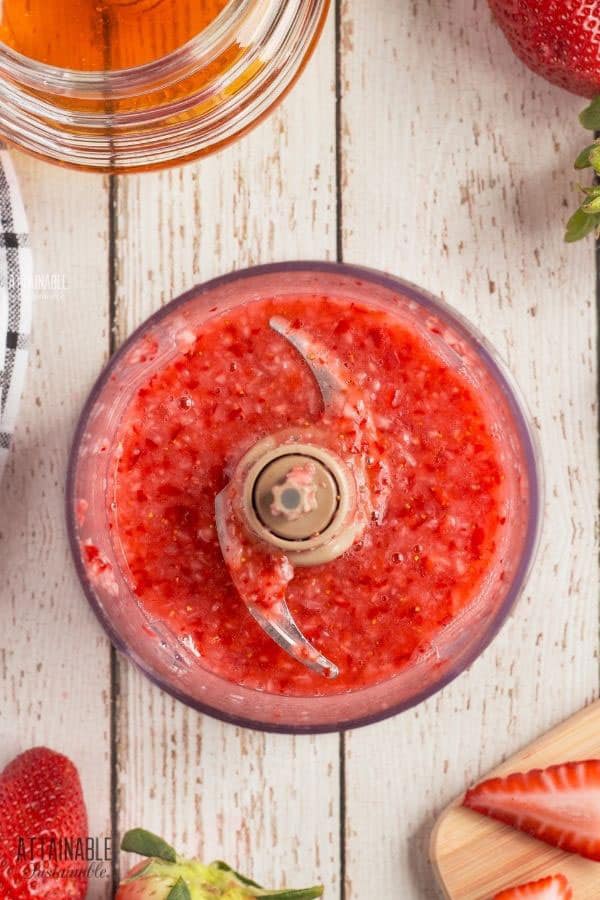
1. Prepare the Fruit
This is the most time consuming step. If you’re making jelly, you’ll need to extract the fruit juice. For jam, you’ll peel and seed if necessary and then mash the fruit. Fruit like berries can be used whole, whereas stone fruit requires the remove of the pit and sometimes the skin. You can do this by hand or with a food processor. [Read about the difference between jam and jelly.]
Choose fully ripe fruit that is free of blemishes. With a caveat. You don’t want to use fruit that’s close to spoiling, but cosmetic issues like bruising and scab can safely be cut away, allowing you to use the remainder of the ripe fruit.
Opting for using culls (the second-quality fruit that farmers often sell for a fraction of the price) is a great way to cut costs. You don’t need pretty fruit to mash into jam or jelly!
2. Start Heating Water in the Canner
Jams and jellies can be processed using a water bath. If you’re using a standard canner that holds a large volume of water, it takes awhile to bring it to a boil.
Get it heating while you continue the process of making your jam or jelly. Fill the canner about halfway with water for pint or half-pint jars, slightly more for pint jars.
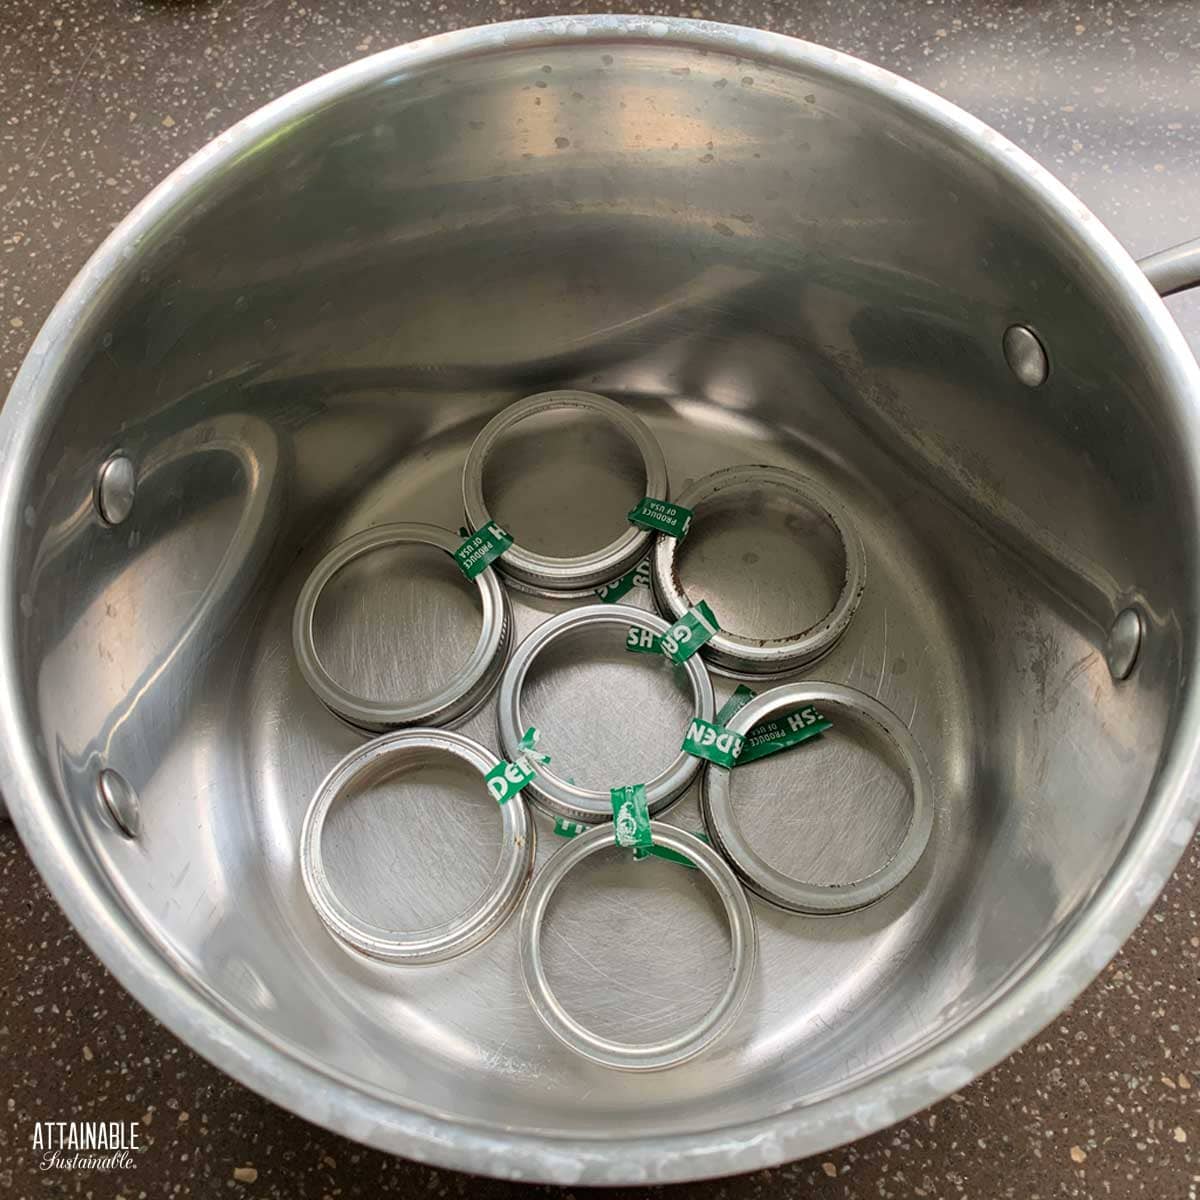
3. Sterilize the Jars — Maybe
If the jam or jelly recipe you’re using requires a processing time of less than ten minutes (which would be unusual), you’ll need to sterilize the jars. Do this by submerging the jars in boiling water for ten minutes.
If the recipe calls for a processing time of ten minutes or more, you don’t need to sterilize. The jars will be sterilized during the processing time. You will, of course, want to wash the jars well before filling them!
Once washed, place empty jars in the canner while it heats. This brings the temperature of the jars up, so that when you add hot jam or jelly, they jars are less likely to crack due to temperature change.
 Ready to DIY your pantry with more wholesome ingredients? Check out my new book from National Geographic! Attainable Sustainable Pantry is filled with delicious recipes for some of your favorite condiments, snacks, and toppings, along with an entire section on safe home food preservation. It’s the guide you need to start skipping packaged products and embrace homemade.
4. Cook the Fruit
Follow the individual recipe to make the jam or jelly. This often means adding sugar, lemon juice, and pectin to the prepared fruit and bringing it to a boil, but the ingredients will vary from recipe to recipe. Stir the hot fruit mixture frequently to prevent scorching.
I use a low-sugar powdered pectin in all of my jam and jelly recipes. Using a smaller amount of sugar allows the flavor of the fruit to shine through; other recipes call for liquid pectin.
Some jam and jelly recipes are made without the use of added pectin. This process can take quite a lot longer as you cook the fruit down and await gel formation.
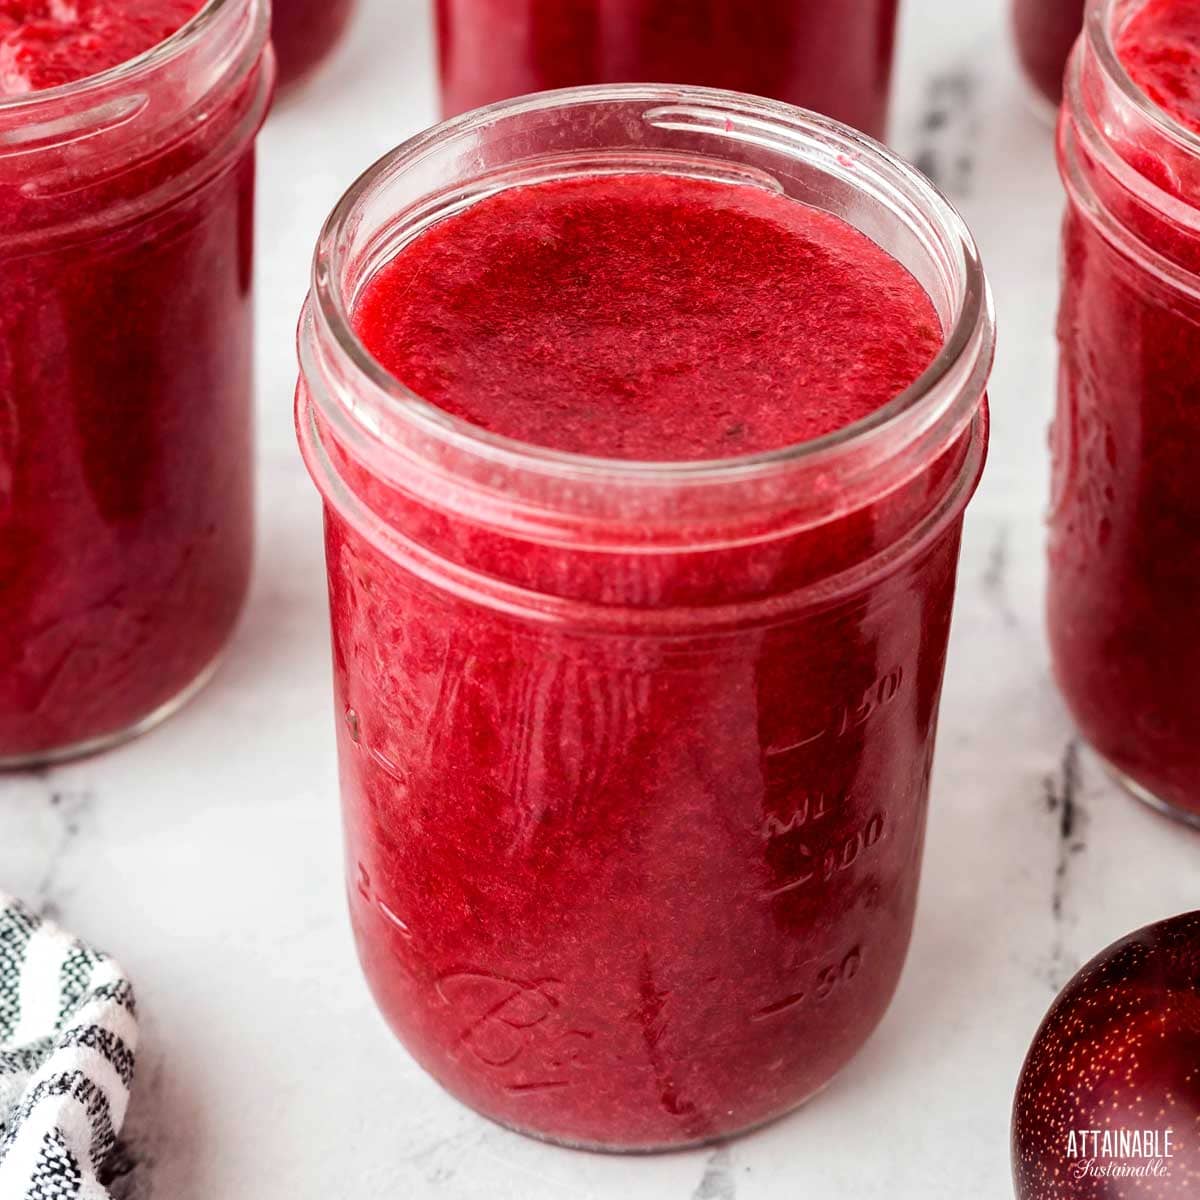
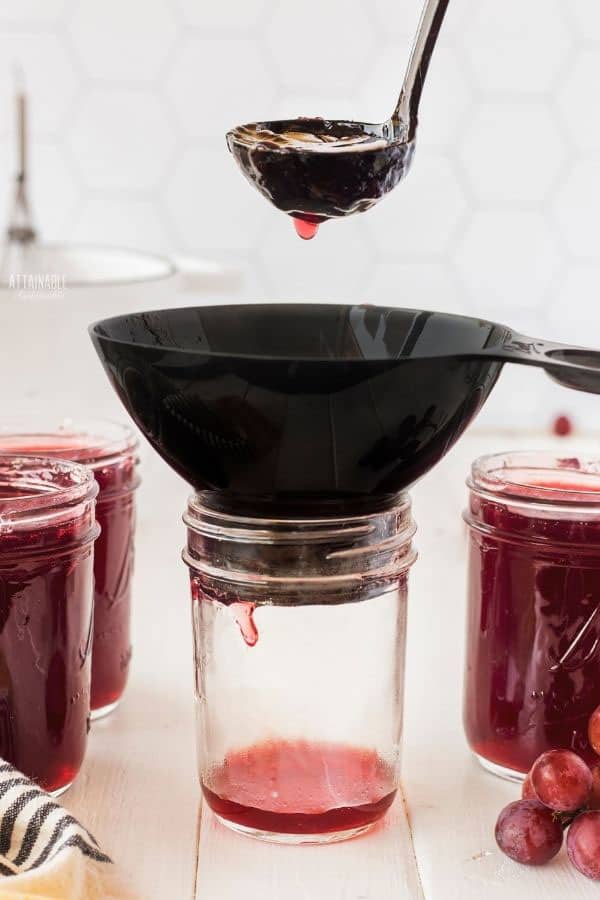
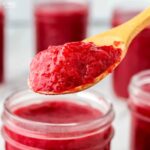
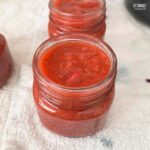
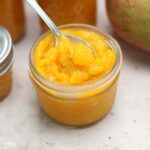
5. Transfer Fruit Mixture to Jars
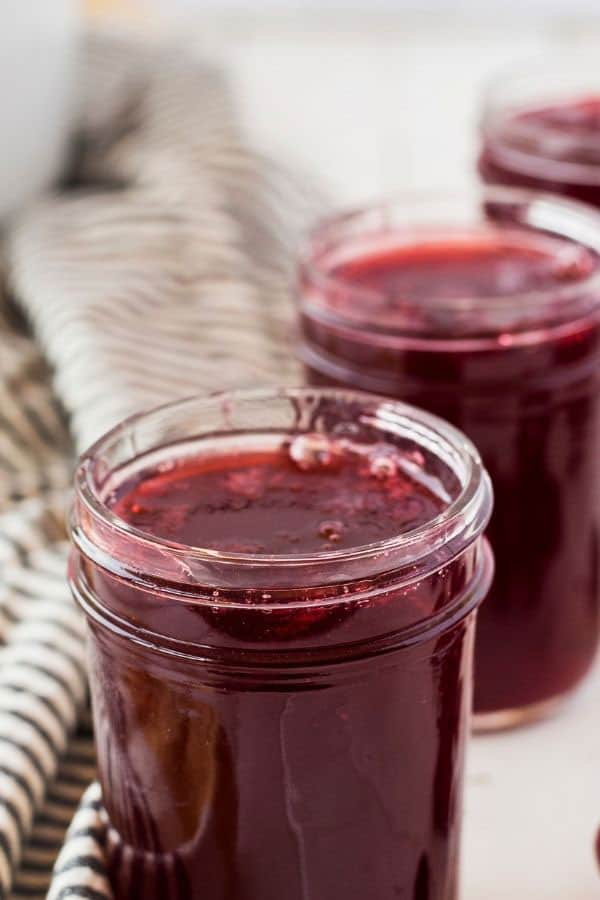
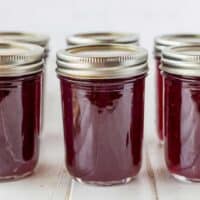
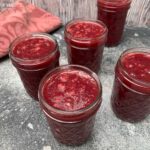
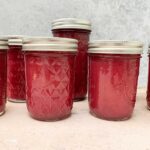
Jam and jelly can be safely canned in 1/4-pint or 1/2-pint, or pint-sized jars.
Ladle the hot fruit into canning jars. A canning funnel is a lifesaver for reducing spills.
6. Know Your Headspace When Canning Jam & Jelly
Headspace is the distance from the top of the jam to the rim of the jar. Some canning recipes require more head space than others. Follow the guidelines in your recipe.
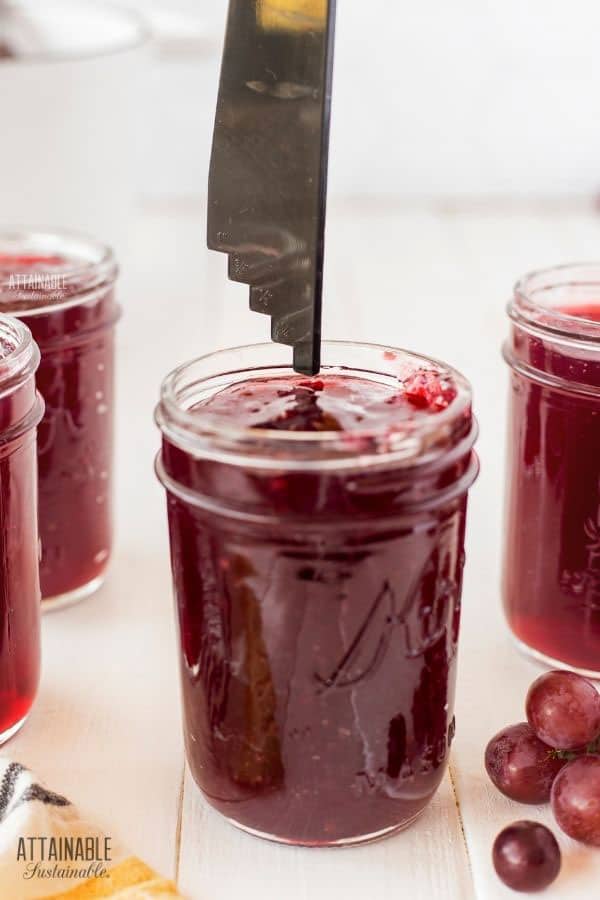
7. Wipe the Rims
Use a damp cloth to carefully clean the rim of each jar. Residue left on the jar rim can interfere with proper sealing when preserving jam and jelly.
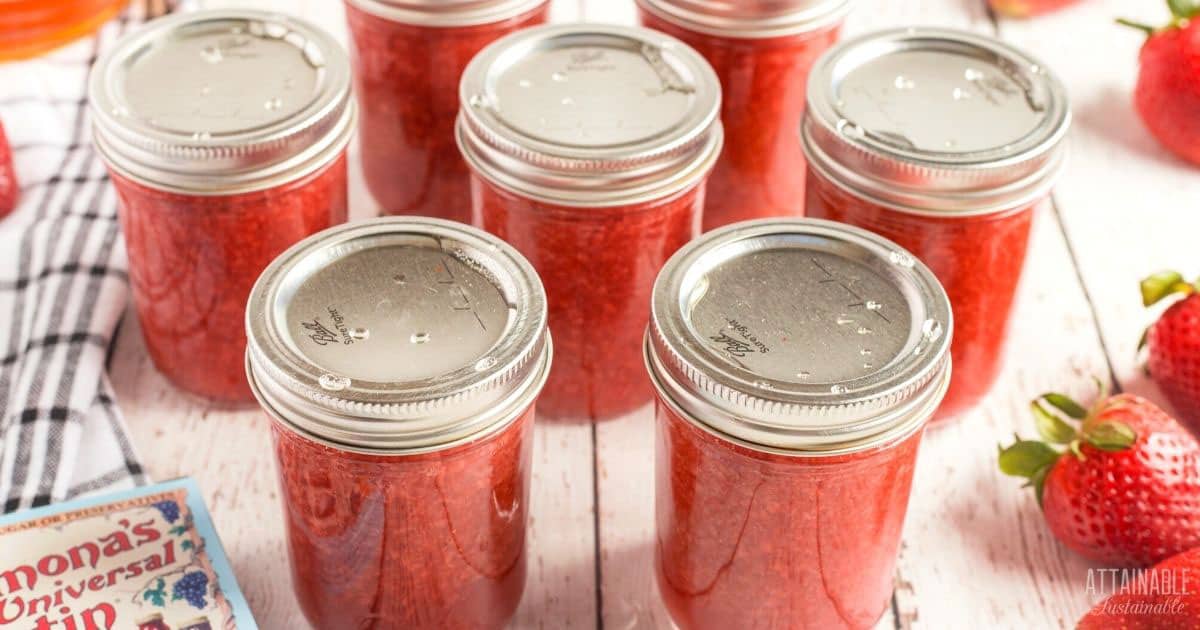
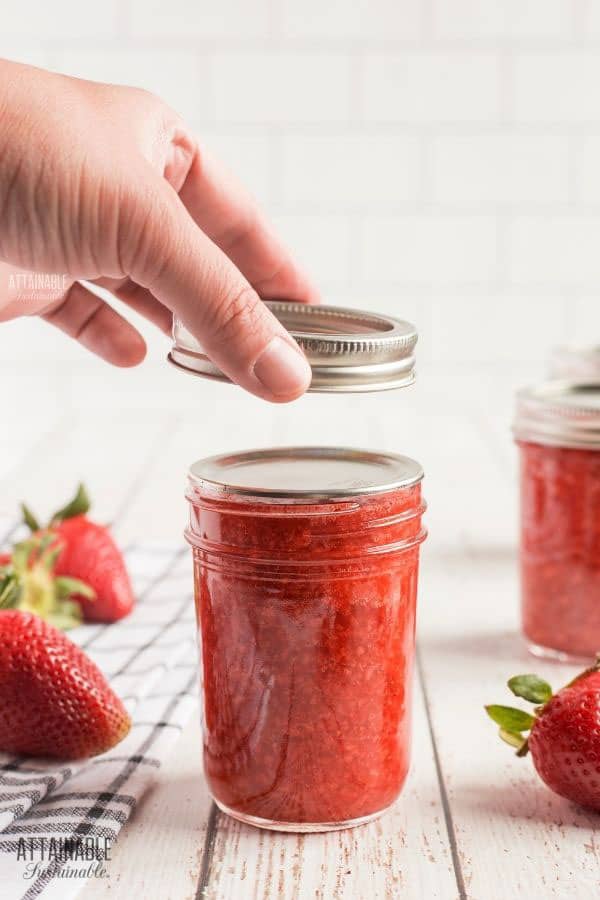
8. Place the Lids and Rings on the Jars
Set a new lid (sometimes called a flat) on each clean jar rim. Read about why you should never reuse canning lids here. Screw a band onto the jar finger tight.
What is finger tight? You want the ring to fit snugly, but don’t crank it on.
9. Process the Jars
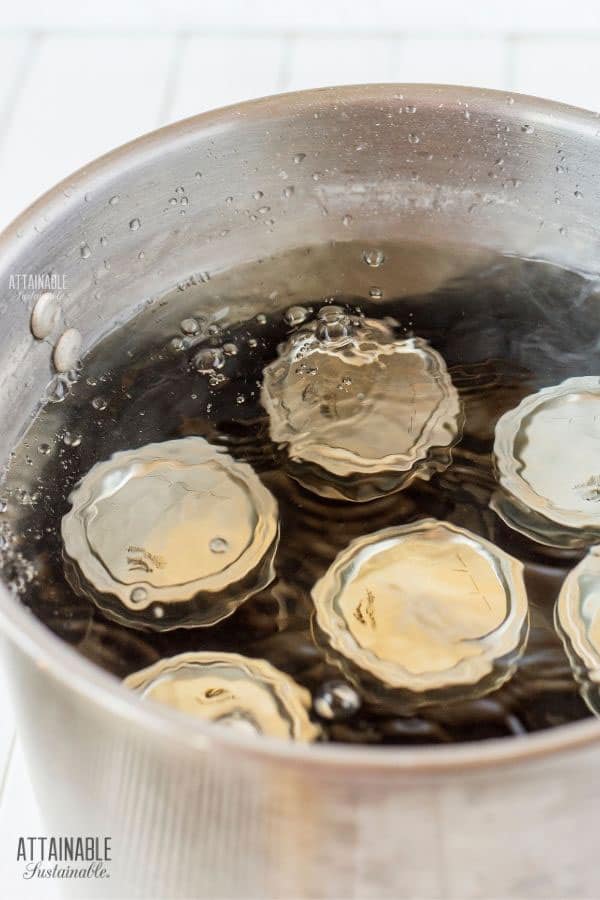
Pots dedicated to canning have a rack inside that will keep the jars from sitting on the bottom. If you’re making a small batch of jam in a large stock pot, be sure to use a rack of some sort to keep the jars up. You can make one of your own using extra canning rings.
Water in the canner should come to a rolling boil before you add the jars.
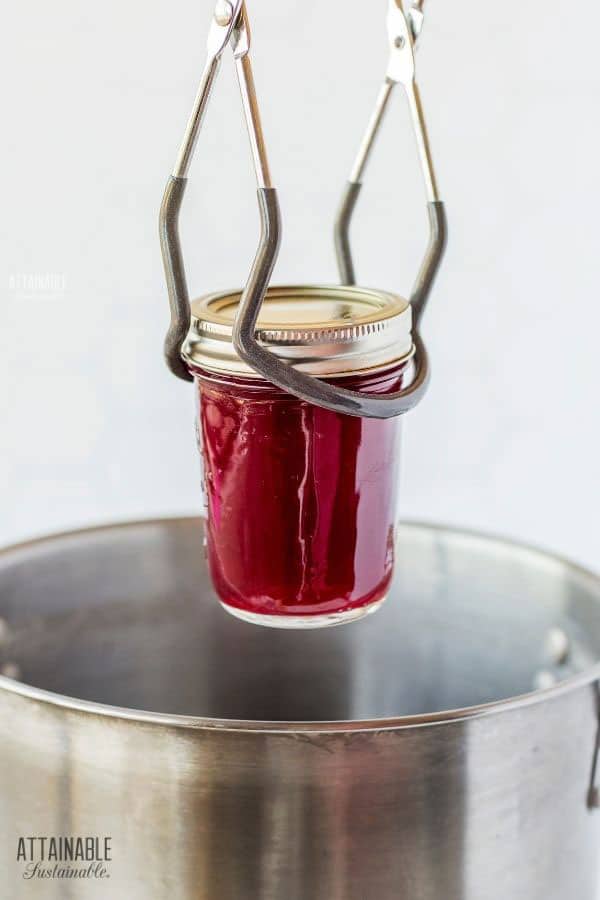
Use a jar lifter (a must for canning!) to lift the filled jars into the boiling water bath canner one at a time.
Make sure that the jars are completely submerged. There should be 1″-2″ of water above the top of the jars. It’s a good idea to have a kettle with hot water on standby in case you need to top it off once the jars are in place.
Adding jars to the water canner will lower the temperature of the water. Return the water to a boil, then start the timer to mark the processing time.
10. Remove the Jars from the Canner
Again using the jar lifters, remove each jar from the canner and set on a kitchen towel on a sturdy countertop. Leave the jars undisturbed until they cool thoroughly.
You will likely hear the sound of the lids sealing with a little “tink!” as they cool. It’s a home canner’s favorite noise!
11. Check the Seals
One the jars have cooled completely, check the lids to make sure they’ve sealed. Do this by pressing down in the center of each lid. Do not touch the lids when the jars are still hot, as this can cause a false seal.
The flat lid should feel solid. If it flexes up and down, it did not seal properly and the jar is not shelf stable. Place unsealed jars in the refrigerator and use within a month or so.
12. Store Canned Jam and Jelly
Remove the rings from the jars and wash each to remove any sugary residue that could attract ants. Dry and store jars without the rings.
Storing jars with the rings will hold the lid in place, even if a seal fails. Homemade preserves, jams and jellies have a shelf life of a year or so.
🍅 Safety First!
Canning is an excellent way to preserve food for the pantry, but there are some important safety considerations to keep in mind. The recipes on this site have been made following safe canning procedures by a certified Master Food Preserver.
- Know the difference between water bath canning and pressure canning. Low acid items must be pressure canned for safety.
- Altering ingredients may change the recipe’s pH, posing a safety issue.
- Use the proper jars and lids. Never reuse lids, with the exception of the Tattler or Harvest Right hard plastic lids that are intended for such a purpose.
- For more on canning equipment, please go here.
- Want to learn more? The National Center for Home Food Preservation is the go-to resource for safe canning information.


I live in southern Utah where there are tons of pomegranate trees. I am looking for the waterbath time for pomegranate raspberry jam in pint size jars. All I can find is 1/2 pint times…
Thank you 🙂
We don’t have times for a pint size jar.